This is my most elaborate Halloween card this year. I’m not sure exactly what happened, but time got away from me and I just didn’t make many. I created this one for a swap that I participated in. We were to make a Halloween card that was a fun fold that the recipient could use for a decoration.
I had fun putting together several different Lawn Fawn stamp/die sets and patterned papers from different companies for a spooky night-time scene. I decided on a Z-fold card, and the beauty of this design is that it can stand up on its own but it folds up to easily fit into an envelope.
Supplies:
Lawn Fawn stamps and dies – Spooktacular, Hoppy Halloween, and Fox Costumes Before ‘n Afters and the Spooky Fence Border die
Papers – Authentique – Mysterious and Twilight collections, and Echo Park Bewitched collection (for the starry sky)
I colored the critters with Copic markers and backed the card with and cut the fence border from black cardstock.
This was very fun and quite easy to make. Have a Happy Halloween!
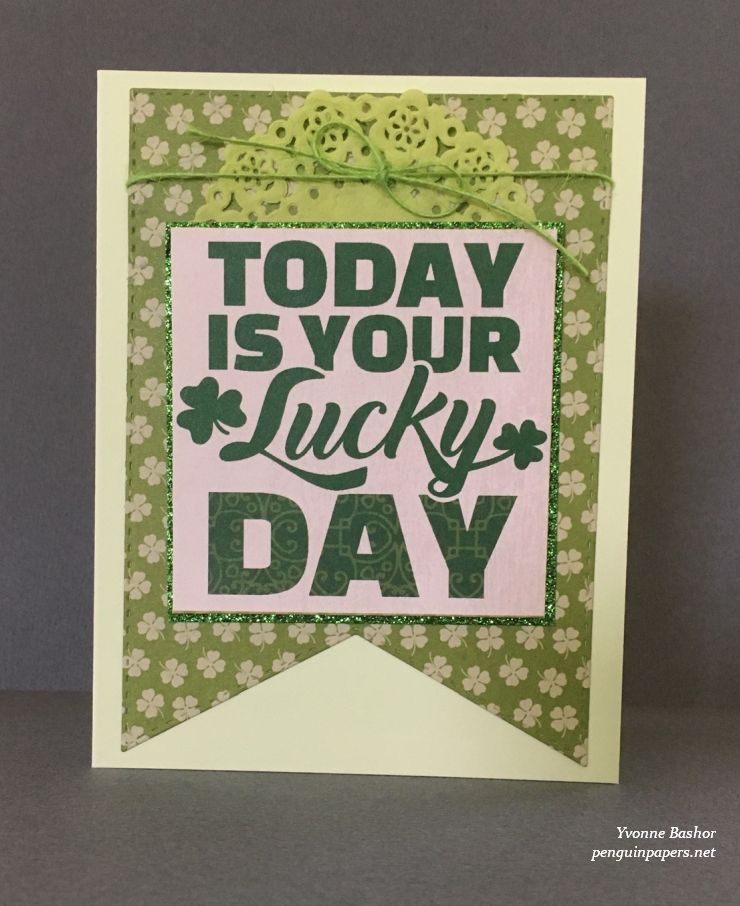
Authentique Clover Collection – Clover Five (focal image)
Die – Art Impressions – Banner Double Stitched Dies
Doily – Doodlebug Designs
Twine – May Arts
Cardsotck –
Bazzill
Paper Accents Glitter Cardstock – Green
I really like the color green, so when I had a chance to use these Authentique papers to create a card for Runaway Art and Craft Studio, I was excited. This is a very simple card with small touches that make it special: glitter paper matting around the focal image, lovely patterned paper from Authentique, the doily and twine at the top, and that eye-catching banner die-cut I made with the new Art Impressions die. And everything is green! Thanks for visiting today.
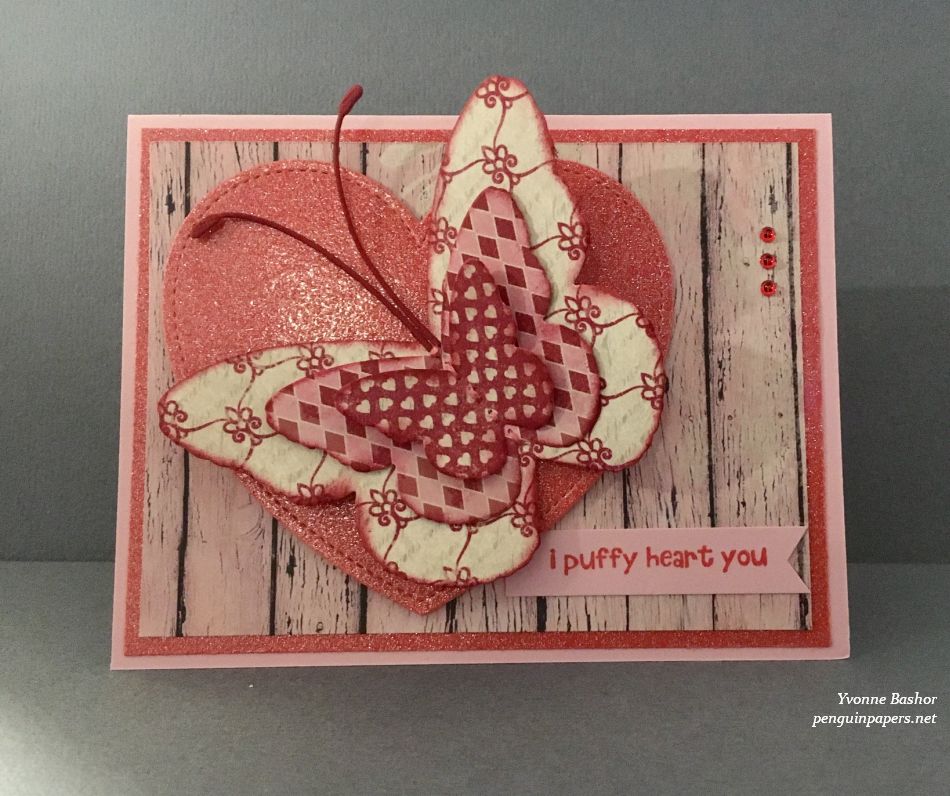
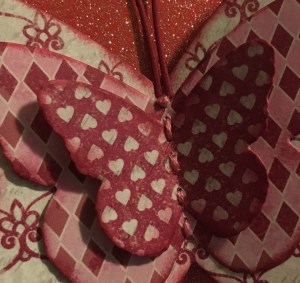
I love these Authentique Valentine papers and layering them is right up my alley. I created a multi-layered butterfly by cutting three butterflies from three different patterns and stacking them. I edged the wings with red ink and then stitched the butterflies in the center (for the body) with embroidery floss, making the head with a french knot. See the photo below for the stitched detail.
I mounted the triple butterfly onto the die-cut heart at an angle with dimensional adhesive and bent the wings up from the center to make the wings look as though the butterfly might take flight.
I then adhered the heart with the butterfly onto the background and in turn, onto the card base. I added the stamped sentiment in the lower-right, peeking out from behind the heart. I finished accenting the card with three red gems vertically down the upper-right side.
Ephemera – Tim Holtz Idea-ology Ephemera Pack – Festive
Chipboard Quote Chip (Joy) – Tim Holtz Idea-ology – Christmas Words and Phrases
Candy Cane Chipboard – Echo Park Decorative Brads & Chipboard – Twas the Night Before Christmas
Mini Snowflake Ornament – Darice
Wooden Christmas Tree – Sierra Pacific Crafts
Ribbon and Ric-Rac
This is one of my favorite kinds of projects: creating a tag and combining a lot of different products from a lot of different companies! I created this tag for an exchange with my online cardmaking group. It also fit perfectly with a color challenge at The Paper Players. I started out by covering a plain manila tag with the patterned paper. I stamped out the snowman and colored the background on the image with some Evergreen Bough Distress Ink and used some of my Posca pens to color details on the snowman and to make the snow. I edged most of the elements with Medieval Blue Versafine Clair ink and then fit the die-cut snowflakes and all of the other little pieces together to form my composition. I edged the tag in blue ink as well and then tied the ribbon and ric-rac through the tag’s hole and attached the little snowflake ornament. This was really fun to make and I popped it in the mail to the recipient today. Thanks for visiting.
Patterned papers – Authentique Pleasant Collection
Sequins – Neat & Tangled Festive Fall Sequin Mix
Cardstock – Bazzill
Ranger Distress Ink – Carved Pumpkin
This is a very simple, yet elegant card with no stamping. It features one of the beautiful vintage images from Authentique’s Pleasant collection, framed with a decorative Spellbinders die cut. I edged the pumpkin image and the patterned background piece with Carved Pumpkin Distress ink. I popped up the pumpkin image onto the frame and adhered the whole thing to a white card base. I simply added a few sequins among the flowers as a final touch and that was it! Anything more would seem overpowering to me, but I tend to design on the side of simplicity. Thanks for stopping by.
Paper – Authentique Mysterious collection: “Mysterious Six” (main image) and “Mysterious Five”
Pebbles Trick or Treat collection: “Candy Corn”
October Afternoon: Witch Hazel collection: “Whisker of Cat”
Web – American Crafts Details: Halloween – Spider web doilies
Bat brad – Hot off the Press
Ribbon – May Arts
Black crocheted lace
Black cardstock
I had fun creating this festive Halloween card featuring patterned papers. I love vintage Halloween images, so I chose this witch and cat for the focal point of this card. I pulled all kinds of things from my stash, some of which I’ve had for a number of years, to add to this card. I must admit, it took me a long time to come up with the completed design. I hope you like it! Thanks for stopping by.
I created this mixed media tag for a class I taught. I really enjoyed putting it together with a variety of materials and knowing that combining these materials would be something new for some of the students. I began with a die-cut tag from raindrop patterned paper. Layers include some stenciled acrylic paint, washi tape, and tea bag paper beneath the fussy-cut bird from Autentique paper. Thanks for visiting.
Patterned paper – Authentique Jubilee Collection: Jubilee Six and Jubilee Three
Die – Lawn Fawn “Outside In Stitched Scalloped
Cardstock – KaiserCraft
Paper flowers
Ranger Distress Mica Spray – Tarnished Brass
Rose – Maya Road
For this card I layered the “Happy Easter” panel from the Authentique Jubilee “Jubilee Six” paper onto a pink scalloped panel that I cut with the Lawn Fawn die. I layered that onto another pretty Authentique paper from the Jubilee collection called “Jubilee Three.” I tied the ribbon around the layers and adhered the whole thing to a pink card base.
I colored the flowers to match the papers. For the larger flower, I sprayed it with mica spray and topped it with a smaller paper flower that I colored with a Copic marker (R81). I added a pink plastic button for the flower center and adhered the flower bundle to the base of the card above the ribbon. I added the small plastic rose to the top left of the card.
This is another Easter card I created using the Authentique papers from the “Jubilee” collections. I cut the bunny image from the “Jubilee Six” paper with the My Favorite Things tag die, which is the centerpiece of the card. The background (green print) panel and the carrot strip are both from Jubilee papers as well. All of the cut pieces were edged with Ripe Persimmon ink to tie the elements together. Thanks for visiting.
I designed this card for a class I’m teaching at Runaway Art and Craft Studio (class description). This is one of four Easter cards in the class, all using Authentique Easter papers. The image with the bunny and chicks comes from the Authentique Jubilee paper collection. I cut the bunny image from that collection, added a strip of washi tape and inked the edges to keep a vintage look. I added a small trowel, tying twine around the handle with a bow for an additional Spring touch. I’ve been waiting to find the perfect excuse to use those little trowels–they’re so doggone cute! I stamped the sentiment and adhered the entire thing to the card base (made from another lovely Authentique paper) that I die cut for a scalloped edge. A very simple card to share some Easter joy. Thanks for stopping by.