Ranger Ink Wendy Vecchi Make Art – Doodle Christmas (wreath and branches) and Warm Wishes (sentiment)
Stampers Anonymous WVBG016 – Lots of Leaves (background)
Die:
Penny Black 51-731 – Soaring
Inks:
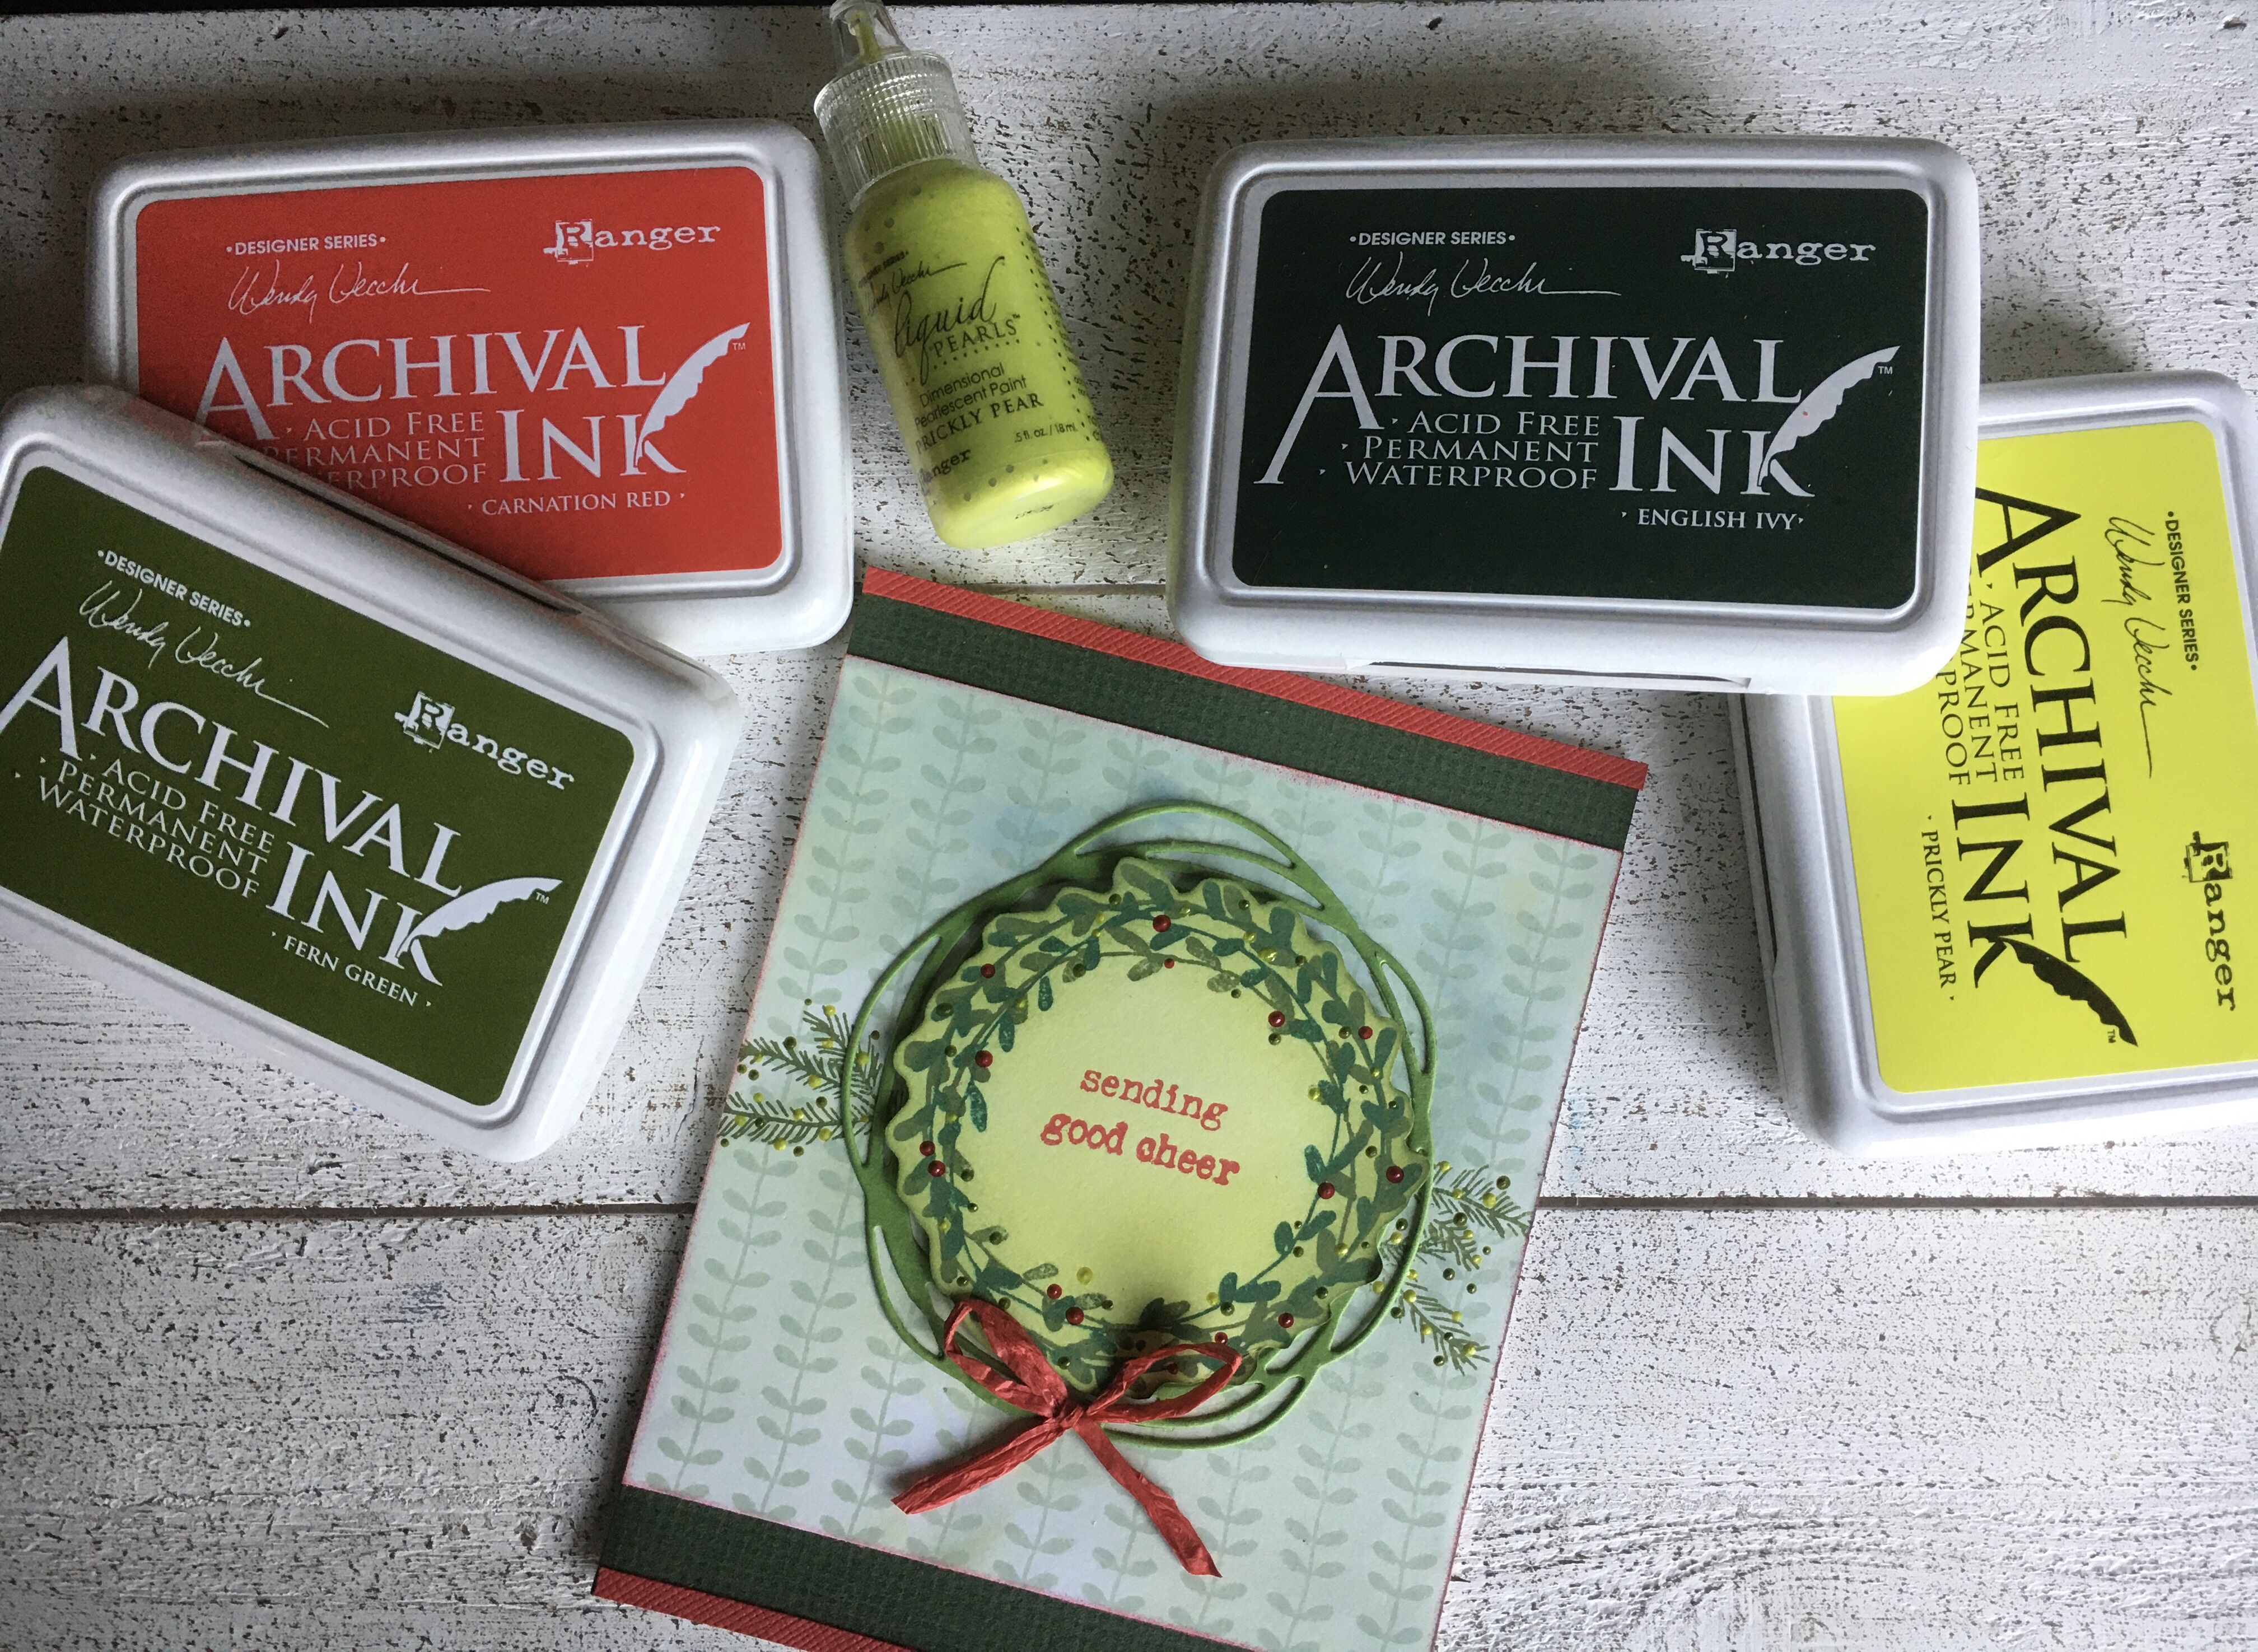
Ranger Ink Wendy Vecchi Designer Archival Ink Series: Fern Green, Prickly Pear, English Ivy, Carnation Red
Ranger Ink Leaf Green, Sap Green, Cornflower Blue
Embellishments:
Ranger Ink Wendy Vecchi Designer Series Liquid Pearls – Prickly Pear, Fern Green, Carnation Red
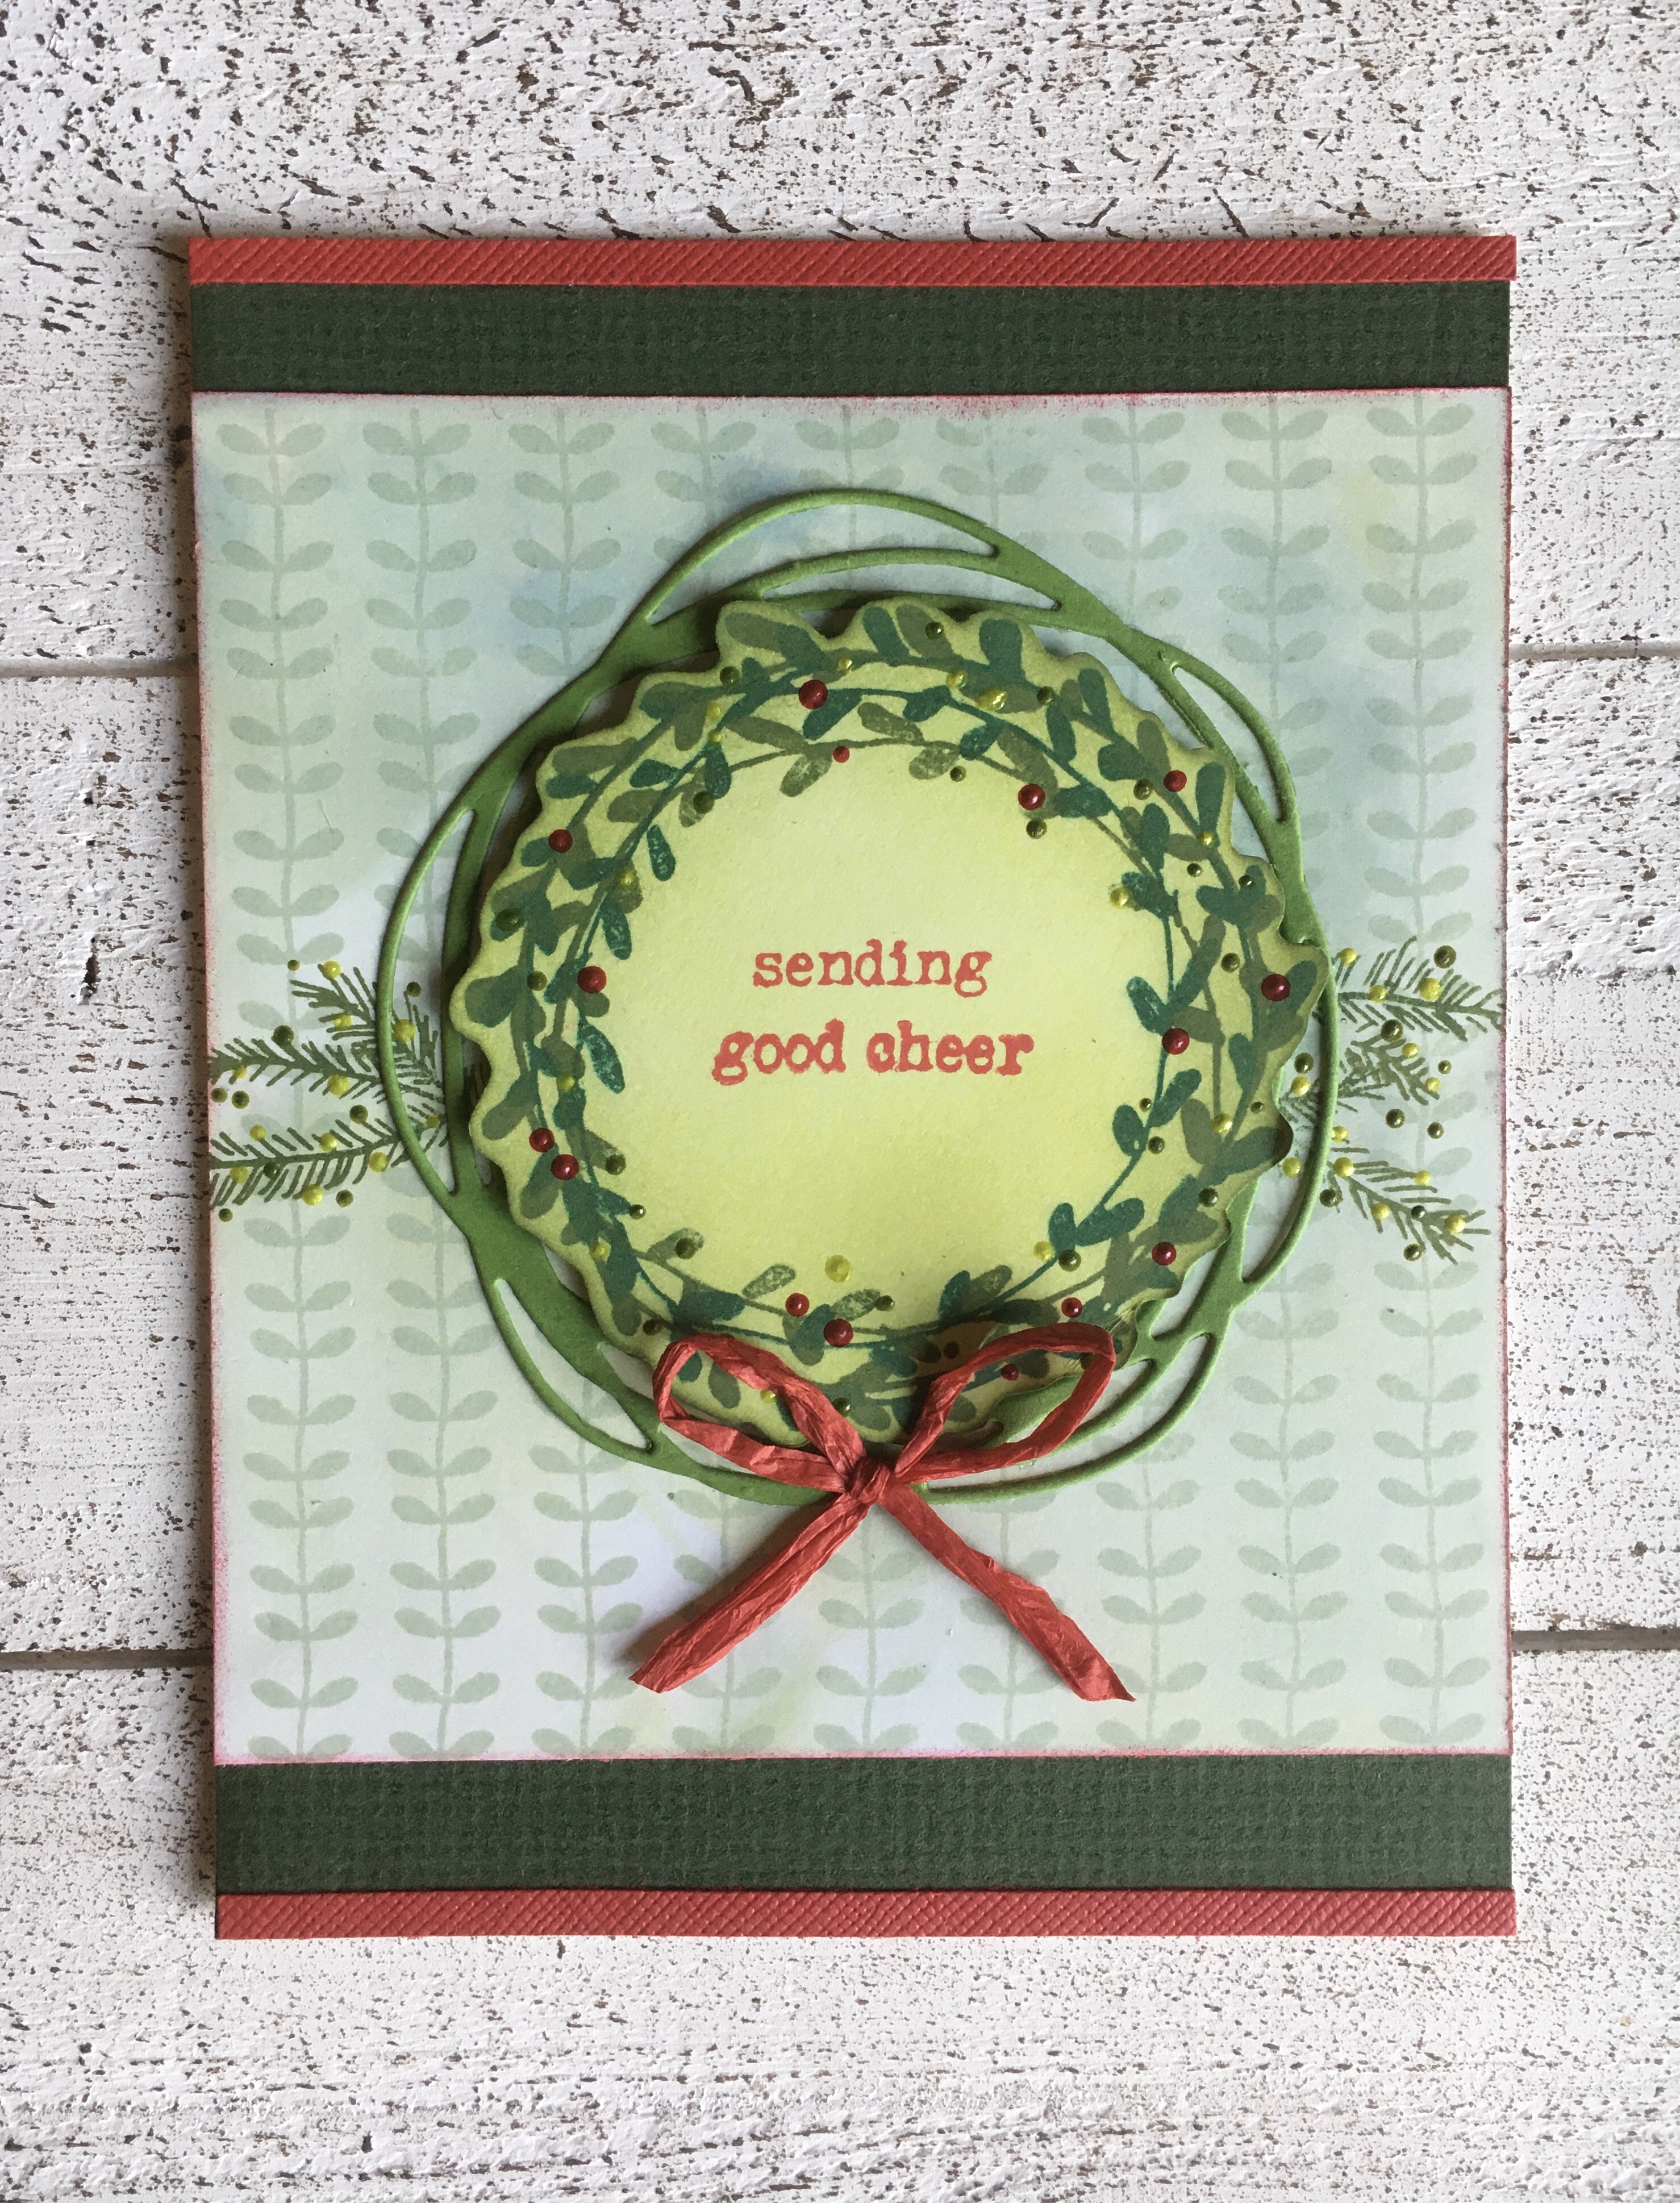
I’m excited about the new Wendy Vecchi Make Art release from Ranger Ink that just came out today! So many possibilities for holiday cards, tags, and decorations. But the stamps are versatile enough that some “everyday” cards will be easy to make with them.
I got my hands on the new products today and immediately made a simple card. I started out with the background using Wendy Vecchi’s archival ink and alcohol technique. I used Cornflower Blue and Lead Green re-inkers and rubbing alcohol and once dry, I stamped The background stamp in Sap Green.
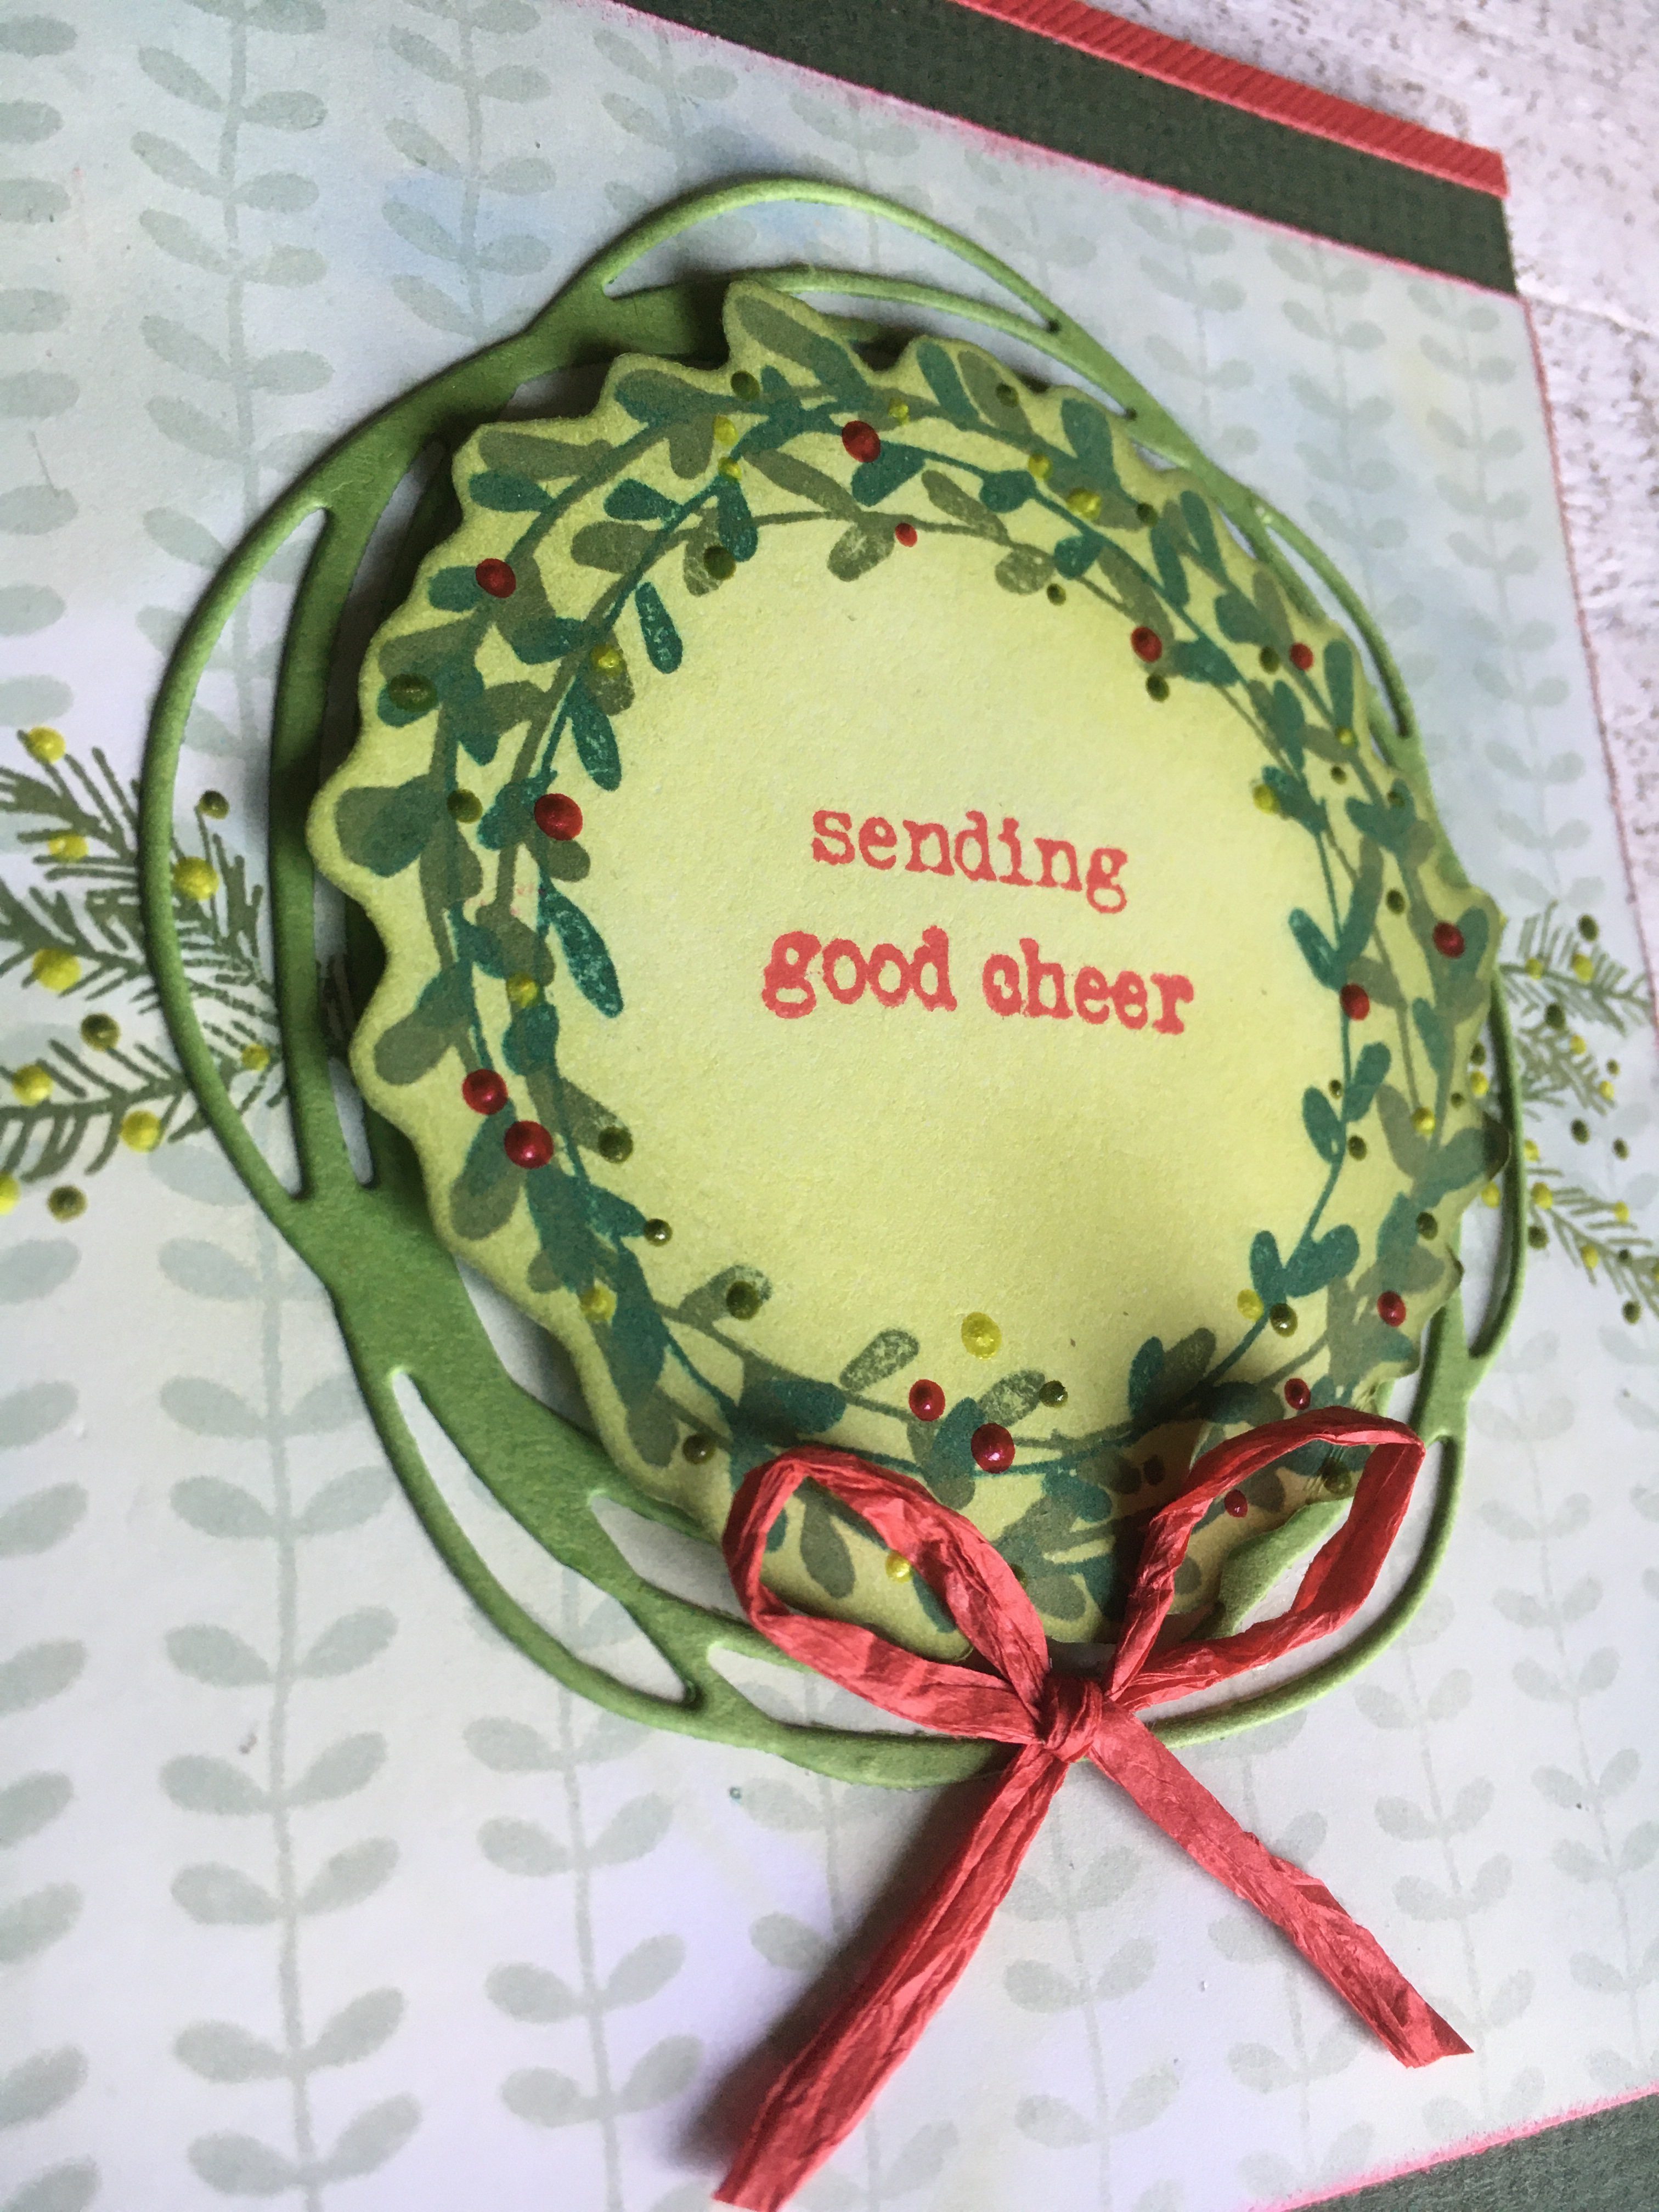
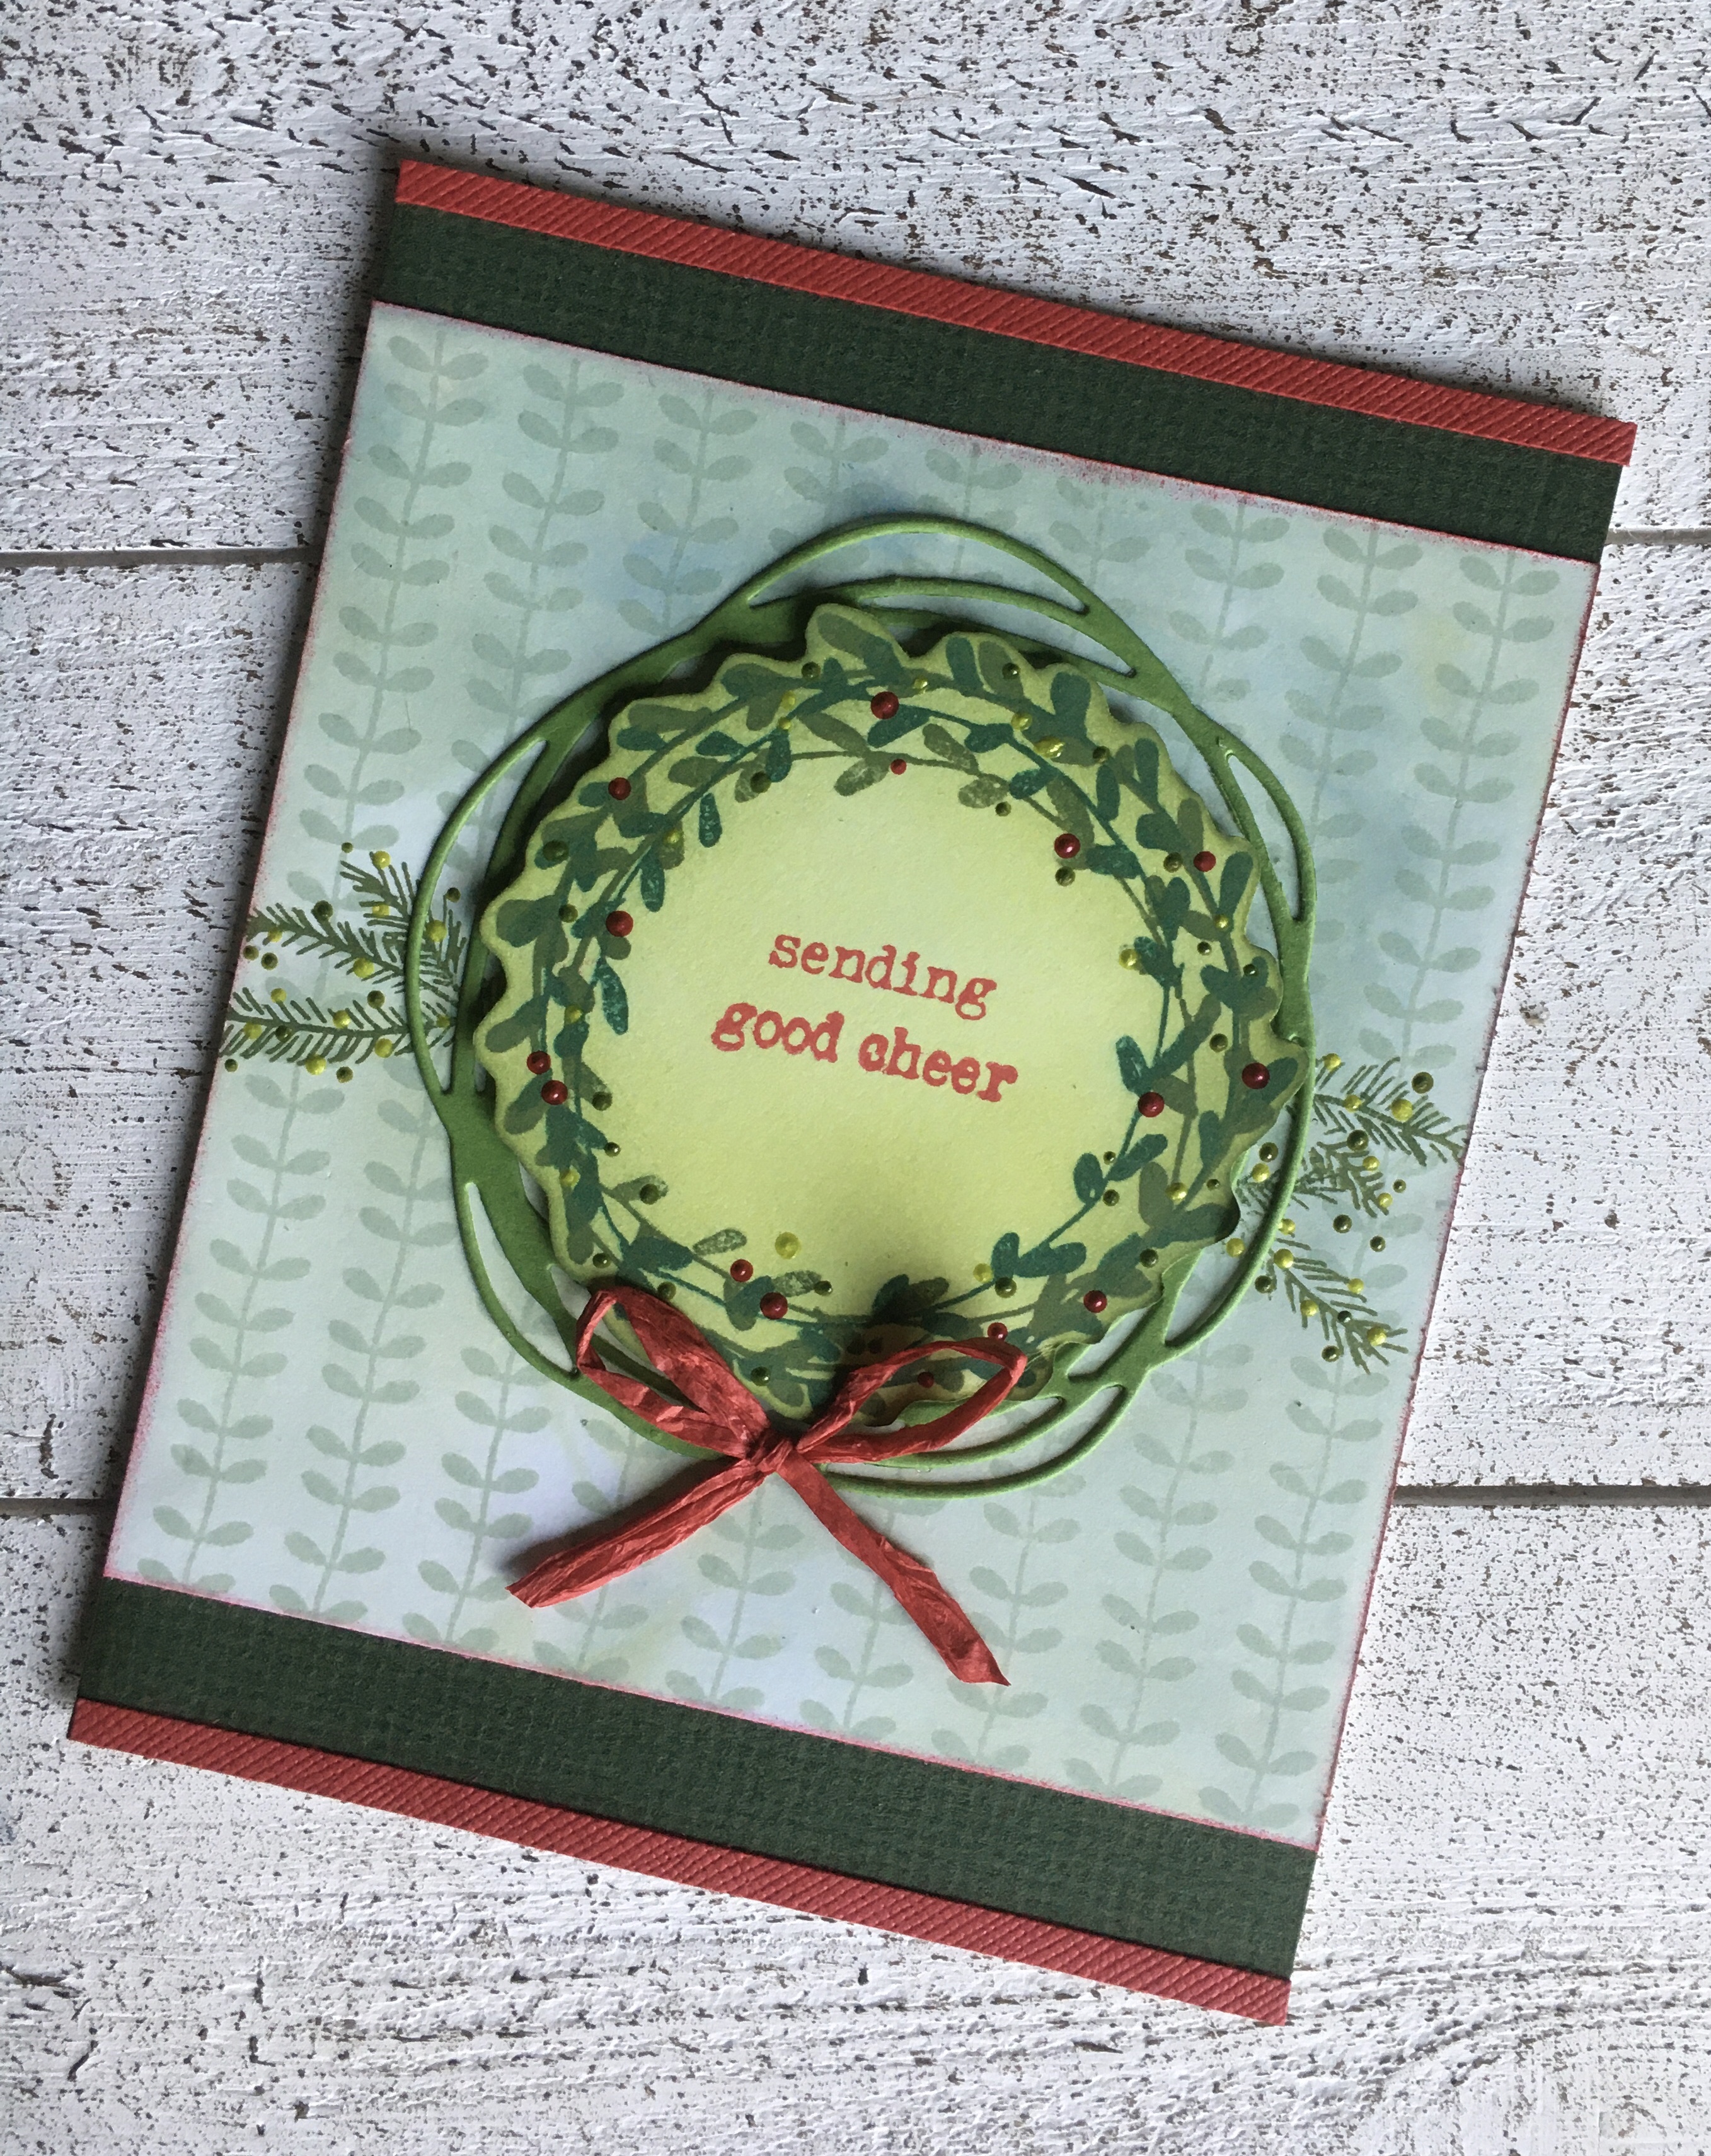
To create the wreath, I stamped Wendy’s wreath stamp in English Ivy and then turned it 90 degrees or so and stamped it again in Fern Green. I trimmed it out and then blended Prickly Pear ink over the whole image. Meanwhile, I stamped the branches across the center of my background. I adhered the die-cut wreath onto the background. Once the wreath was completely dry, I stamped the sentiment and then added the Liquid Pearls “berries” on the wreath and the branches. I then popped up the wreath with dimensional adhesive and added a red raffia bow. I trimmed the card with red and dark green cardstock strips.
Thanks for stopping by today (Hi, Mom!). I do regularly post on Instagram (@penguinpapers) if you want to see what I’m up to. I still plan to post here when I can–especially cards!
I usually procrastinate in making Christmas cards in a timely manner, but my friend Barb challenged an online group of us to make a card with a poinsettia and I thought I should join in! I was sort of surprised that with all of the stamps I own, this set is the only one I found that had poinsettias, and it had two different ones.
Supplies used:
~ Stamps: Stampers Anonymous Tim Holtz Collection – Yuletide Gatherings CMS390 (poinsettia) and Modern Christmas CMS388 (sentiment)
~ Authentique Magical Collection – Magical Five
~ Karin Brushmarker Pro markers
~ Metallic gold watercolor and gold twine
I have been wanting to test out the Karin Brushmarkers direct to the rubber stamp and this one was a great candidate. These markers are great for watercolor and have a brush tip, so they are perfect for applying color to a rubber stamp. For this one, I didn’t spritz the stamp with water before or after, and the image came out very nice and crisp. I was able to get three more impressions after this by adding water to the stamp. Here is how they looked:
So depending on the look you’d like to achieve, you can get a lot of impressions from one ink application, which is potentially a big time saver. As a result of this experiment, I have several images to work with for more cards. Always a plus!
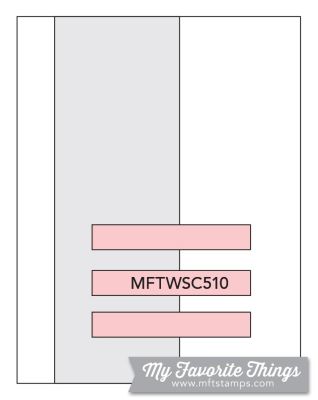
I created a clean and simple card with an adorable penguin designed by Stacey Yacula who is one of my favorite critter illustrators of all time! To find out more about her, please visit her site at http://www.staceyyacula.com/. This penguin, the sentiment and star cluster stamps all come from a My Favorite Things set from 2018, called Sweet Holiday Penguins. I used a card sketch from the latest My Favorite Things challenge: Wednesday Sketch Challenge #510. Here’s the sketch:
I used patterned paper from the Bella Blvd Merry Christmas collection. It seemed to be a perfect choice to me because the small white polka dots are not perfectly round and look like snowballs. I colored the penguin with Copic markers, keeping it simple and added a little bit of bling off his flipper to represent him sending the holiday cheer (or snow. or pixie dust).
Another holiday card completed! Hurray! I think this makes two, maybe three! Thanks for visiting today.
I had a lot of fun coloring this adorable Penny Black image, watercoloring it with Zig Clean Color markers and a water brush. I highlighted the stars with a gold metallic Sparkle Pop pen. Once dry, I framed the image with the frame that fits it perfectly. I added the stamped and heat-embossed sentiment at the bottom of the card. Thanks for stopping by.
Dies – Lawn Fawn Snow Globe Gift Tag and Mini Snowflakes
Patterned papers – Lawn Fawn
Peace Joy Love collection: Rudolph
Snow Day collection: Chunky Scarf
Glitter paper – Lawn Fawn Pixie Dust and Gold Rush
Red cardstock – Bazzill
Ribbon
White embossing powder
I really like this snow globe die set from Lawn Fawn! You can make adorable gift tags with it, but I had fun using the globe as a focal point on this simple card front. For the layout of this card, I used a sketch featured in CAS(E) this Sketch #350 challenge. I combined two small prints on the patterned papers for a little spice and tied a ribbon through the tag to keep it authentic. Thanks for stopping by.
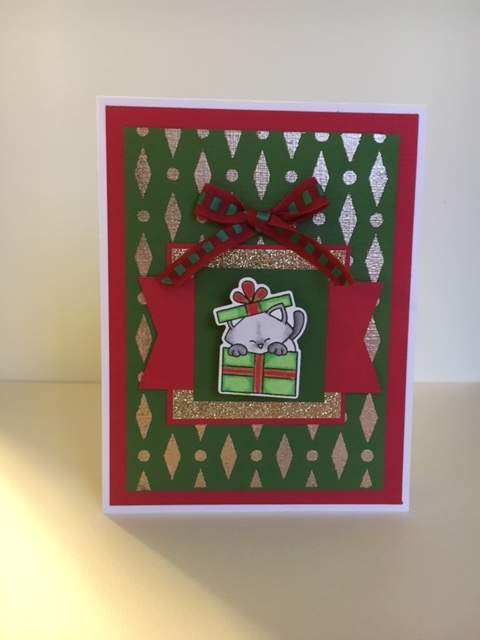
I created this following the sketch for this month’s Inky Paws Challenge 111 on the Newton’s Nook blog. I really liked the layout of this sketch so when I saw it I knew I had to make a card! I colored the kitty with Copic markers and heat embossed some green cardstock with gold embossing powder for some elegant pattern. The really fun thing about this is that I attached an Action Wobble to the cat–so he wiggles! See below for a wiggly video! The small things in life make me happy!
I’ll be teaching how to make this card in early December at Runaway Art and Craft Studio, along with two other Christmas cards. Have a great day and thanks for stopping by!
Patterned paper – Echo Park Celebrate Winter Collection
Glitter cardstock – Paper Accents
Chipboard Quote Chip (Happy Holidays) – Tim Holtz Idea-ology – Christmas Words and Phrases
Red “pearls” – Mark Richards Ltd.
Cardstock – Bazzill
Wishing you a very Merry Christmas!
This was a fun card using the cute stamp and die sets from Memory Box. I like the color combination of red, white and blue with snowflakes–it is really eye-catching. Have a wonderful day with your family and friends and thanks for stopping by.
Stamps – Stampers Anonymous Tim Holtz Collection: Winter Watercolor and Festive Overlay
Patterned paper – Pebbles – Cozy & Bright Collection – Winter Green
Ranger Distress Ink – Evergreen Bough
Silver Mirror Cardstock – Paper Accents
Cardstock – Neenah
Ribbon
For this card, I started out with a Distress Ink background and then stamped the bird and sentiment on top. The detail of the chickadee stamp is really lovely and I didn’t want to detract from it with a lot of fussy stuff. I did add some glitz by layering the image with some patterned paper and then a layer of silver mirror cardstock. I added the silver ribbon for some visual interest and to repeat the silver again to tie it altogether while still keeping it clean and simple. I was inspired by the current sketch at CAS(E) this Sketch. Thanks for visiting.
Stamps – Stampers Anonymous Tim Holtz Collection: Winter Watercolor and Festive Overlay
Marvy LePlume II markers
Patterned papers –
Graphic 45 – Floral Shoppe Collection: Golden Serenity
Pebbles – Cozy & Bright Collection – Winter Green
Cardstock – Bazzill
Red “pearls”
Ribbon
Black embossing powder
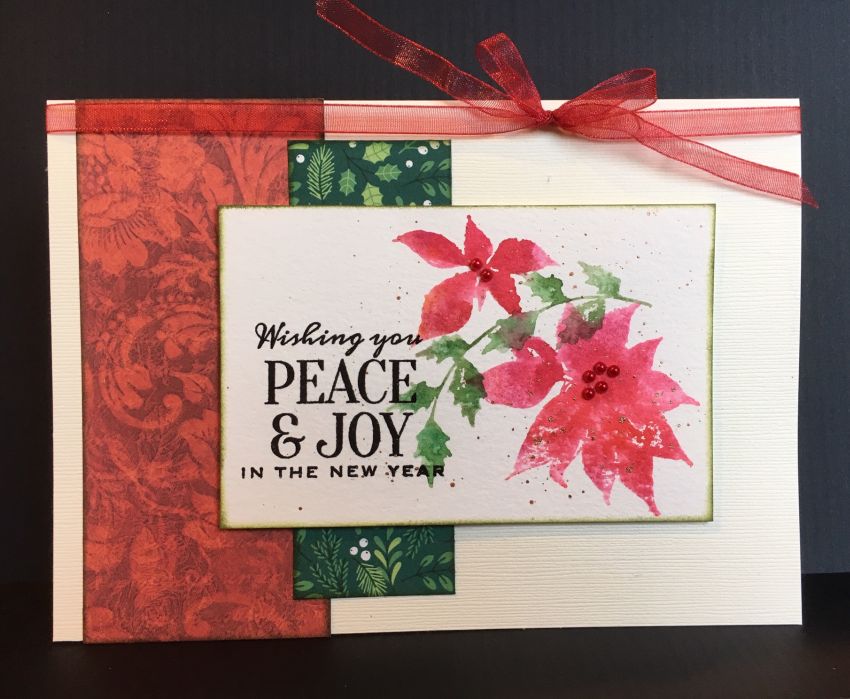
This is another card that I made for the watercolor class I taught at Runaway Art and Craft Studio in Salem. I used the Marvy markers direct to rubber on the poinsettia and holly stamps, then spritzed the stamps with water before stamping for a nice watercolor effect. I heat embossed the sentiment with black embossing powder and spattered the image with some gold metallic paint after adding the red “pearls” to the flower centers. The image is layered on top of some patterned paper strips and all is edged with green ink. Thanks for stopping by.
Ephemera – Tim Holtz Idea-ology Ephemera Pack – Festive
Chipboard Quote Chip (Joy) – Tim Holtz Idea-ology – Christmas Words and Phrases
Candy Cane Chipboard – Echo Park Decorative Brads & Chipboard – Twas the Night Before Christmas
Mini Snowflake Ornament – Darice
Wooden Christmas Tree – Sierra Pacific Crafts
Ribbon and Ric-Rac
This is one of my favorite kinds of projects: creating a tag and combining a lot of different products from a lot of different companies! I created this tag for an exchange with my online cardmaking group. It also fit perfectly with a color challenge at The Paper Players. I started out by covering a plain manila tag with the patterned paper. I stamped out the snowman and colored the background on the image with some Evergreen Bough Distress Ink and used some of my Posca pens to color details on the snowman and to make the snow. I edged most of the elements with Medieval Blue Versafine Clair ink and then fit the die-cut snowflakes and all of the other little pieces together to form my composition. I edged the tag in blue ink as well and then tied the ribbon and ric-rac through the tag’s hole and attached the little snowflake ornament. This was really fun to make and I popped it in the mail to the recipient today. Thanks for visiting.