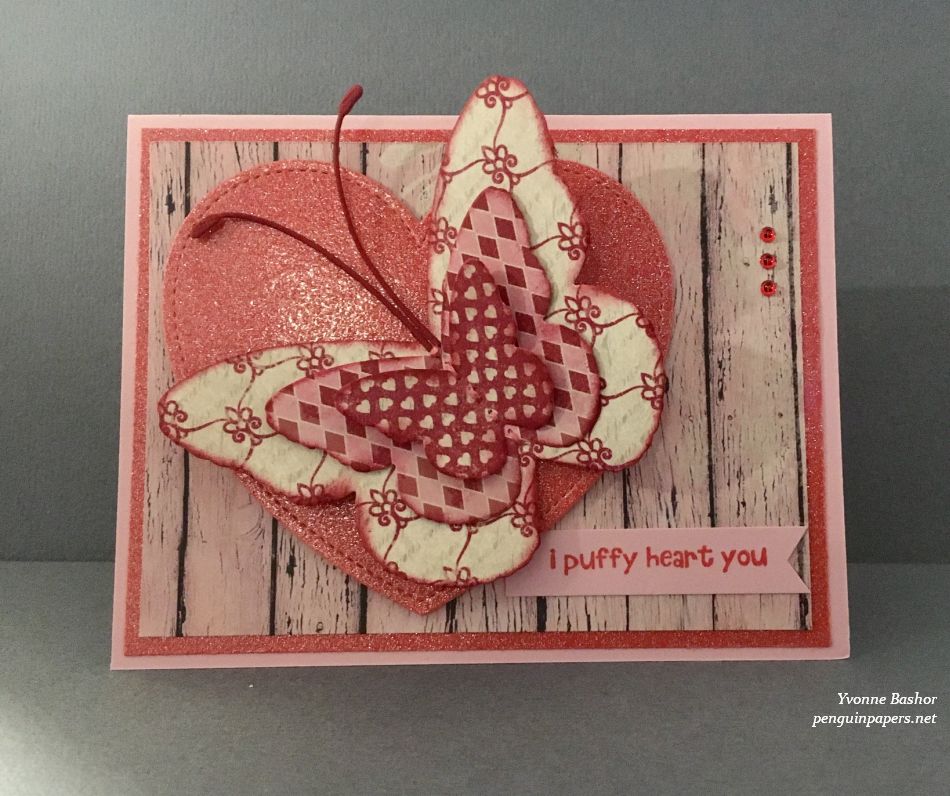
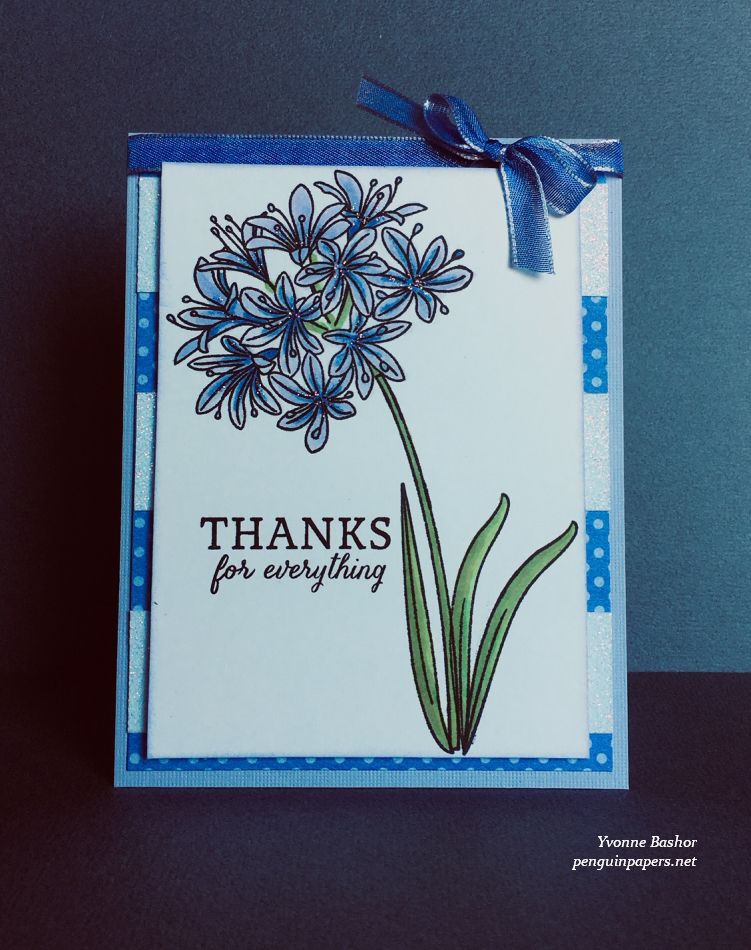
Summer has officially begun and I’m spending more time with my plants and (mostly) friendly bugs! To celebrate the great out-of-doors, I created three cards from some fantastic supplies recently! I’m teaching the particulars during an upcoming class at Runaway Art and Craft Studio. Right now class is scheduled for Tuesday, July 11th and we will add another date if there is lots of interest. I’m sharing a bit about the cards and the supplies I used here.
Supplies:
- PaperArtsy stamps: ESN44, ESN62
- PaperArtsy stencils: PS203, PS363
- Hero Arts stamps and die: Everyday Sentiment Strips (CM673) and Sentiments Strips Fancy Die (DF087)
- Patterned papers: Graphic45 P.S. I Love You: Hello Darling and Make a Splash: Ocean Dance
- Ranger Distress inks: Iced Spruce, Uncharted Mariner, Walnut Stain
- Hero Arts inks (for sentiments): Hero Hues Pigment Inks: Onyx and Unicorn
- Liquid Pearls: Fern Green, Gold Pearl and Pewter
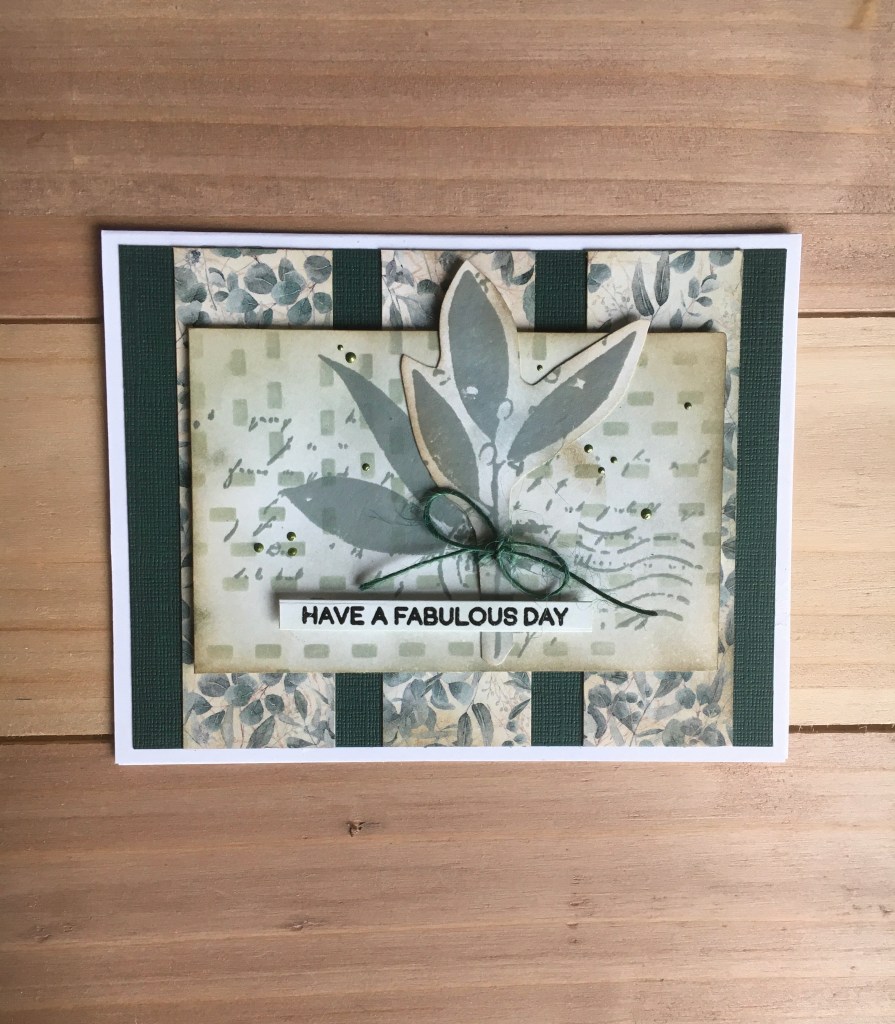
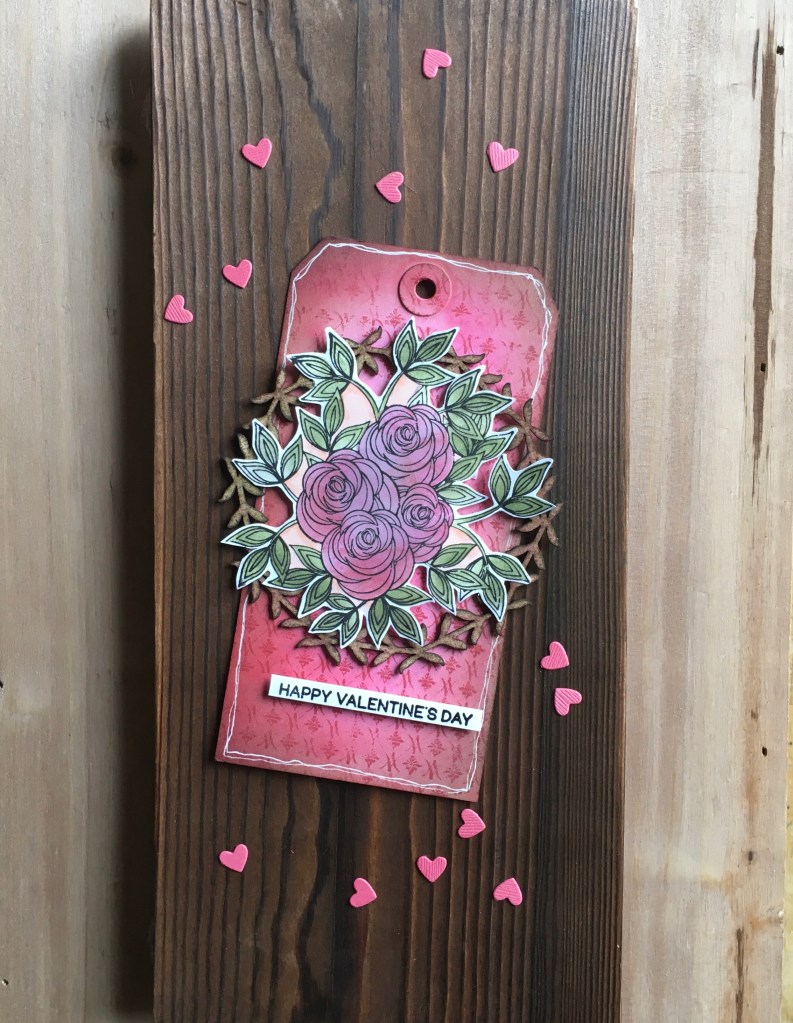
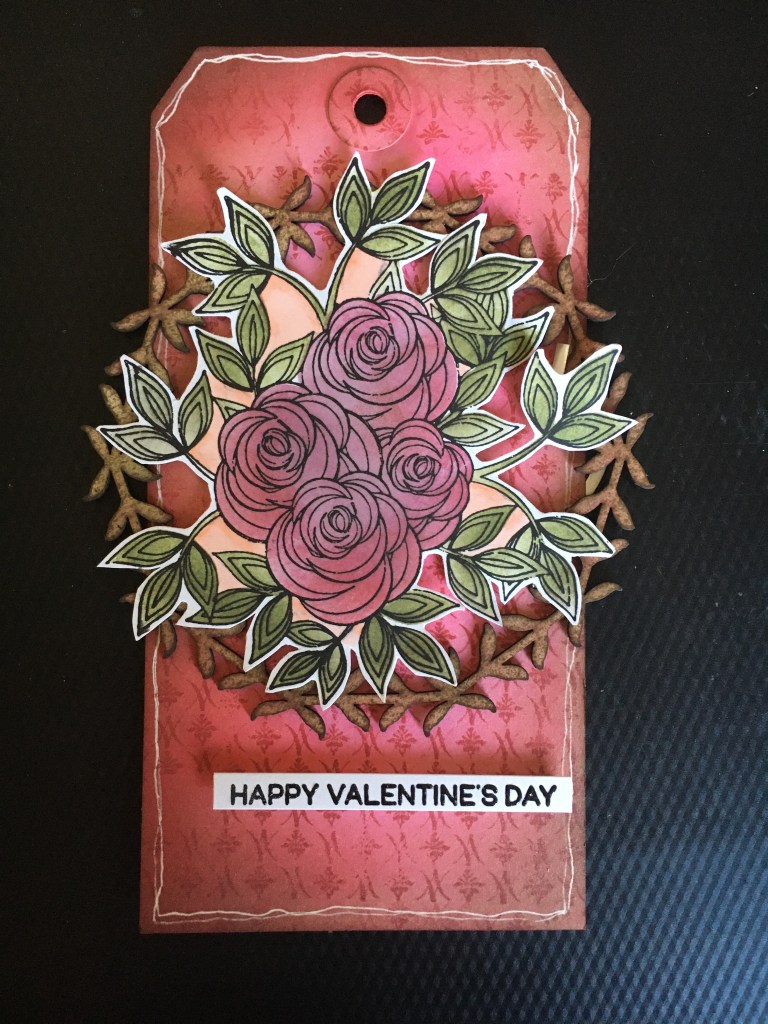
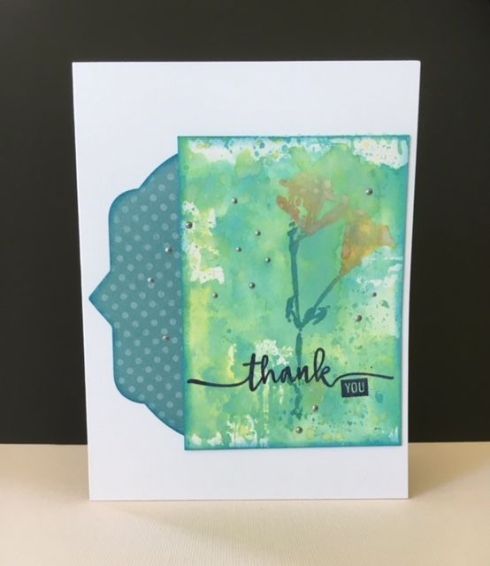
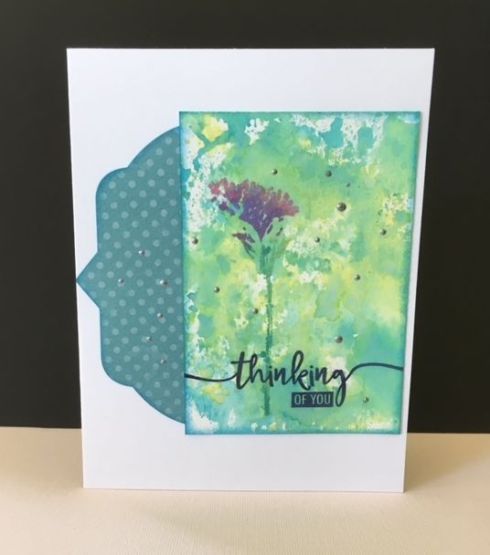
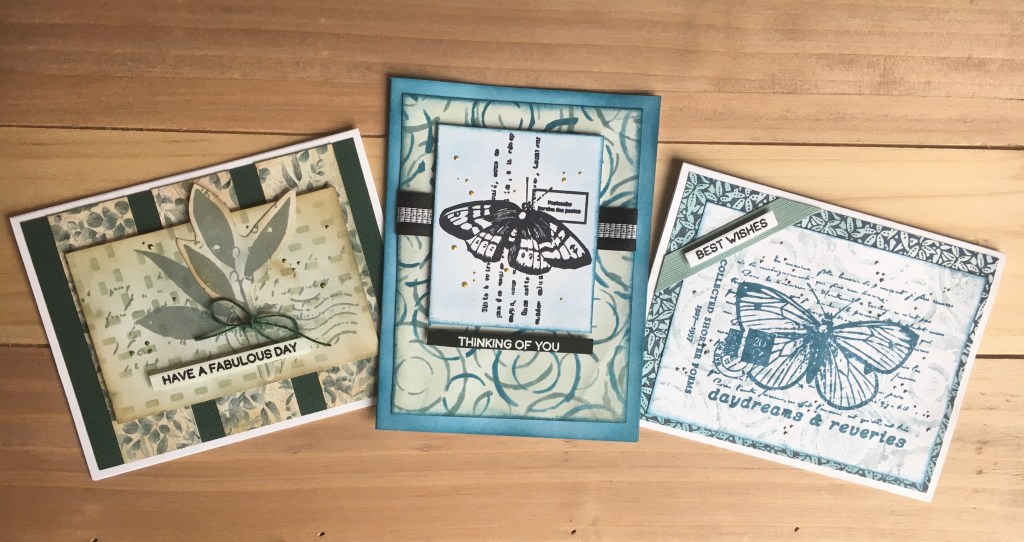
I created backgrounds using ink blending and stencils and I stamped the leaf image with Distress ink. Sentiments for all of these cards were stamped with Hero Hues pigment inks and then heat embossed before die cutting them all at once with the sentiment strip die.

The Distress ink colors I used for all cards blended well together. For this card I ink blended the card base to match one of the stenciled colors (Uncharted Mariner) and then very lightly blended the butterfly image with it as well. This image was stamped with Jet Black Archival ink.
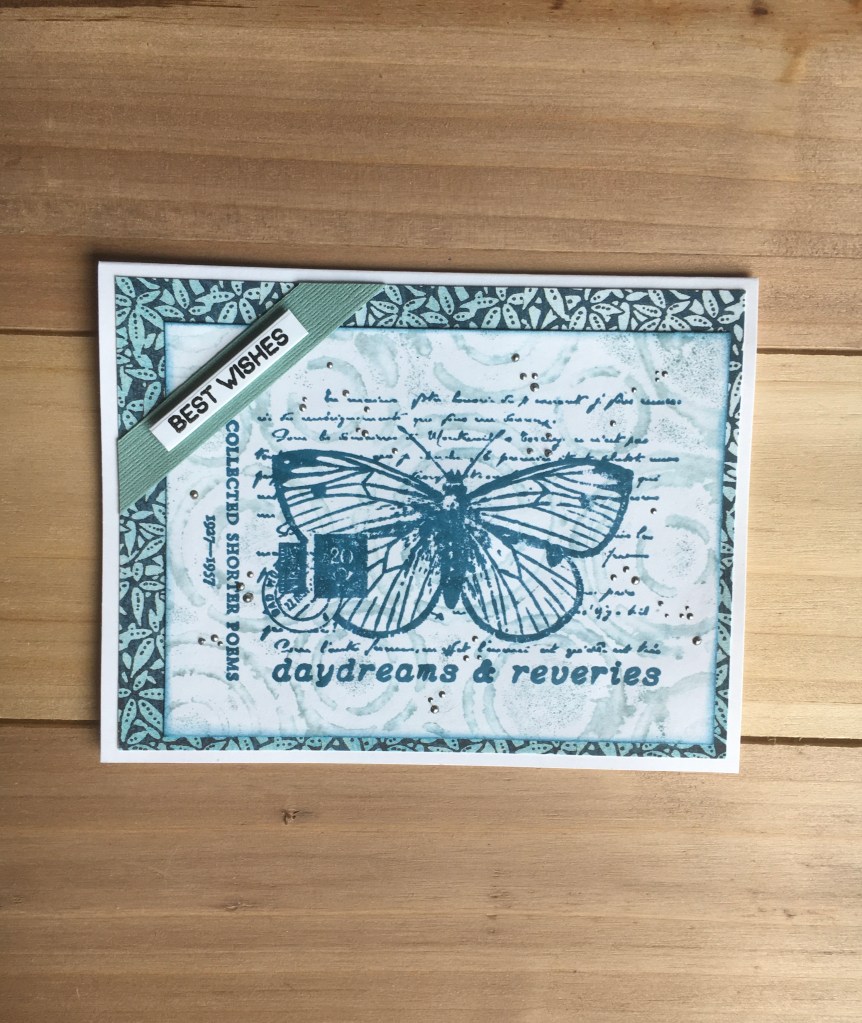
I created a more subtle stenciled background this time around with Uncharted Mariner and also stamped the image with the same ink. The Graphic45 papers added nice visual interest to my cards with their sophisticated patterns.
Thanks for visiting today.