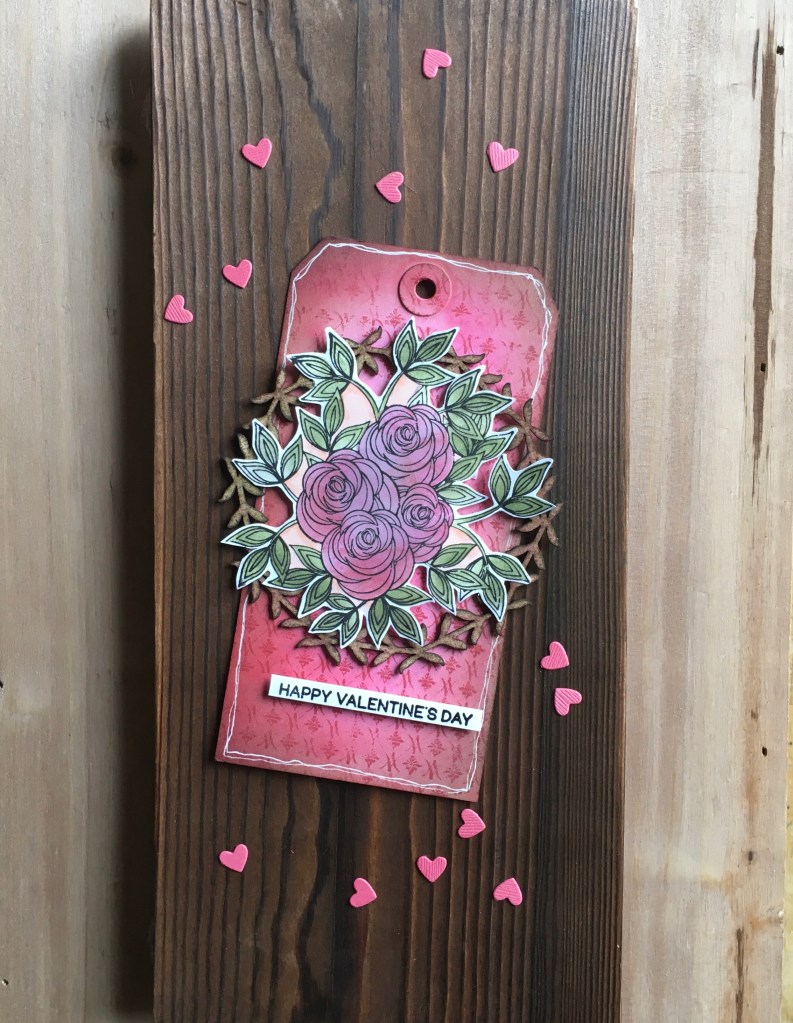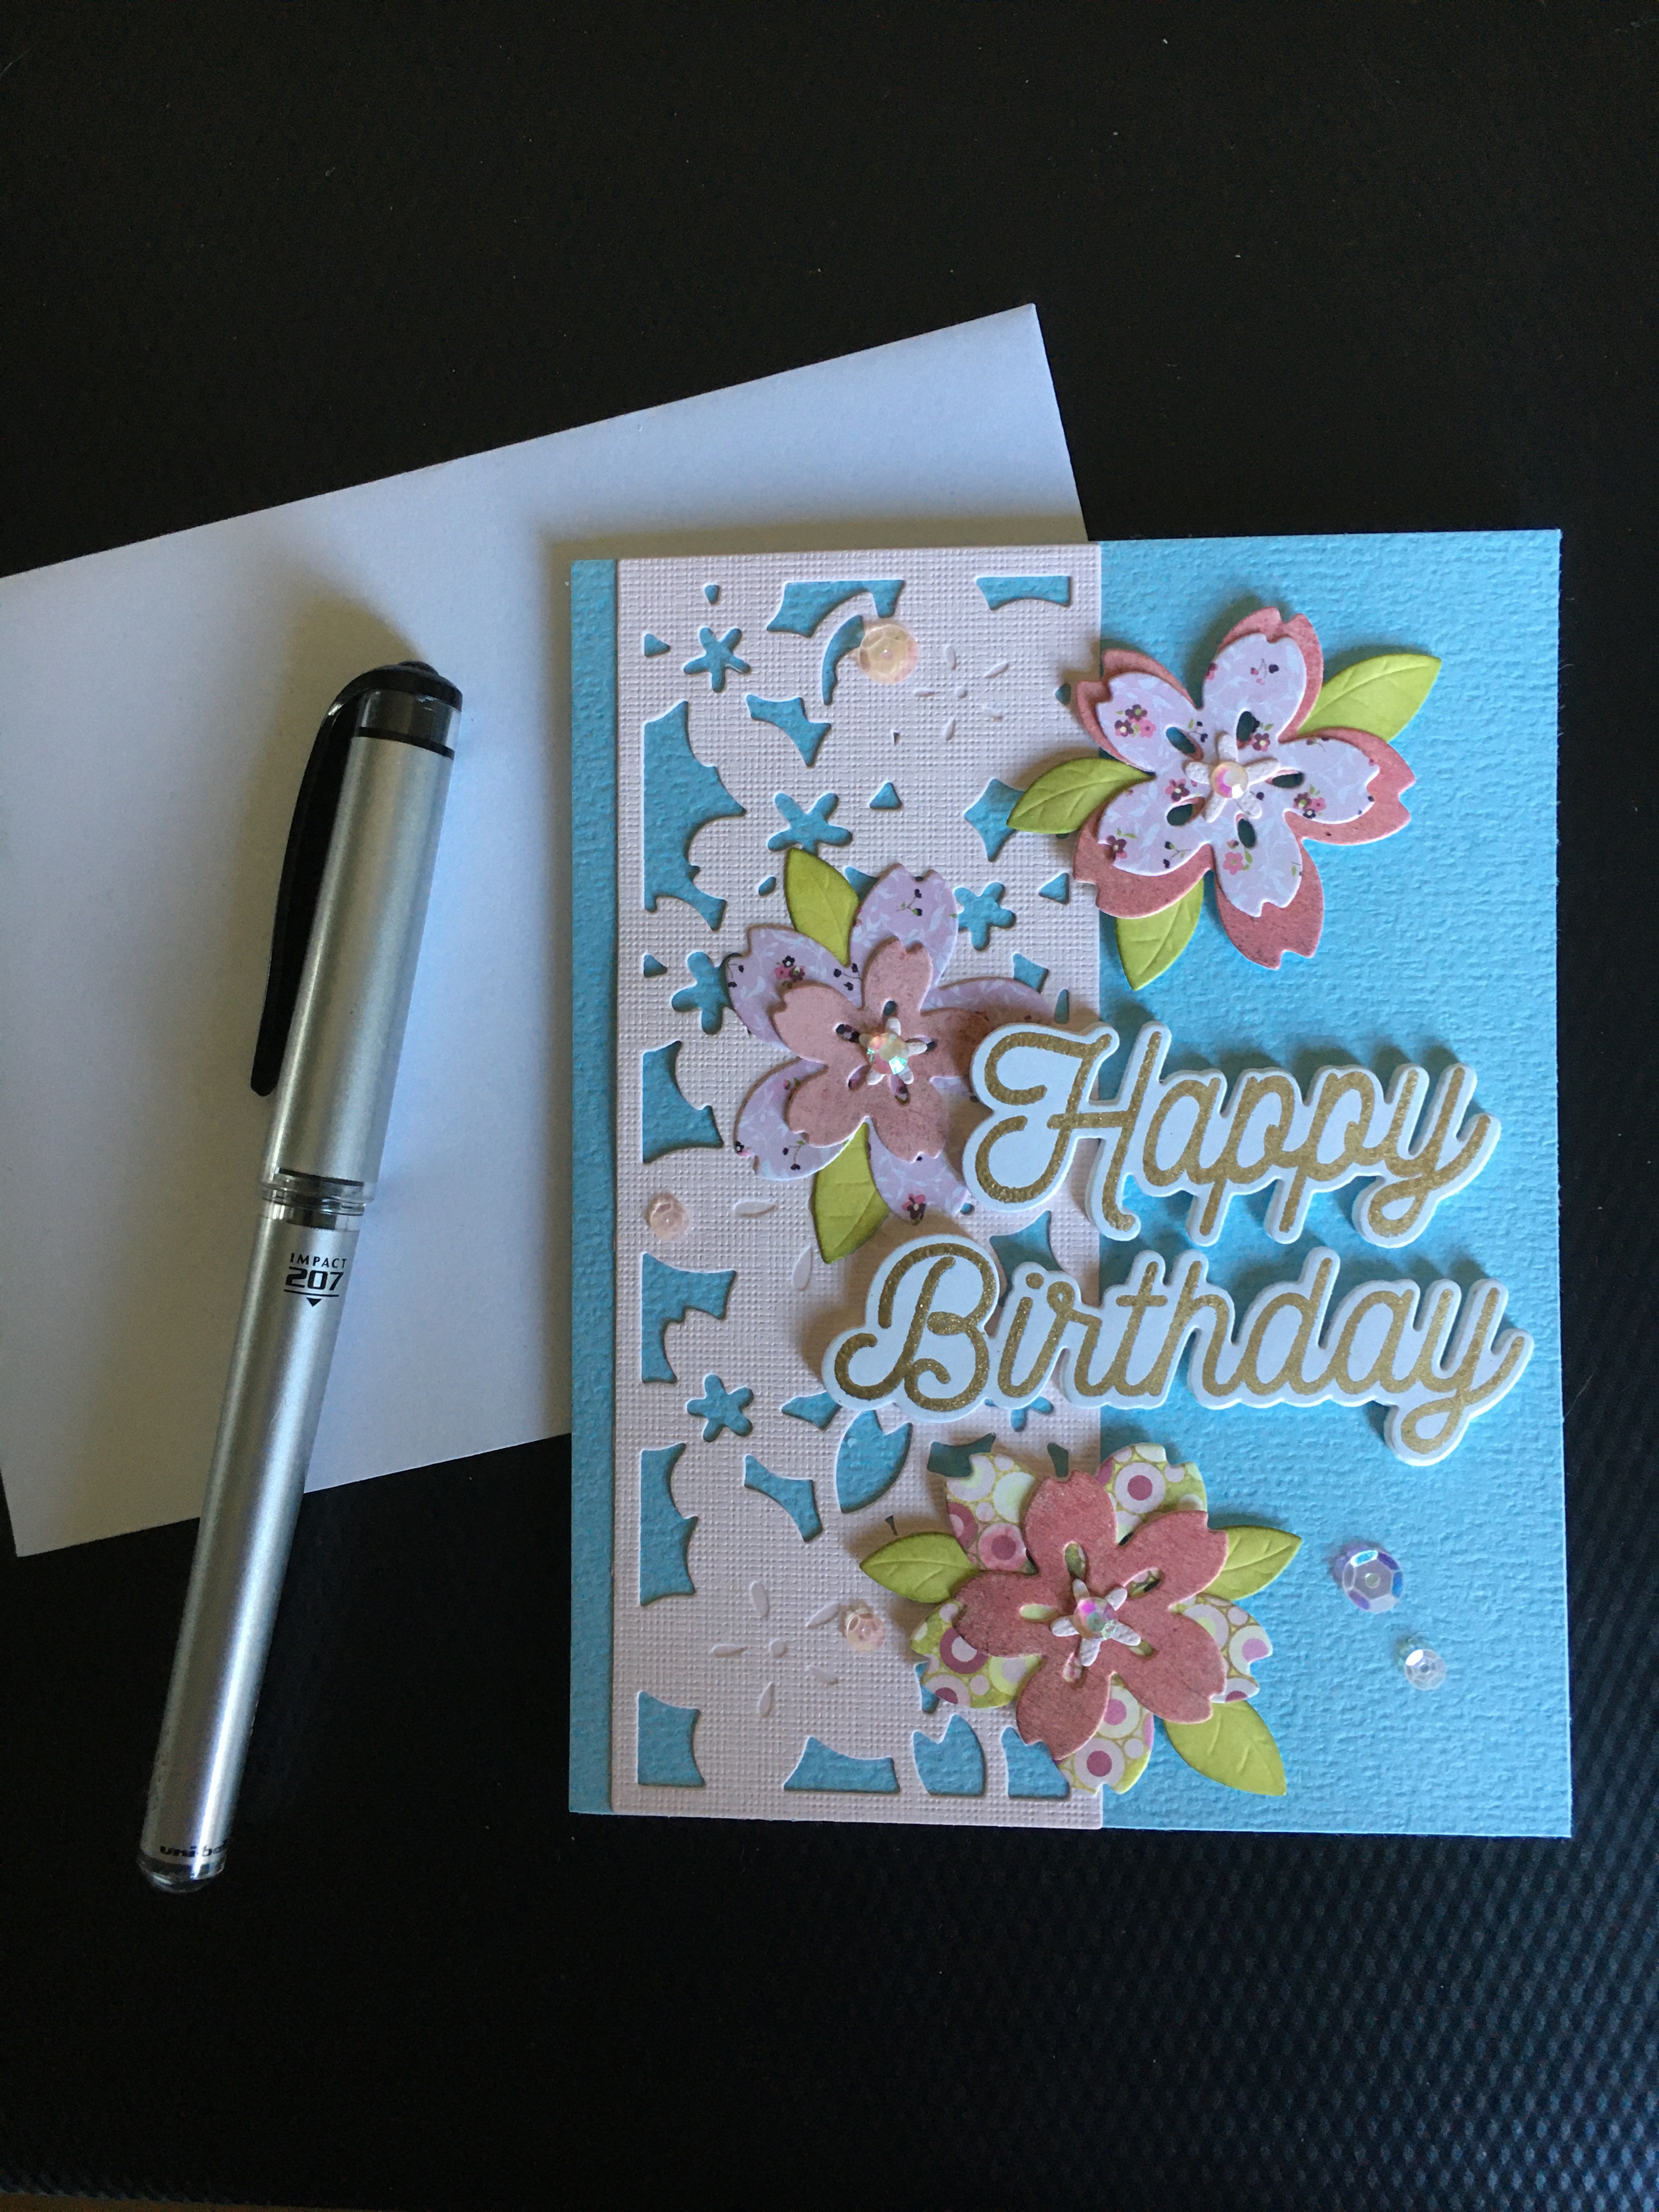
I was so happy to get these new supplies for the new year! Wendy Vecchi has joined forces with Spellbinders Paper Arts and designed a beautiful release! I’ve used some of the items from her new release to create this clean and simple card. First, here are the supplies I used:
- Stamps and Dies – Spellbinders Garden Party
- Stencils – Spellbinders Layered Garden Party
- 3-D Embossing Folder – Spellbinders Flowers and Foliage
- Background Stamp – Stampers Anonymous Ticking
- Inks – Ranger Archival Inks: Fern Green, Mulberry, Peachy Keen, Periwinkle, Prickly Pear, Rosey Posey, and Sunflower
- Ranger Detail Blending Tools
- Ranger Make Art Staytion
- Memento ink pad – Tuxedo Black
- Ink Blending Brushes
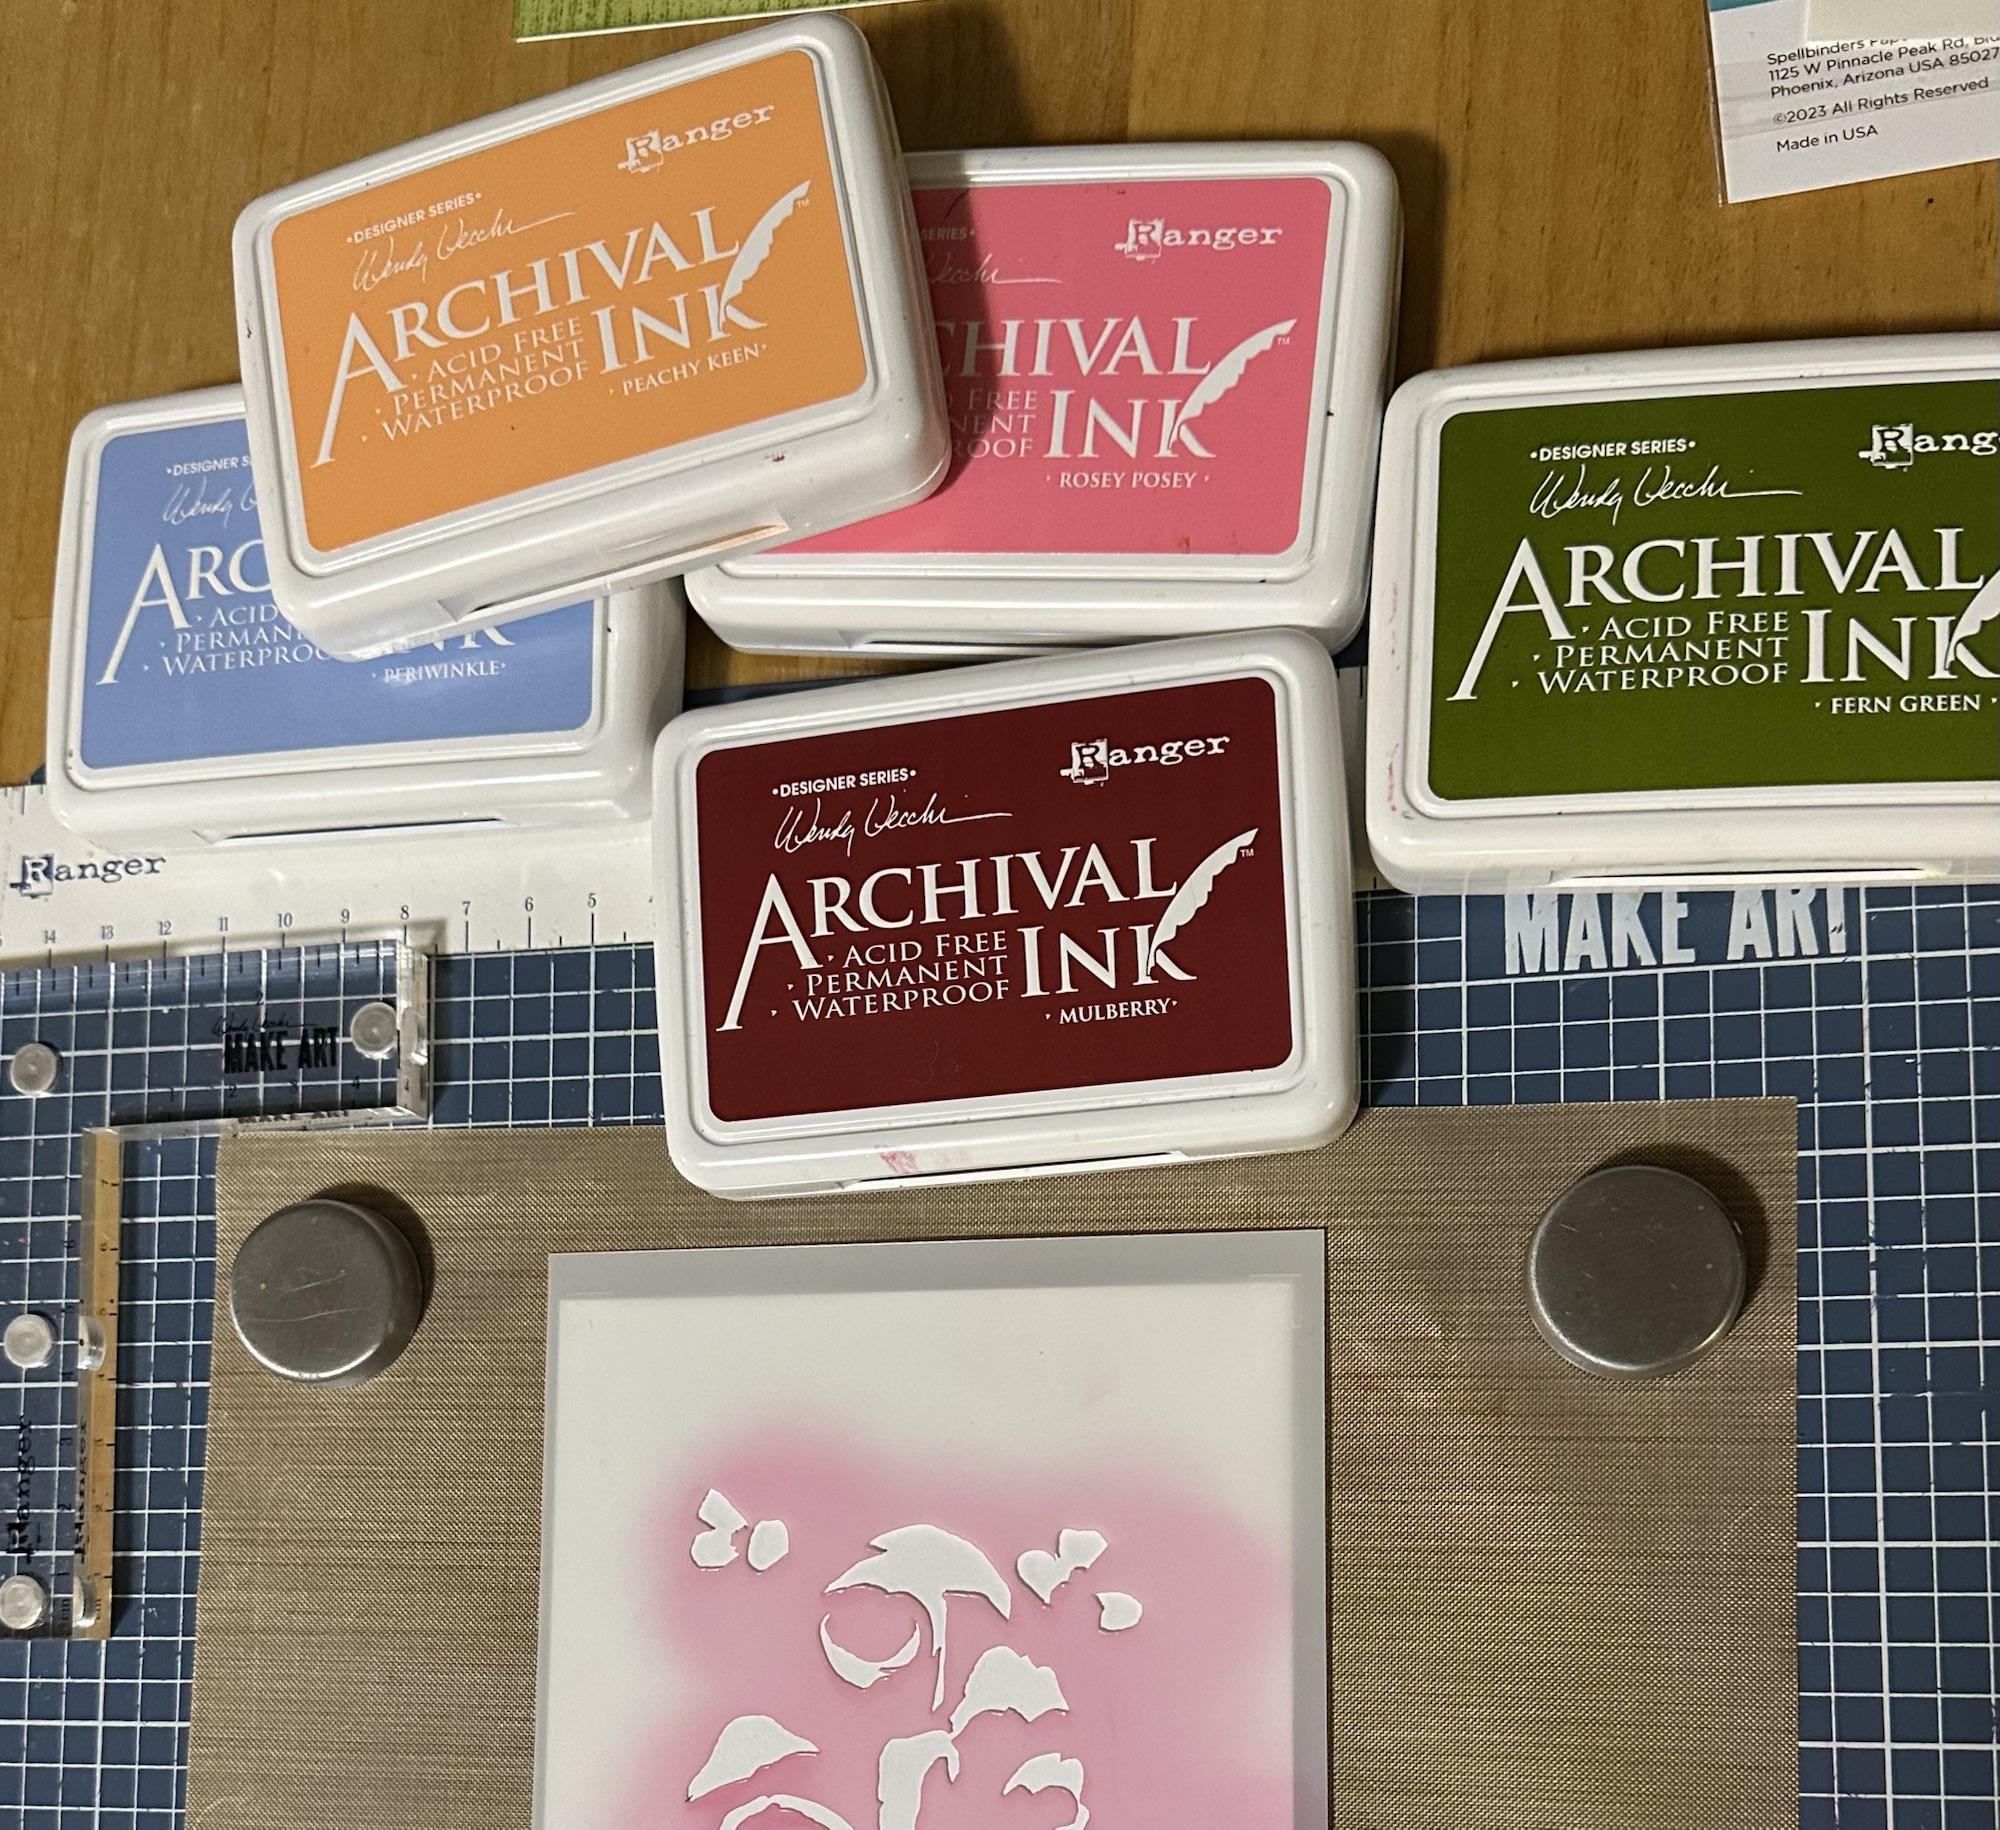
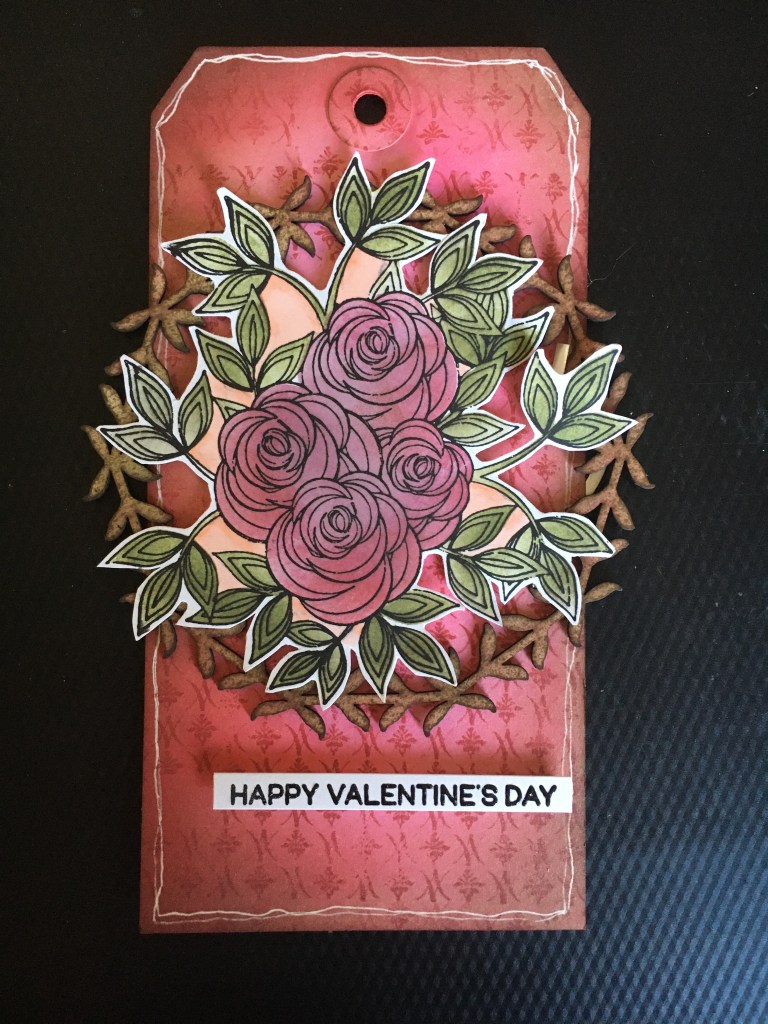
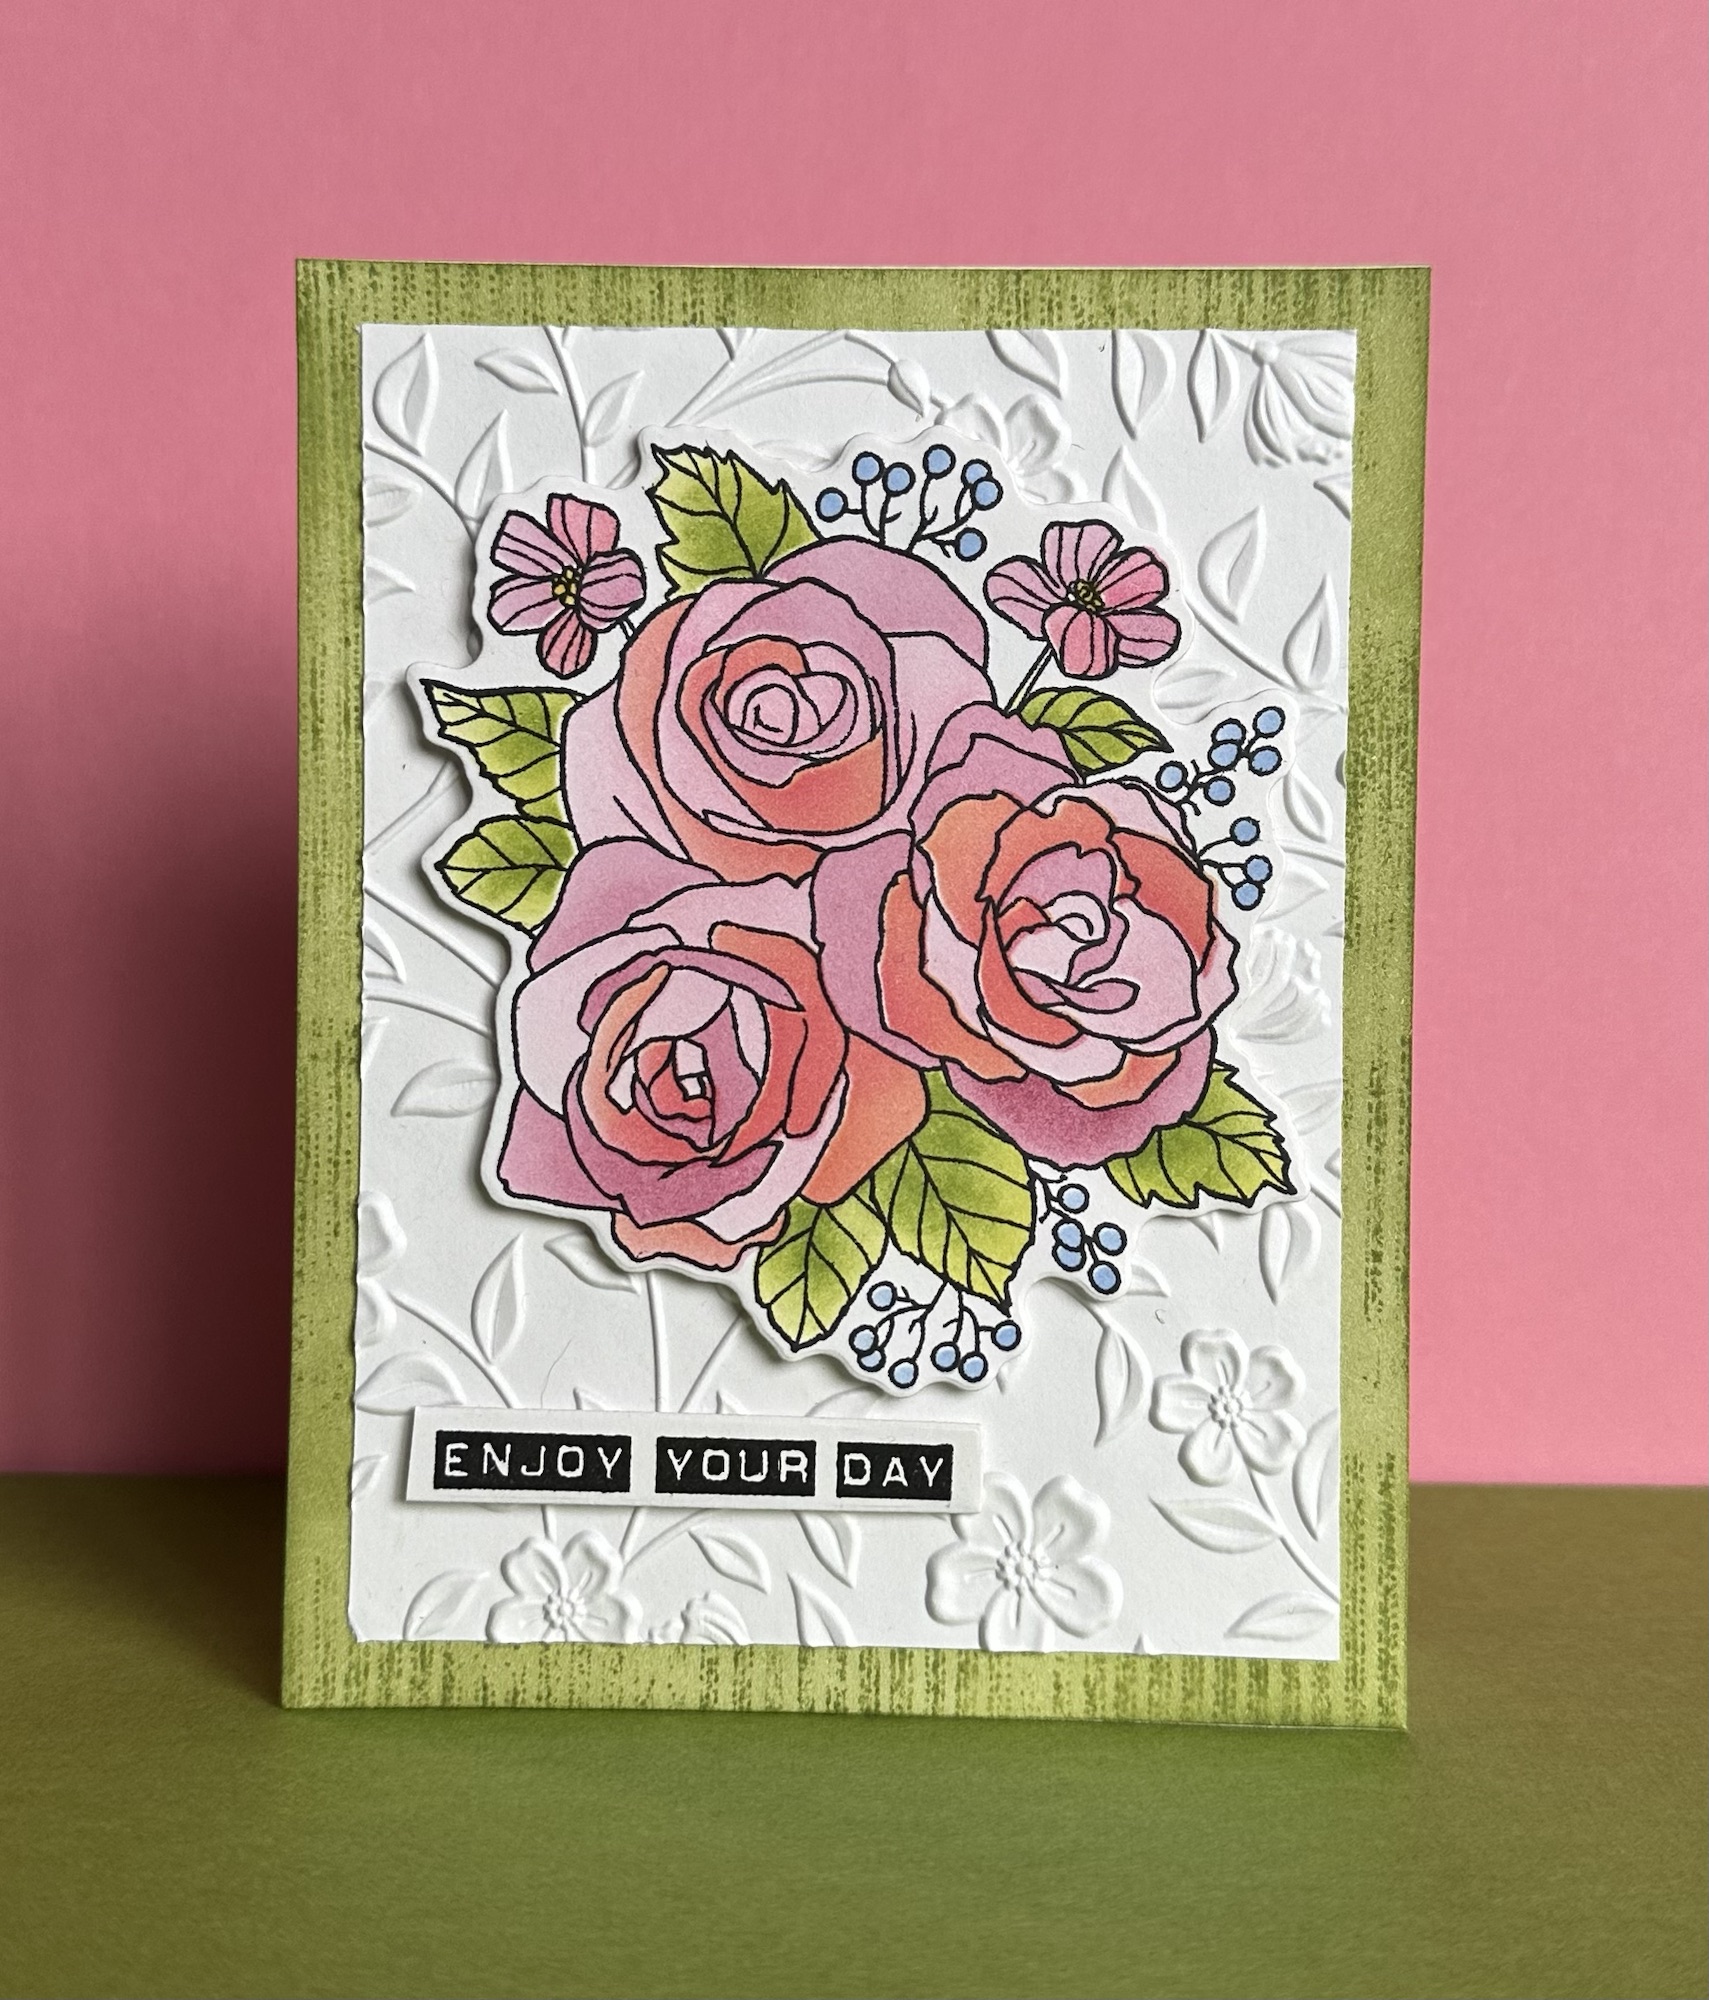
I began by stamping the floral image with a black Memento ink pad. I colored the stamped image with Ranger Archival inks using the layering stencil set. There are five stencils altogether in the set, so you can incorporate a lot of detail and many colors! I used blending brushes for laying down large areas of color, but to add some more shading and detail, I used the Detail Blending Tools (it is easiest to see on the leaves). The Archival inks The stencils line up like a dream and are very heavyweight. I used Wendy’s Make Art Staytion and magnets to hold my stencils in place and it worked beautifully as always. I never use layering stencils without it!

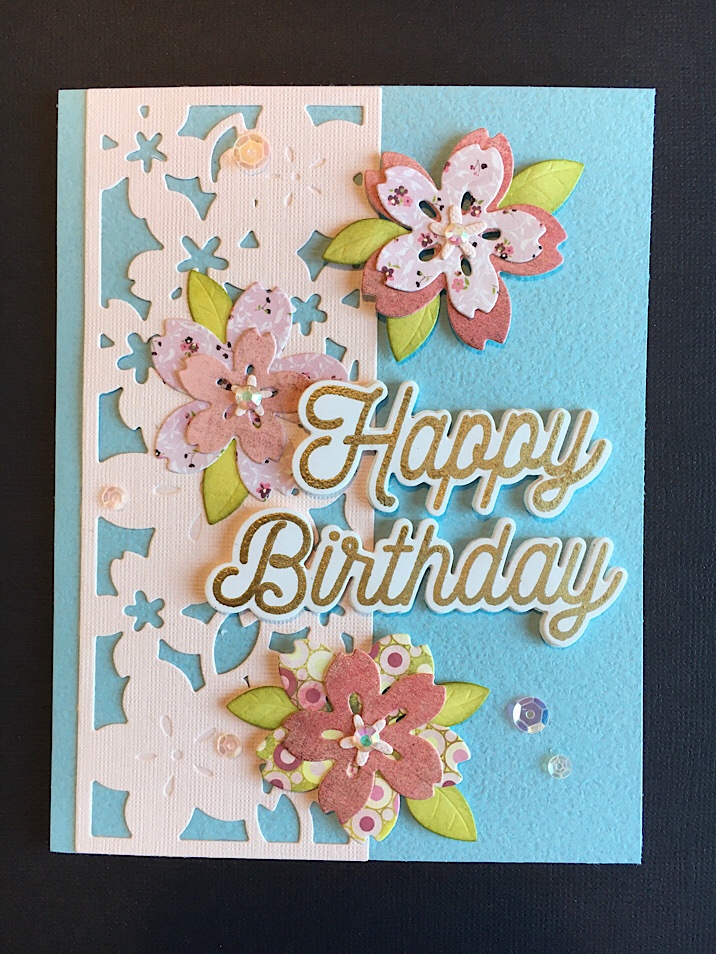
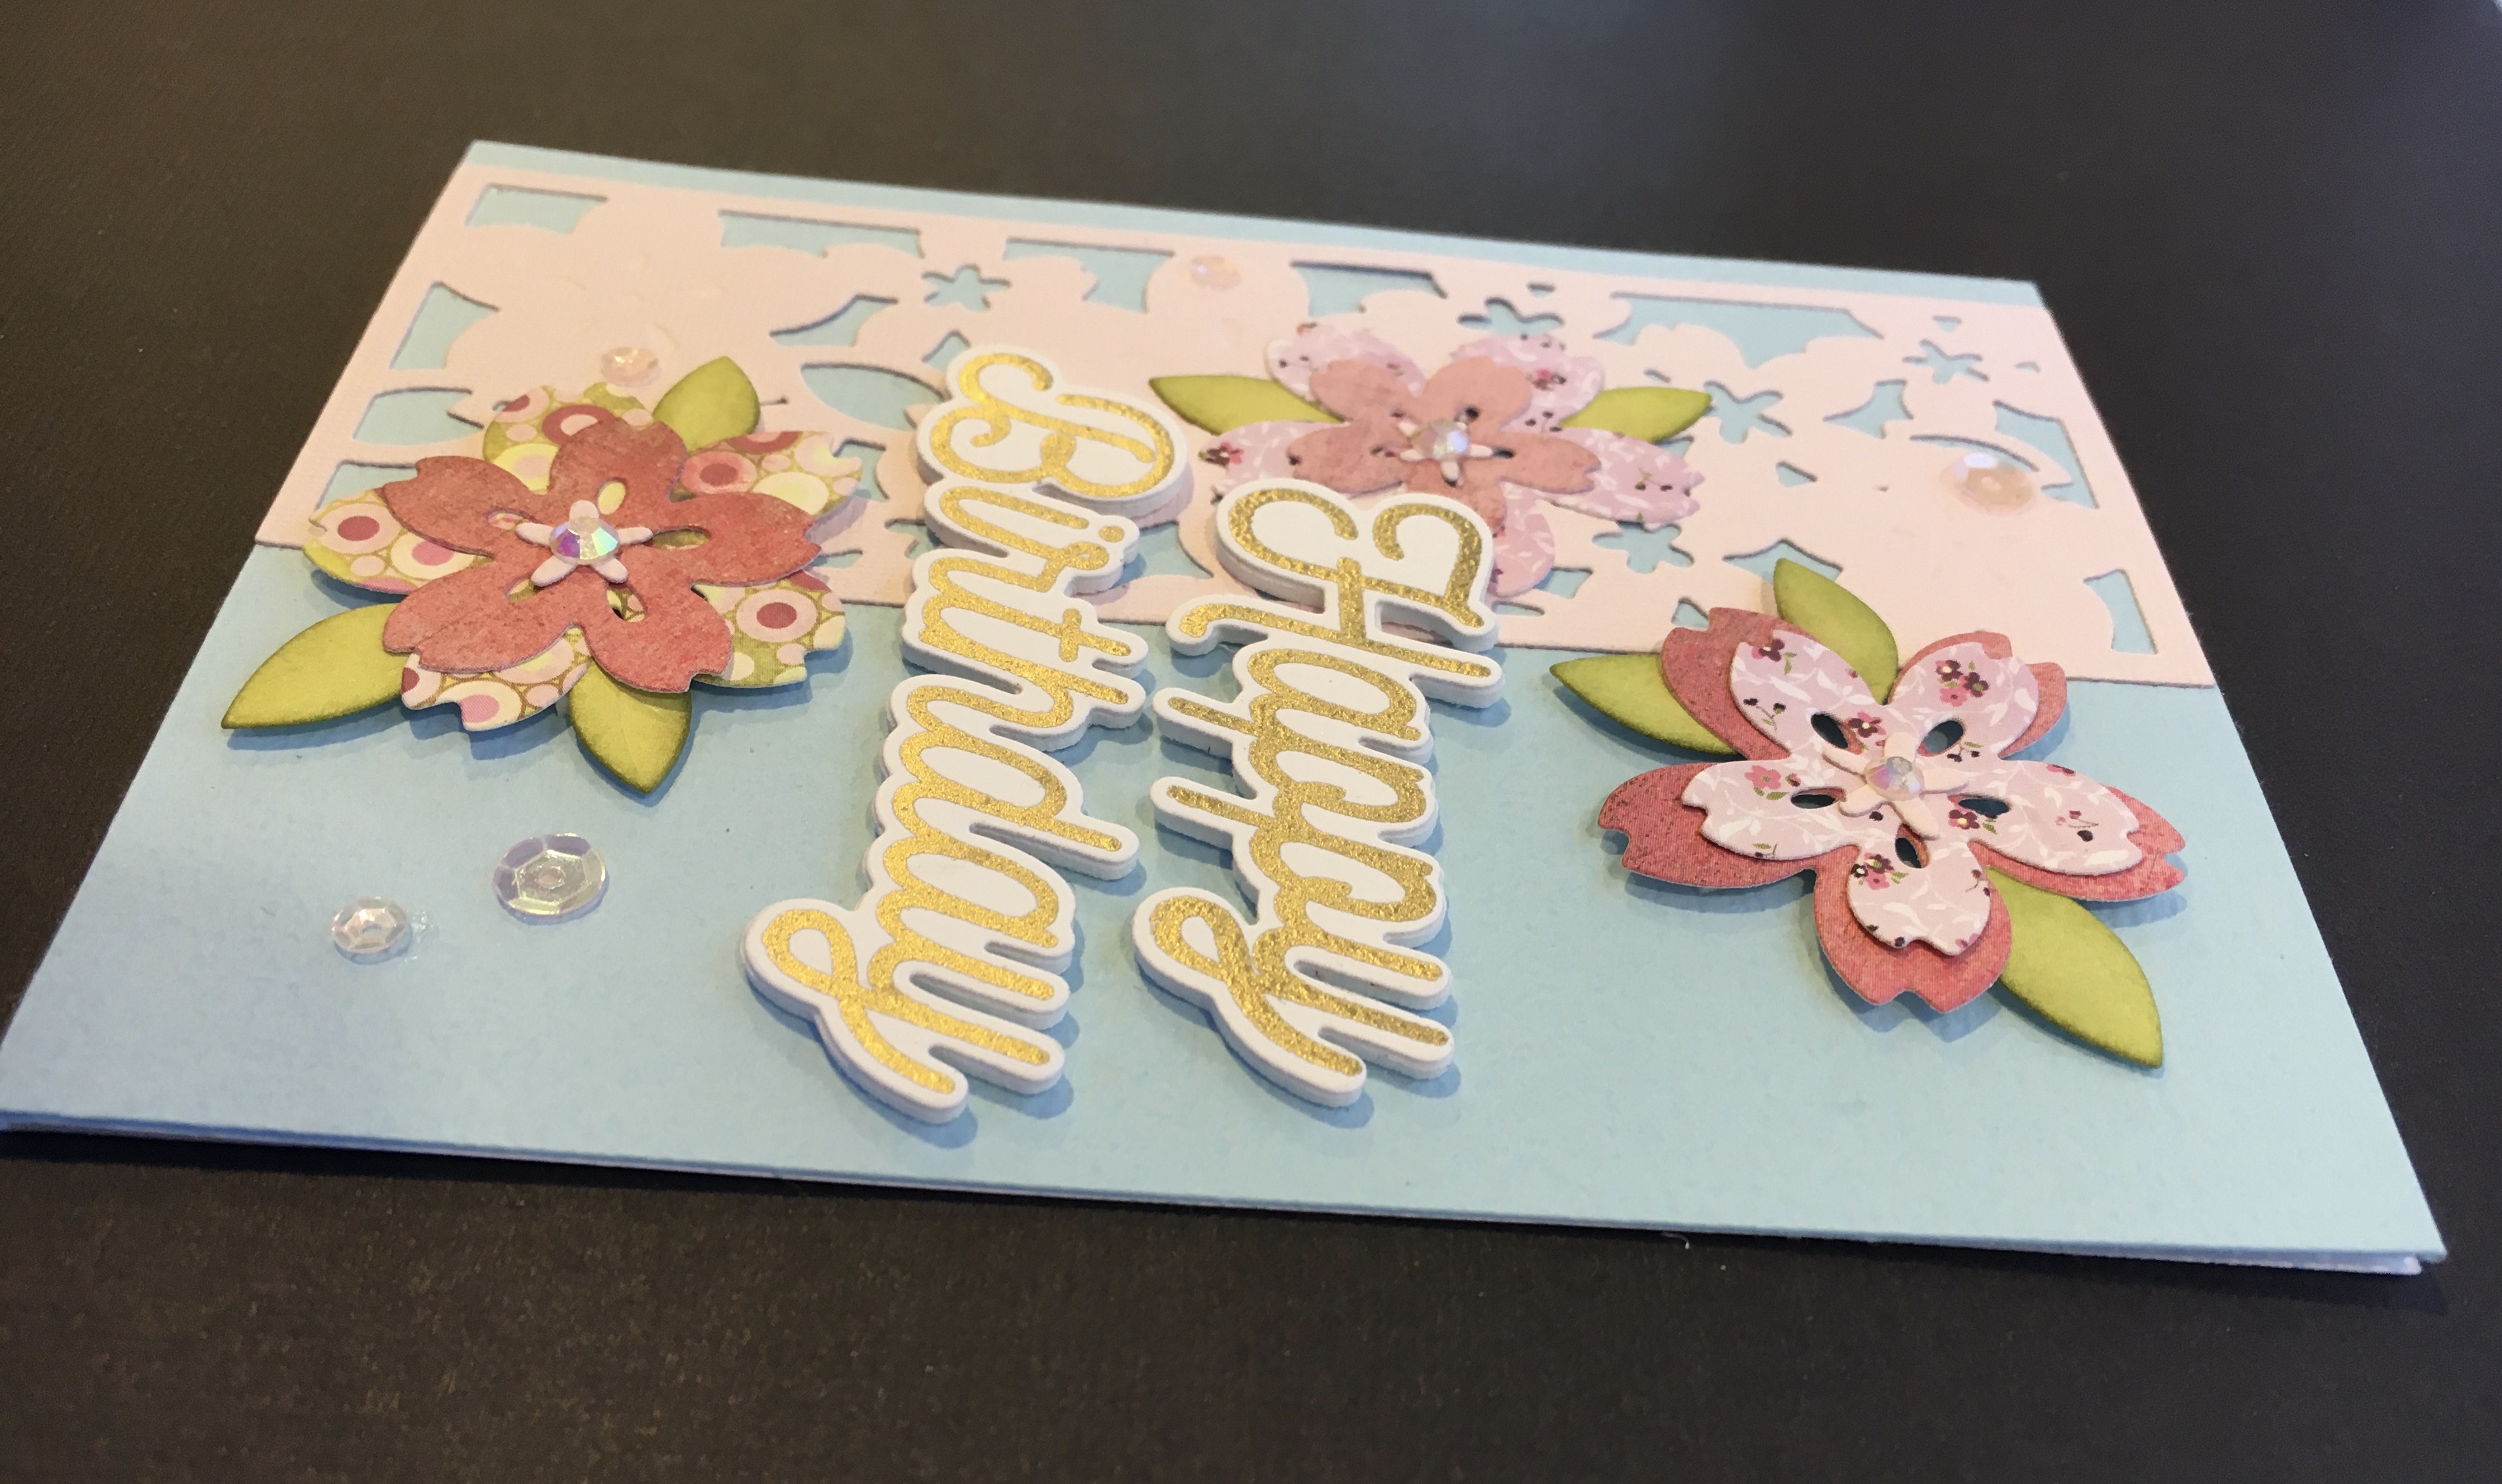
Once all of the coloring was done, I cut the image out with the accompanying die. I selected a sentiment from the set and stamped and die cut it as well. I decided to use the 3-D embossing folder from the new release and kept it white to show off the gorgeous image. To add another layer of color though, I created a striped background using Fern Green Archival ink blended onto white cardstock, and then I stamped it with Wendy’s Ticking background stamp from Stampers Anonymous. After I applied ink to the stamp, I spritzed it with a bit of rubbing alcohol to add a little interest and stamped it onto the green inked paper.
To assemble the card, I adhered the striped background to the card base, added the embossed layer on top of that and then I popped up both the image and the sentiment with dimensional foam tape. Very simple and elegant.
There are more die sets in the new Spellbinders release, so I am excited to create some more with those and to use these supplies some more as well.