Category Archives: Uncategorized

Leafy Heart Valentine

  • Dies –
    • Memory Box – Scallop Pinpoint Loving Heart Cut Out and Leafy Heart
    • Lawn Fawn – Valentine Borders
  • Patterned paper – My Mind’s Eye – Collectible
  • Cardstock – Bazzill and Bazzill Bling

I have really enjoyed making Valentines this year. I sent this one to my mom. I had a good time mixing and matching different products together to make this card. The main attraction is such a pretty leafy heart die from Memory Box! I look forward to making some other non-Valentine cards with it as well.

Thanks for visiting today.

Challenge: Memory Box Challenge #58: Hearts


Creativation 2020

I just returned from nearly a week in Phoenix. The reason for my trip was to attend Creativation with Christy from Runaway Art and Craft Studio. Creativation is a trade show and educational event for the creative business industry, which includes paper crafts, mixed media, baking, textiles, and more.My goal was to get lots of inspiration that will help me develop new classes this year. Many, many products are released at this show, so there wasn’t a shortage of inspiration! Christy ordered lots and lots of new stamps, stencils and supplies to share with customers in the coming months.

We went down a day early so we could go to the Phoenix Art Museum, which is becoming our tradition! There is a wonderful collection in the museum and it changes often, so there were a lot of new exhibits since were were there a year ago.

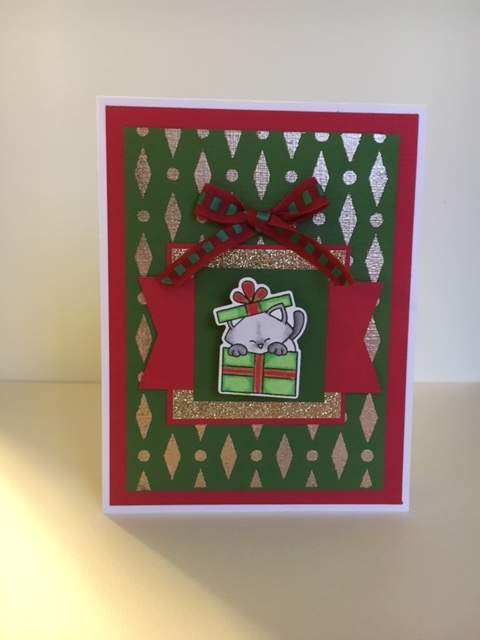
At Creativation I created 25 cards altogether. Most were in classes, but I also was able to visit some make and takes at vendor booths. I was able to take six card making workshops which were really outstanding. The companies who teach these classes do so with the full intention that we go back to our stores and teach these card designs and techniques in our own classes. Some details follow here.

Lawn Fawn

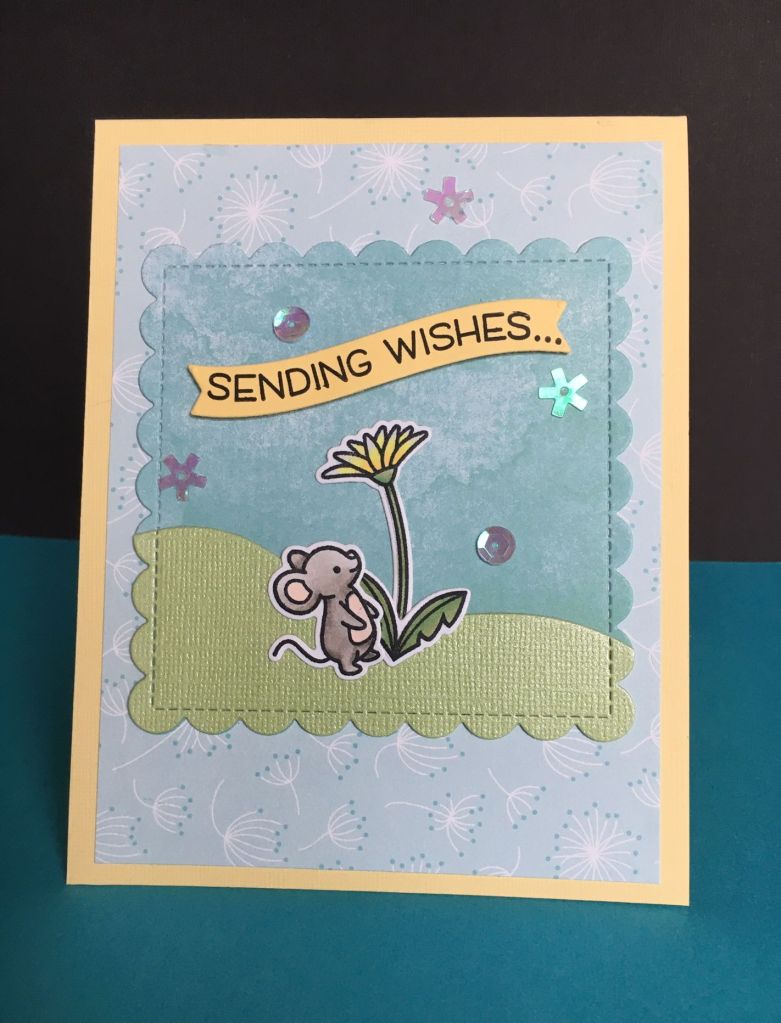
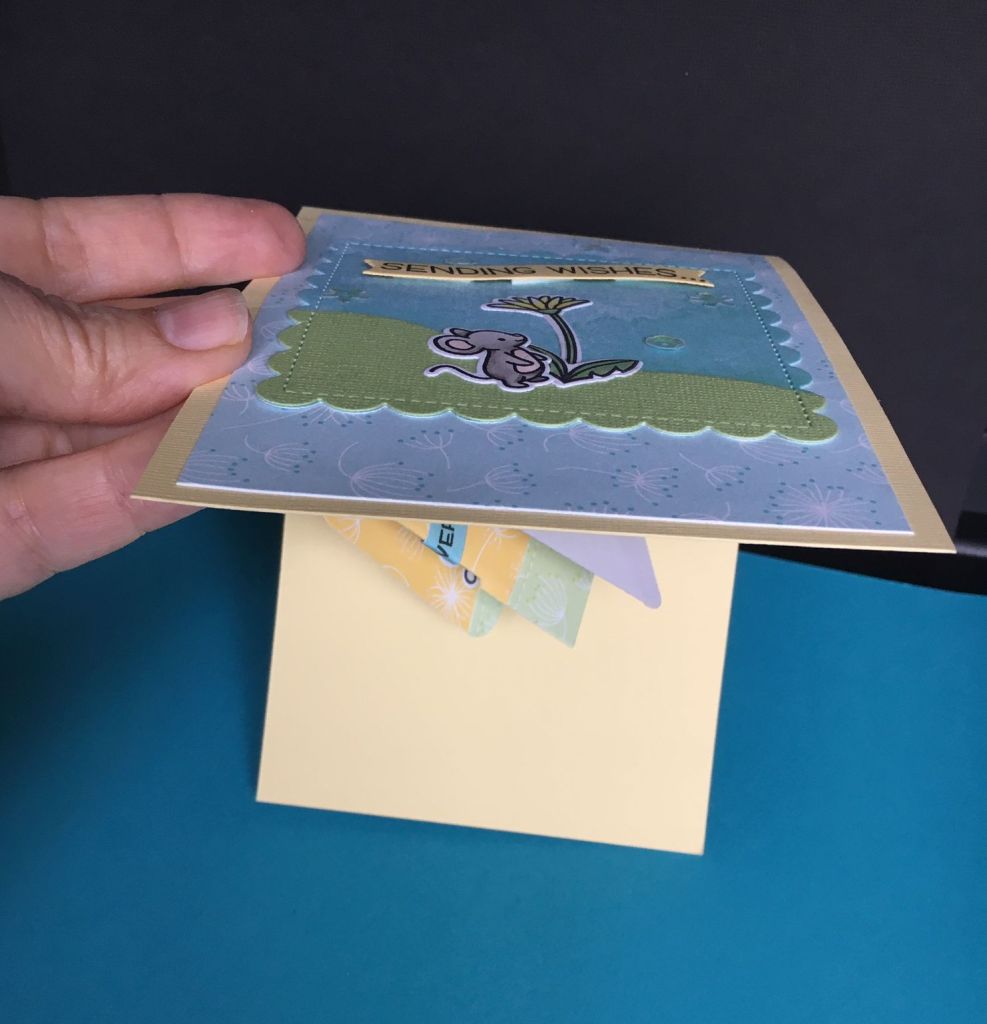
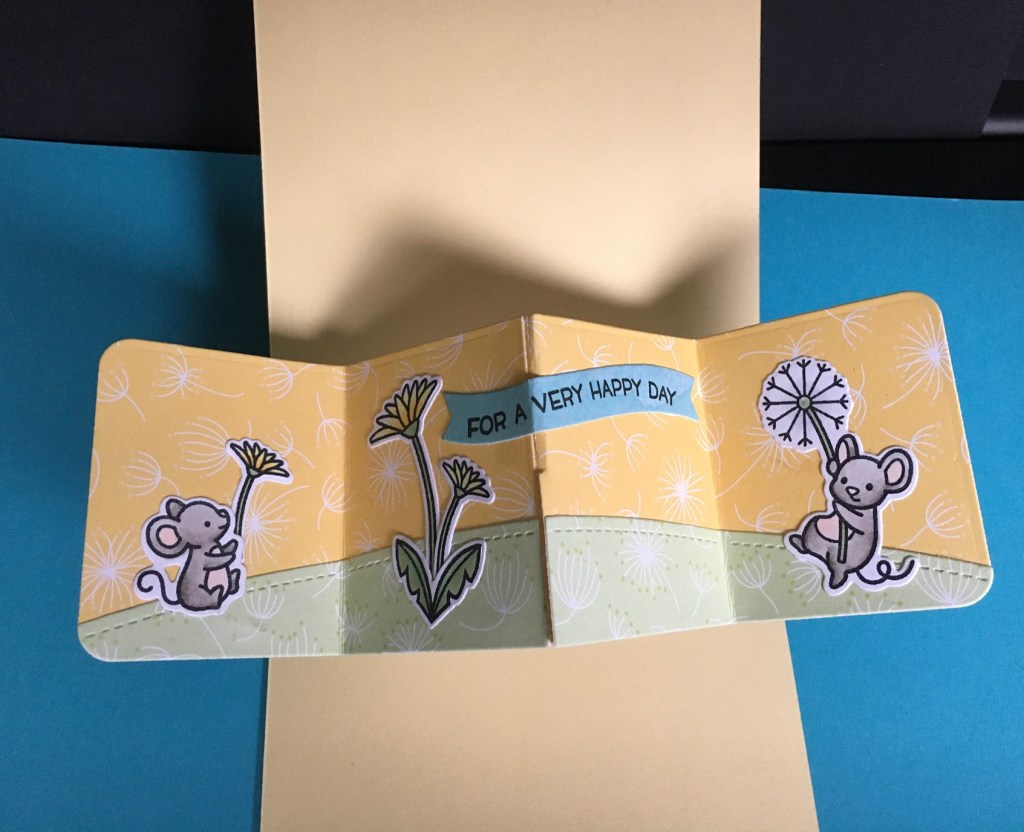
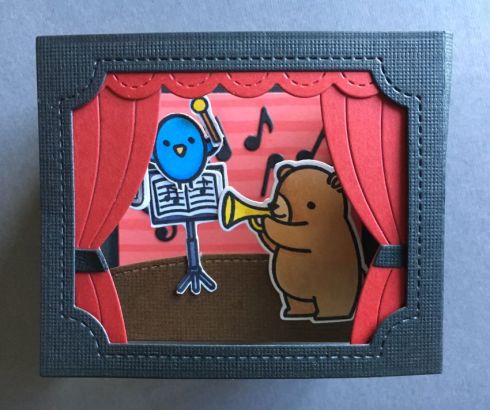
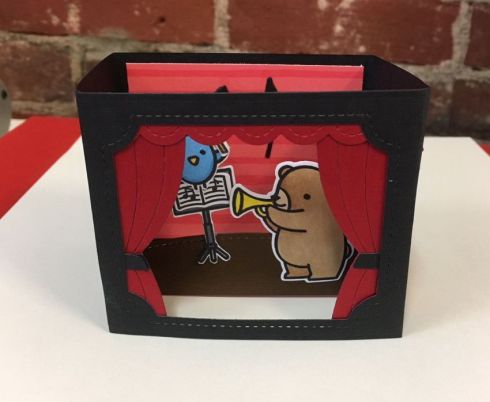
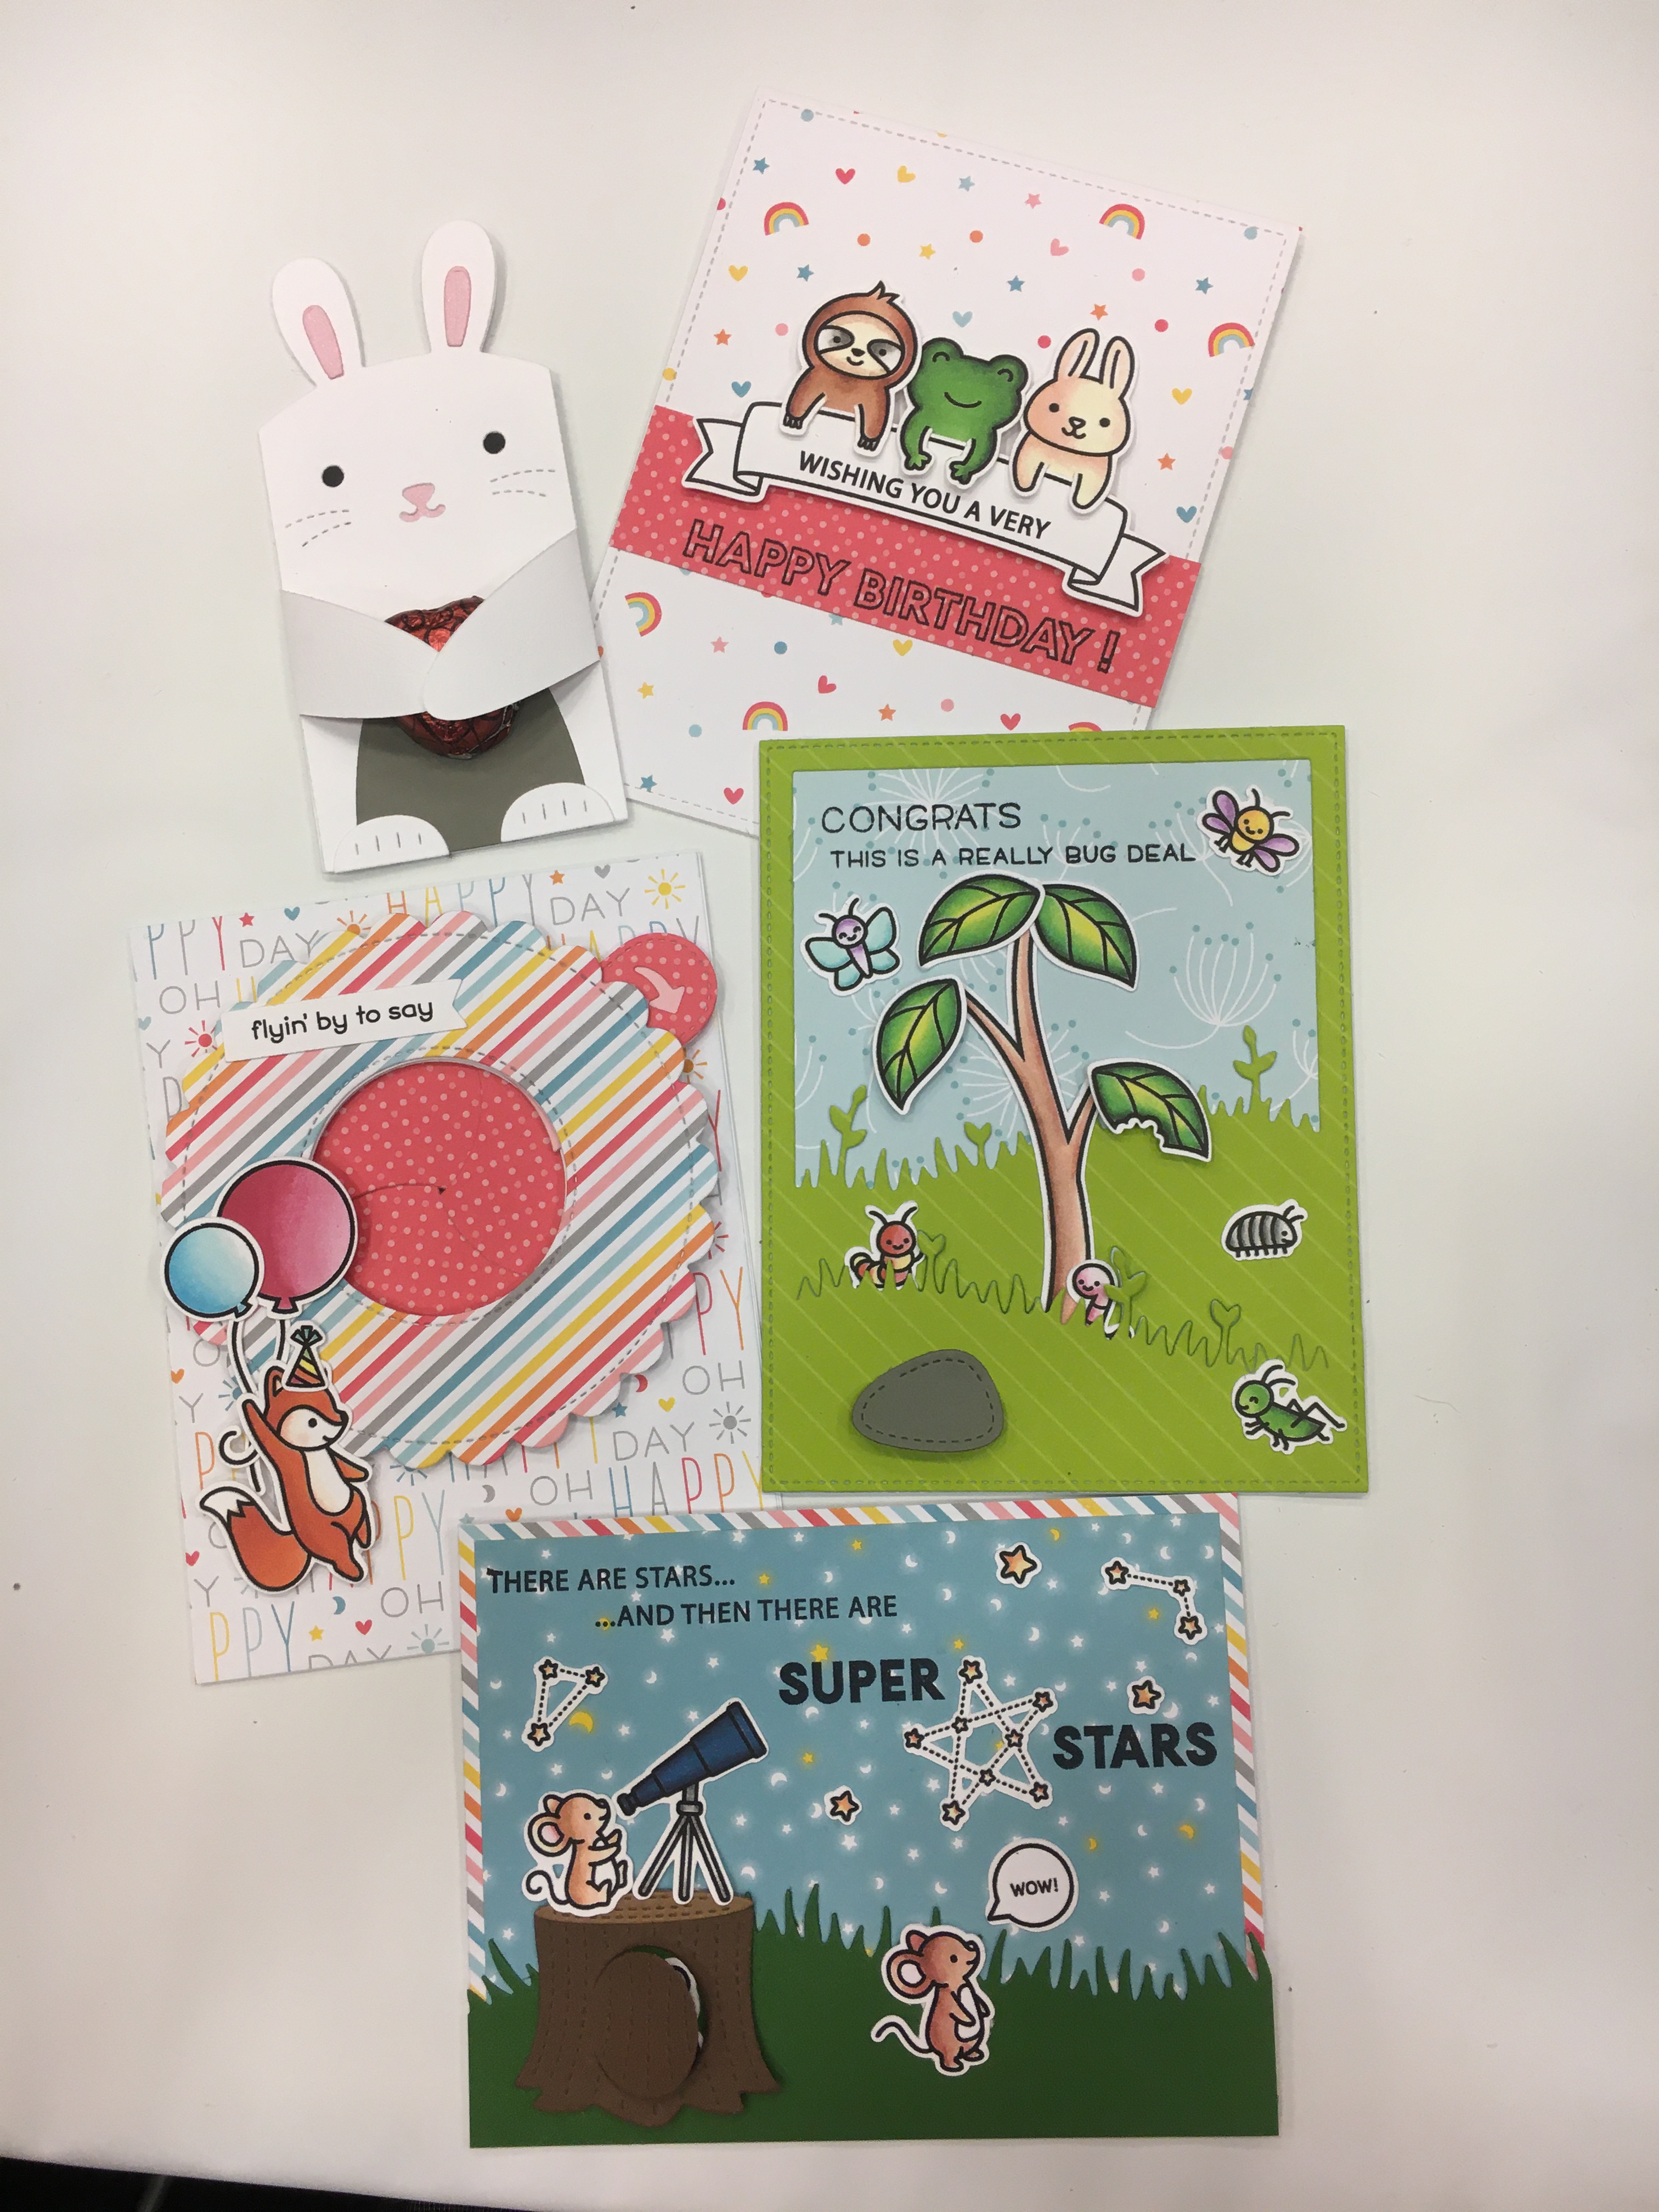
I had the opportunity to take two classes from Kelly Marie Alvarez and Jenn Shurkus with Lawn Fawn products. I made a total of nine cards in the two classes, and many of them were interactive.

Wendy Vecchi

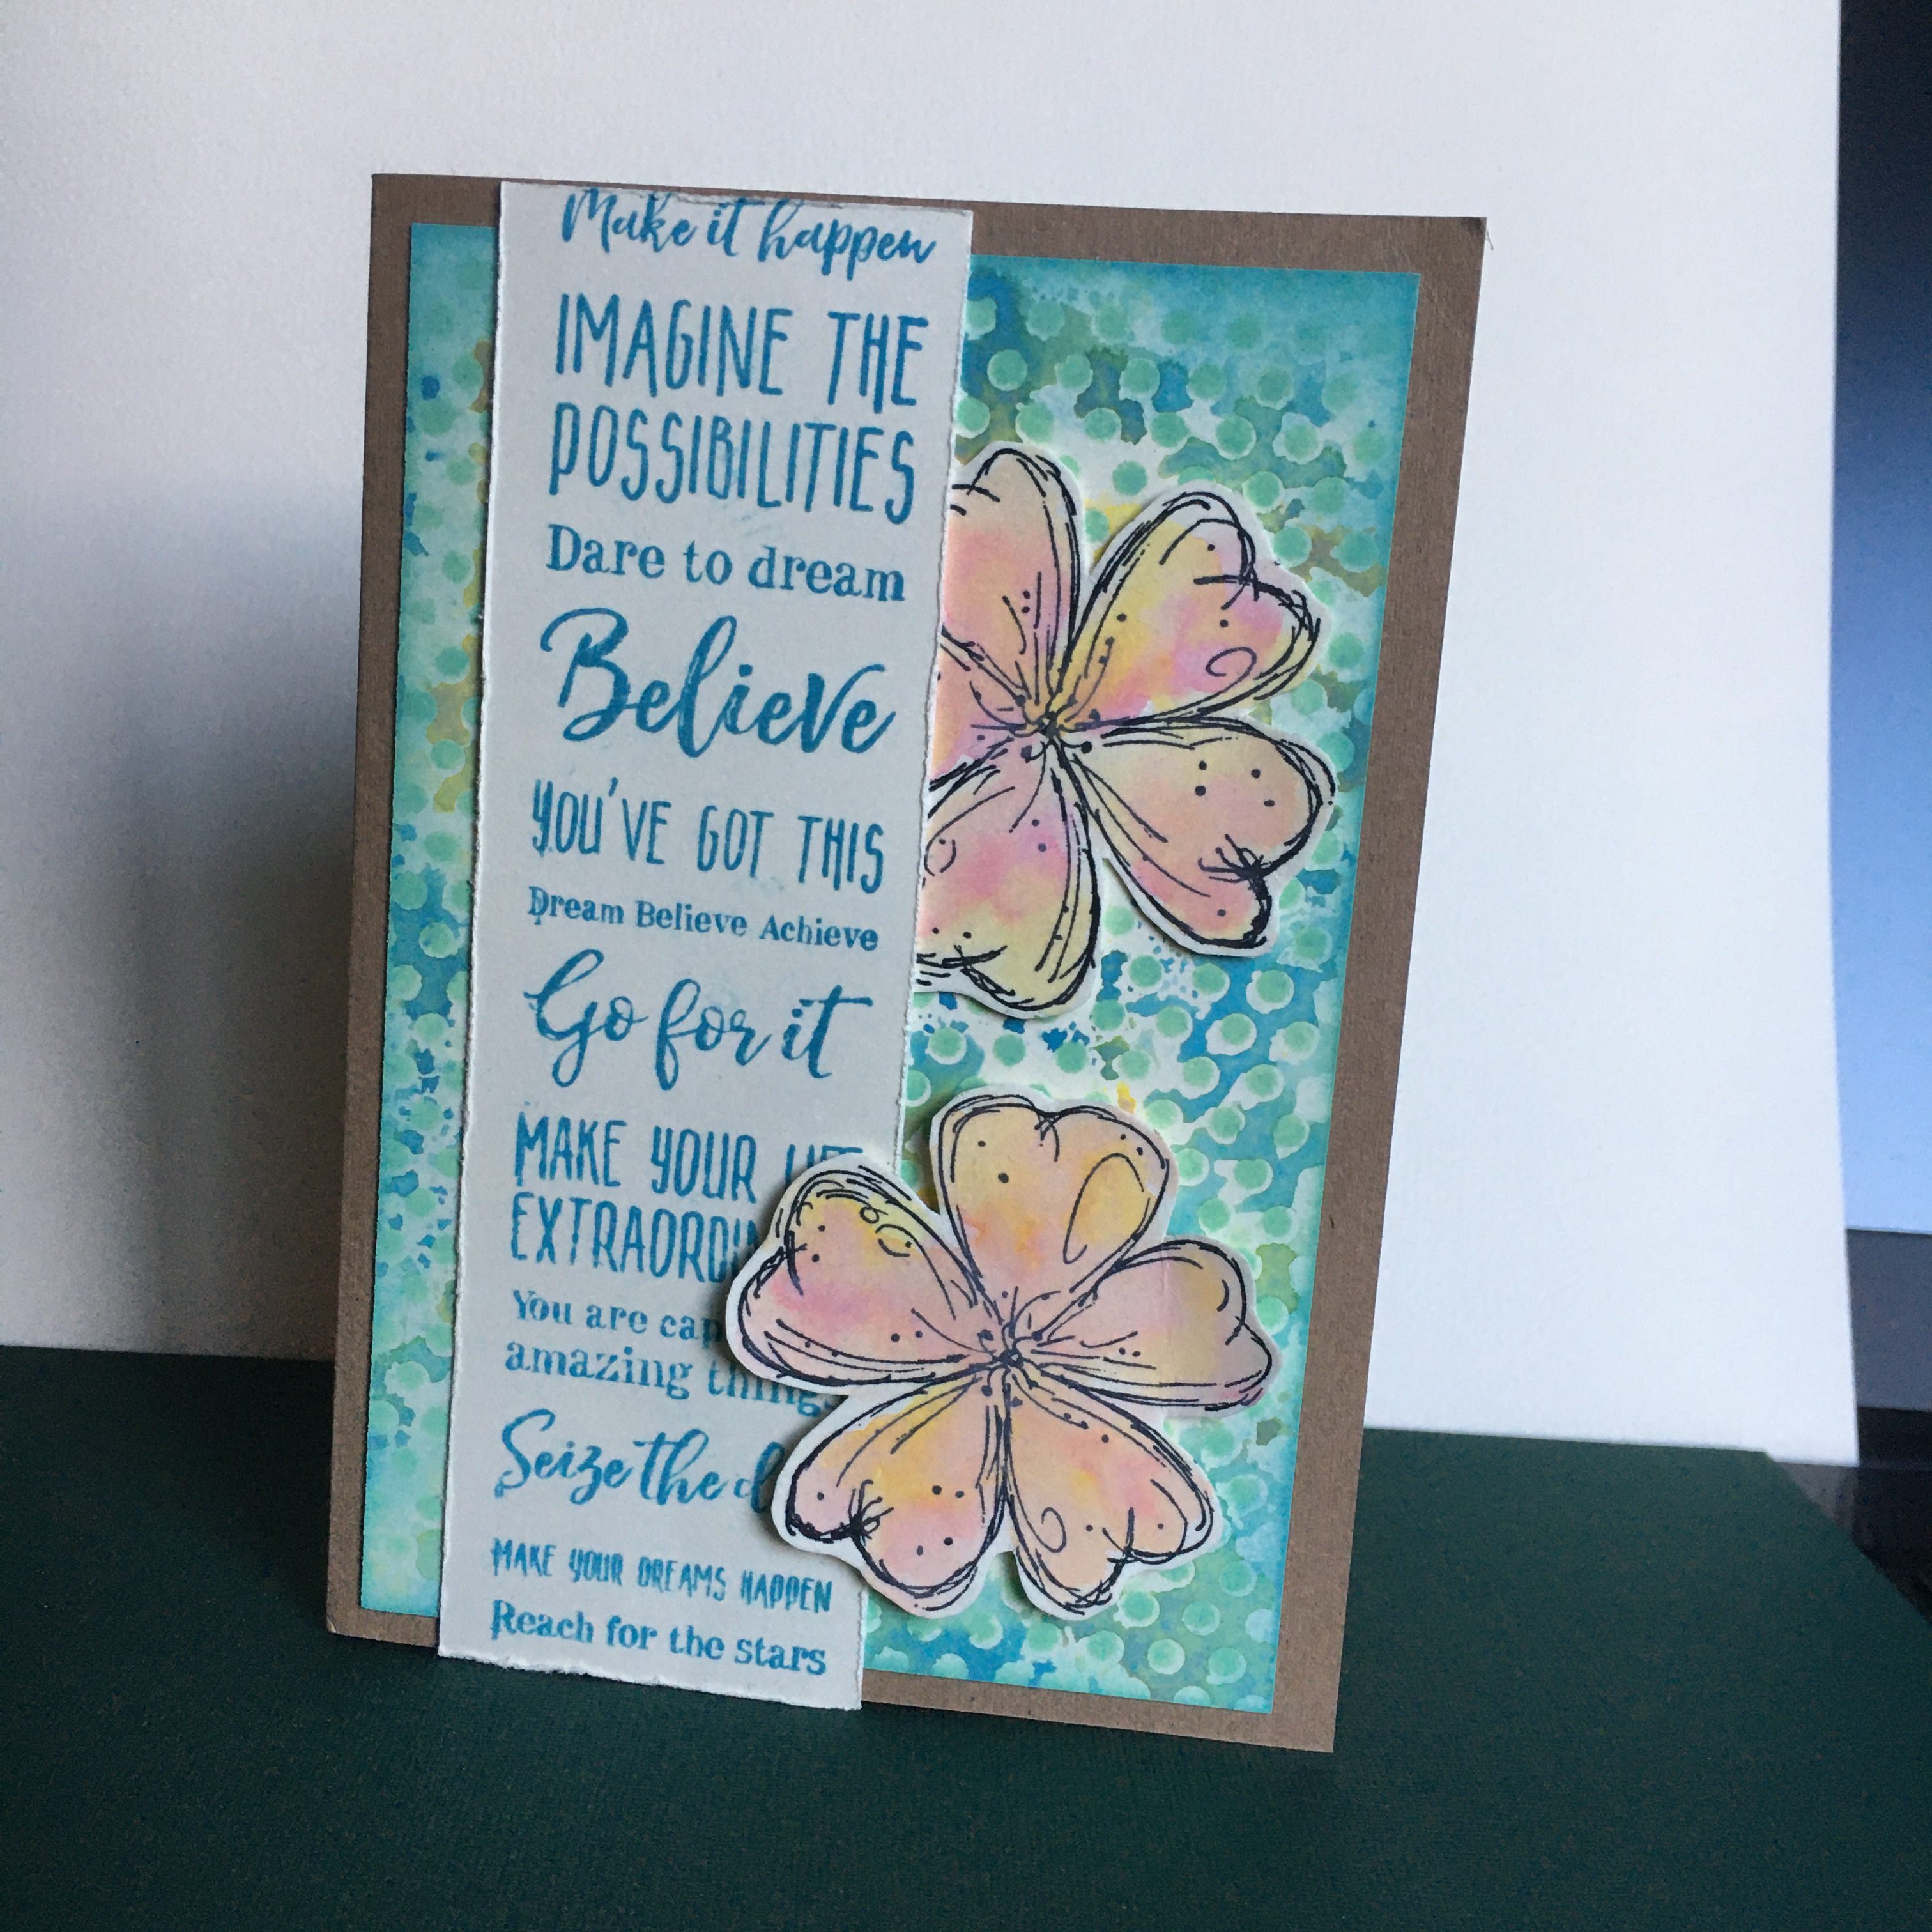
I had never taken a class from Wendy Vecchi, who is a talented designer and has a product line with Ranger Industries. I’ve always liked her stamp designs, so I was happy to be able to fit her class into my schedule despite the fact that her class began at 8 a.m. 😉 We colored her images by blending her inks and we got to use her stencils and stamps and Liquid Pearls. Here are the cards I made:

Darkroom Door

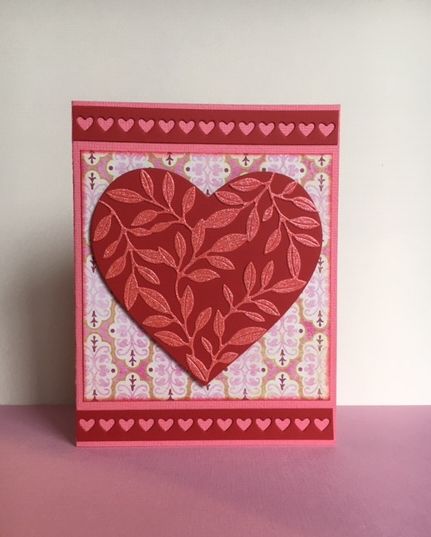
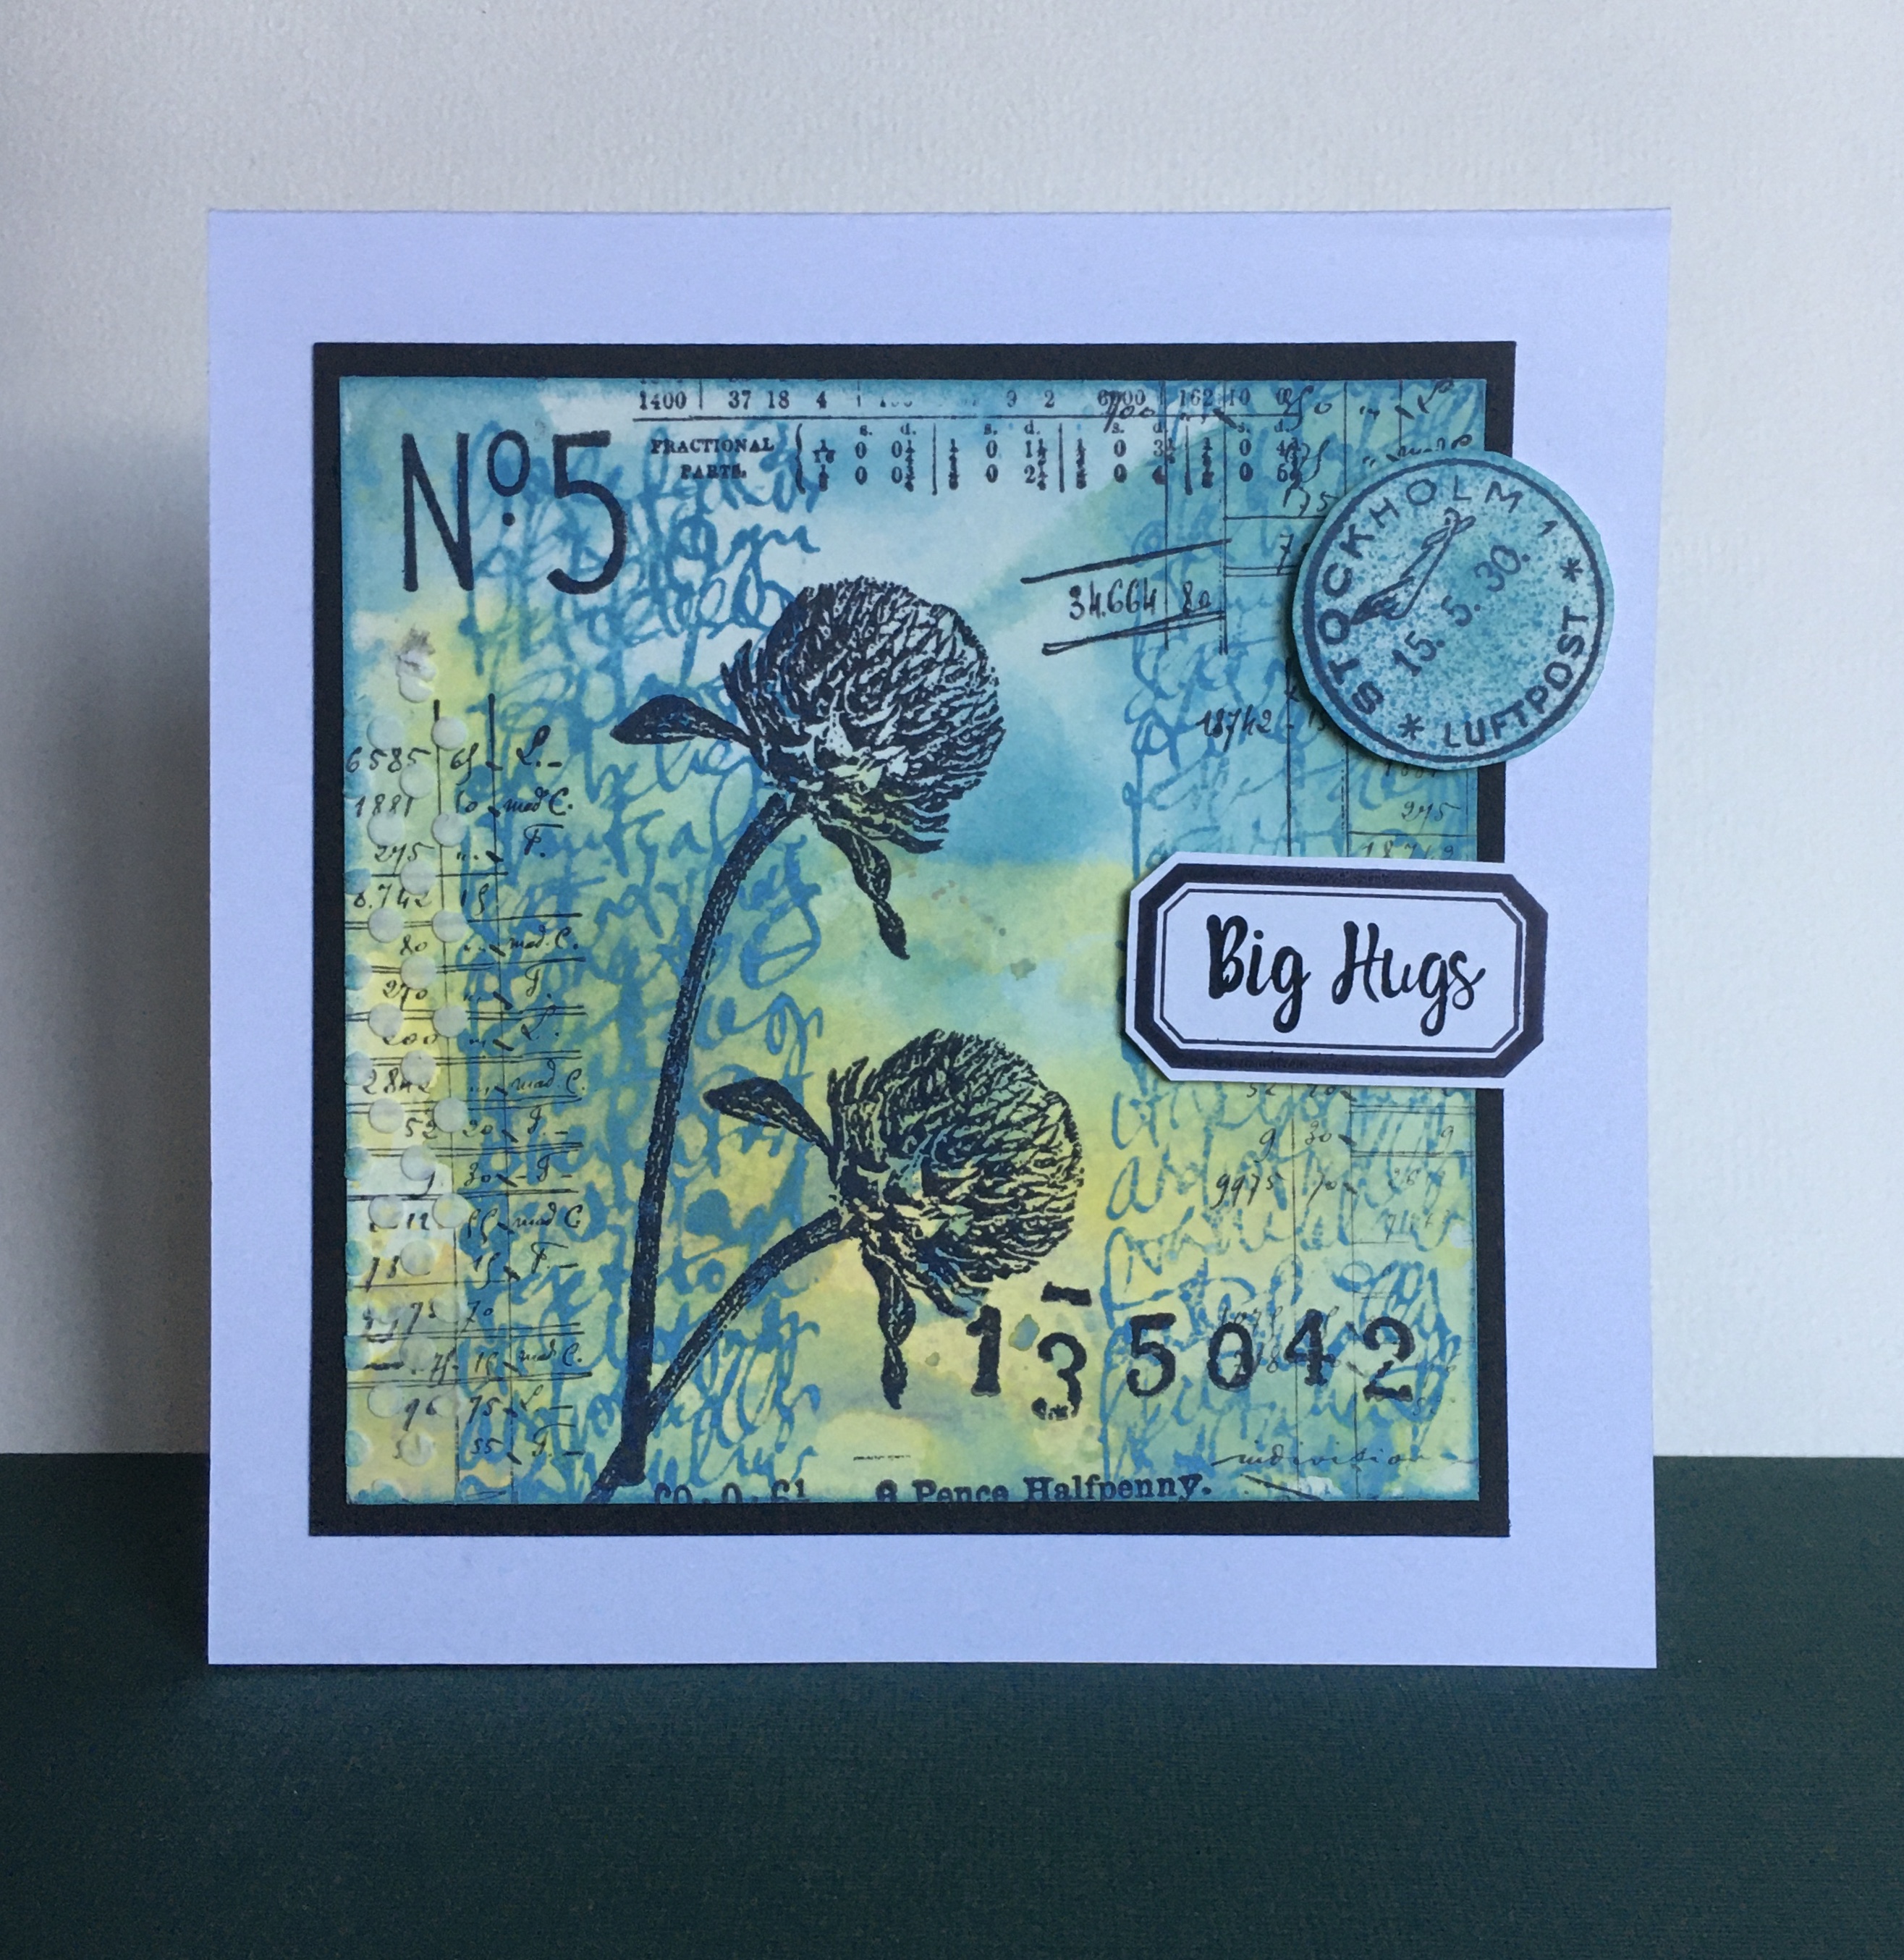
Darkroom Door is one of my absolute favorite stamp and stencil companies. Rachel Grieg owns the company and creates many of her stamps by using photographs that she has taken in her travels and in her native Australia. She taught the class and we used Distress Oxide Inks, Distress Oxide Ink Sprays and texture paste. I took a class from her last year at the show and always enjoy her style and stamps. Here are my cards from this class:

I’ll continue with more photos in an upcoming post. Thanks for visiting!


Cat in the Box!

  • Stamp and Die – Newton’s Nook “Purr-fect Present”
  • Stencil – Stampers Anonymous Tim Holtz Collection – Diamond Dot Layering Stencil
  • Embossing Powder – Gina K – Champagne
  • Mini Action Wobbles – Art Impressions
  • Ribbon
  • Glitter Cardstock – Paper Accents
  • Cardstock

I created this following the sketch for this month’s Inky Paws Challenge 111 on the Newton’s Nook blog. I really liked the layout of this sketch so when I saw it I knew I had to make a card! I colored the kitty with Copic markers and heat embossed some green cardstock with gold embossing powder for some elegant pattern. The really fun thing about this is that I attached an Action Wobble to the cat–so he wiggles! See below for a wiggly video! The small things in life make me happy!

I’ll be teaching how to make this card in early December at Runaway Art and Craft Studio, along with two other Christmas cards. Have a great day and thanks for stopping by!


Today is your Lucky Day


  • Patterned papers –
    • Authentique Shamrock Collection – Shamrock Five
    • Authentique Clover Collection – Clover Five (focal image)
  • Die – Art Impressions – Banner Double Stitched Dies
  • Doily – Doodlebug Designs
  • Twine – May Arts
  • Cardsotck –
    • Bazzill
    • Paper Accents Glitter Cardstock – Green

I really like the color green, so when I had a chance to use these Authentique papers to create a card for Runaway Art and Craft Studio, I was excited. This is a very simple card with small touches that make it special: glitter paper matting around the focal image, lovely patterned paper from Authentique, the doily and twine at the top, and that eye-catching banner die-cut I made with the new Art Impressions die. And everything is green! Thanks for visiting today.

Challenge – The Paper Players PP429 – Monochromatic Clean and Simple Challenge


Agapanthus Thank You

  • Stamps – Hero Arts – Beautiful Day Agapanthus
  • Cardstock –
    • BoBunny Periwinkle Double-Dot
    • Paper Accents White Glitter
  • Ribbon – May Arts
  • Ranger Distress Oxide Ink – Shaded Lilac
  • Ranger Stickles™ – Diamond
  • Copic markers

I began this card by stamping the lovely Hero Arts Agapanthus onto white cardstock and coloring it with Copic markers. I edged the white cardstock with Shaded Lilac Distress Oxide Ink to subtly repeat the flower color. I created a background using matching BoBunny dotted cardstock and “slats” of white sparkle cardstock, attaching the background to the card base. I popped up the focal image with dimensional adhesive and tied matching ribbon with a sheen at the top of the card. The final touch was adding some sparkle to the flowers with Diamond Stickles™ glitter glue. I like how the colors and sparkle all tie together to make a cohesive card. Thanks for stopping by today.

Challenge: A Blog Named Hero – Crafter’s Choice


Double-pleat fold birthday card

  • Dies – Spellbinders Swirl Happy Birthday Frame
  • Patterned paper – Graphic 45
  • Rhinestones
  • Cardstock – Bazzill Bling

I created this card using a folding technique I had never tried before. This is called a double-pleat fold. I belong to a cardmaking group online and periodically we propose challenges to the group. During our fifth anniversary celebration recently, someone had a challenge to create a card featuring a fancy fold. This is the fold I chose. At first I thought it would be really difficult, but once I read through the instructions, I was able to create it without problem. I adhered the frame die-cut down onto the card base and then added the pleated piece. Having double-sided paper for the pleated piece made it finished very nicely. Once that was all adhered, I topped it off with the sentiment die-cut, which is really striking. I love this die set from Spellbinders! I added a few rhinestones on points on the die-cuts to add a little sparkle. I really enjoyed this fold and will definitely make some more cards using it.

Thanks for stopping by!

Challenge: Always Happy Birthday – November Challenge


Mixed Media Tags 2018

  • Prima Marketing silicone mould: Vintage Art Decor “Trifles”
  • Prima Marketing Paper Clay
  • Prima Art Alchemy Acrylic Paint: Mermaid Sparkle and Metallique Deep Waters
  • Stencils: Stampers Anonymous/Tim Holtz – “String” and “Houndstooth”
  • Texture Paste – Finnabair Art Basics Light Paste Opaque Matte
  • Ranger Distress Inks
  • Handmade (by me) collage tissue
  • Tissue wrap – Tim Holtz Ideaology “Postale”
  • Sequins

I created this pair of tags by layering papers, paint and ink and then topping them off with a painted piece that I molded from paper clay. I began by adhering some collage tissue and Tim Holtz patterned tissue wrap. I applied Distress Inks and then added some texture paste through a stencil. I painted the paper clay pieces with metallic paints and adhered them, along with the sequins. I inked the edges of the tags and tied some ribbon at the top of each.

For a closer look, here are some additional photos.


Thanks for stopping by.

Challeges:

Simon Says Stamp Wednesday Challenge: Anything Goes

The Vintage Journey: Tag Friday Special


Butterfly Birthday 2018

  • Stamps:
    • Stampington & Co. Christine Adolph “Ledger Butterfly”
    • Spellbinders “Wishing Expressions” stamp and die set
  • Die – Spellbinders “Wishing Expressions” stamp and die set
  • Tim Holtz Ideaology Collage Paper – Floral
  • My handmade collage paper
  • Perfect Pearls Mists “Bronze”
  • Tattered Angels Glimmer Mist “Creme de Chocolat”
  • Cardstock

This is one of my favorite kinds of cards to make: mixed media. I layered my handmade collage tissue paper and some Tim Holtz collage paper onto cardstock with matte gel medium. I stamped the butterfly on a piece of tissue and adhered it with gel medium as well. After the piece dried, I sprayed it with the metallic inks and also inked the edges with black ink. I then added the die cut word and stamped sentiment and put the card together. Thanks for visiting.

Challenges:

Happy Little Stampers August Mixed Media Challenge – Words

Everybody-Art-Challenge #429 – Say it in words


Little Band Shadow Box


  • Stamps – Lawn Fawn “Critter Concert”
  • Dies – Lawn Fawn “Critter Concert,” “Shadow Box Card,” “Shadow Box Card Theater Add-On,” and “Little Music Notes”
  • Patterned paper – Lawn Fawn “Really Rainbow” petite paper pad
  • Cardstock

I love the Lawn Fawn stamp and die sets featuring talented animals playing band instruments. They’re the best! Then when I saw the little theater stage pieces that I could add onto the shadow box, I knew I had to build one! The really cool thing is that it will fold flat and slip right into an envelope if I want to mail one to someone.

Here is a shot from above the box–it is hard to share a good view of this little 3-D box.

I colored the animals with Copic markers. I then created a small scene on the stage with the bear and bird, and also decorated the sides of the box with other animals in the band and some musical notes. It is so fun to work with these critters and the little theater. Thanks for stopping by.

Challenge: Lawn Fawnatics Challenge #33: Fun Folds


Deepest Thanks Lift the Flap Card


  • Stamps – Lawn Fawn: “You are Sublime,” and “Push Here” sets
  • Dies – Lawn Fawn: “You are Sublime,” “Lift the Flap Circles,” and “Porthole Frames”
  • Copic markers
  • Embossing powder – Ranger -Silver Pearl
  • Cardstock – BoBunny and Paper Accents

This card was very fun to make. I die-cut the round flap, making a window in the top piece of grey cardstock. I colored my cast of characters with Copic markers and created the scene with the sea creatures in a layer underneath on light blue cardstock and adhered it behind the opening in the grey cardstock. I added the porthole frame around the circle flap and stamped “open” on the flap tab. The tab can then be tucked into the porthole frame. I colored the submarine image with metallic gel pens and adhered it to the outside of the flap. I then stamped and heat embossed the sentiment, adhering it to the bottom of the front panel. I then adhered the grey cardstock to the polka-dot, top fold card base. As always, Lawn Fawn has produced some great stamps and dies to create scenes with. I’m only getting started! Thanks for visiting.

Challenges:

Lawn Fawnatics Challenge #32 – Inspiration Board

Create and Makes Challenge #22 “Anything Goes”

Paper Craft Crew Challenge #297 “By the Sea”