Stamp and Die set – Spellbinders Many Birthdays (Happy Birthday sentiment)
Die set – Spellbinders Sakura Blossoms
Patterned papers – Basic Grey 6 X 6″ pads: Eva, Blush, and Infuse
Sequins – Little Things from Lucy’s Cards (lucys-shop.com) – Tiara
Foam – Spellbinders Pop-Up Die Cutting Foam Sheets
Cardstock – Bazzill
Gold embossing powder – Lawn Fawn
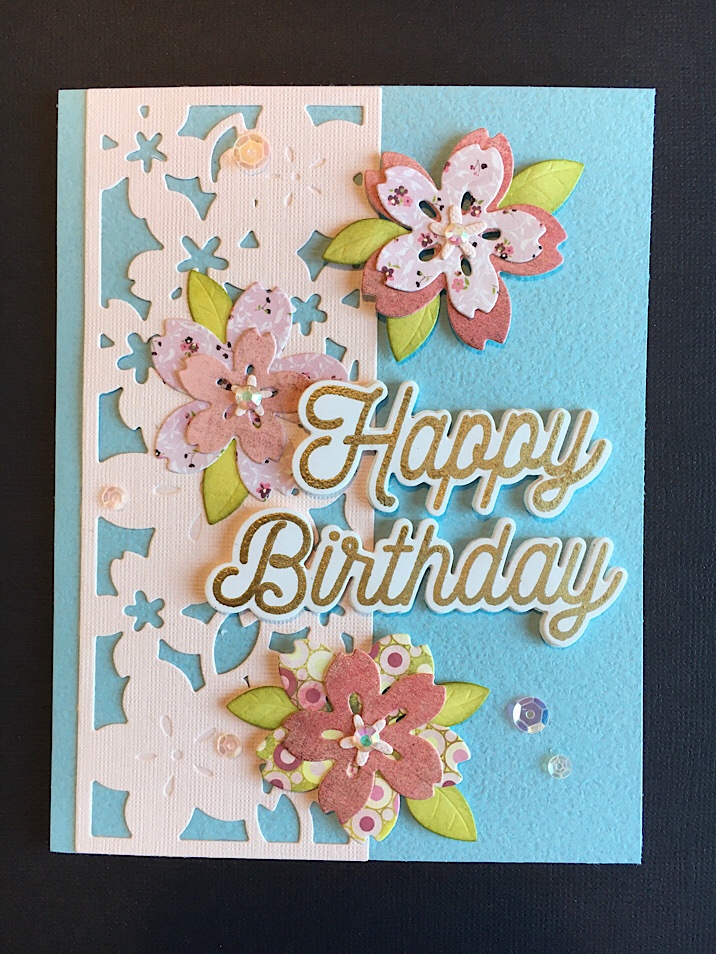
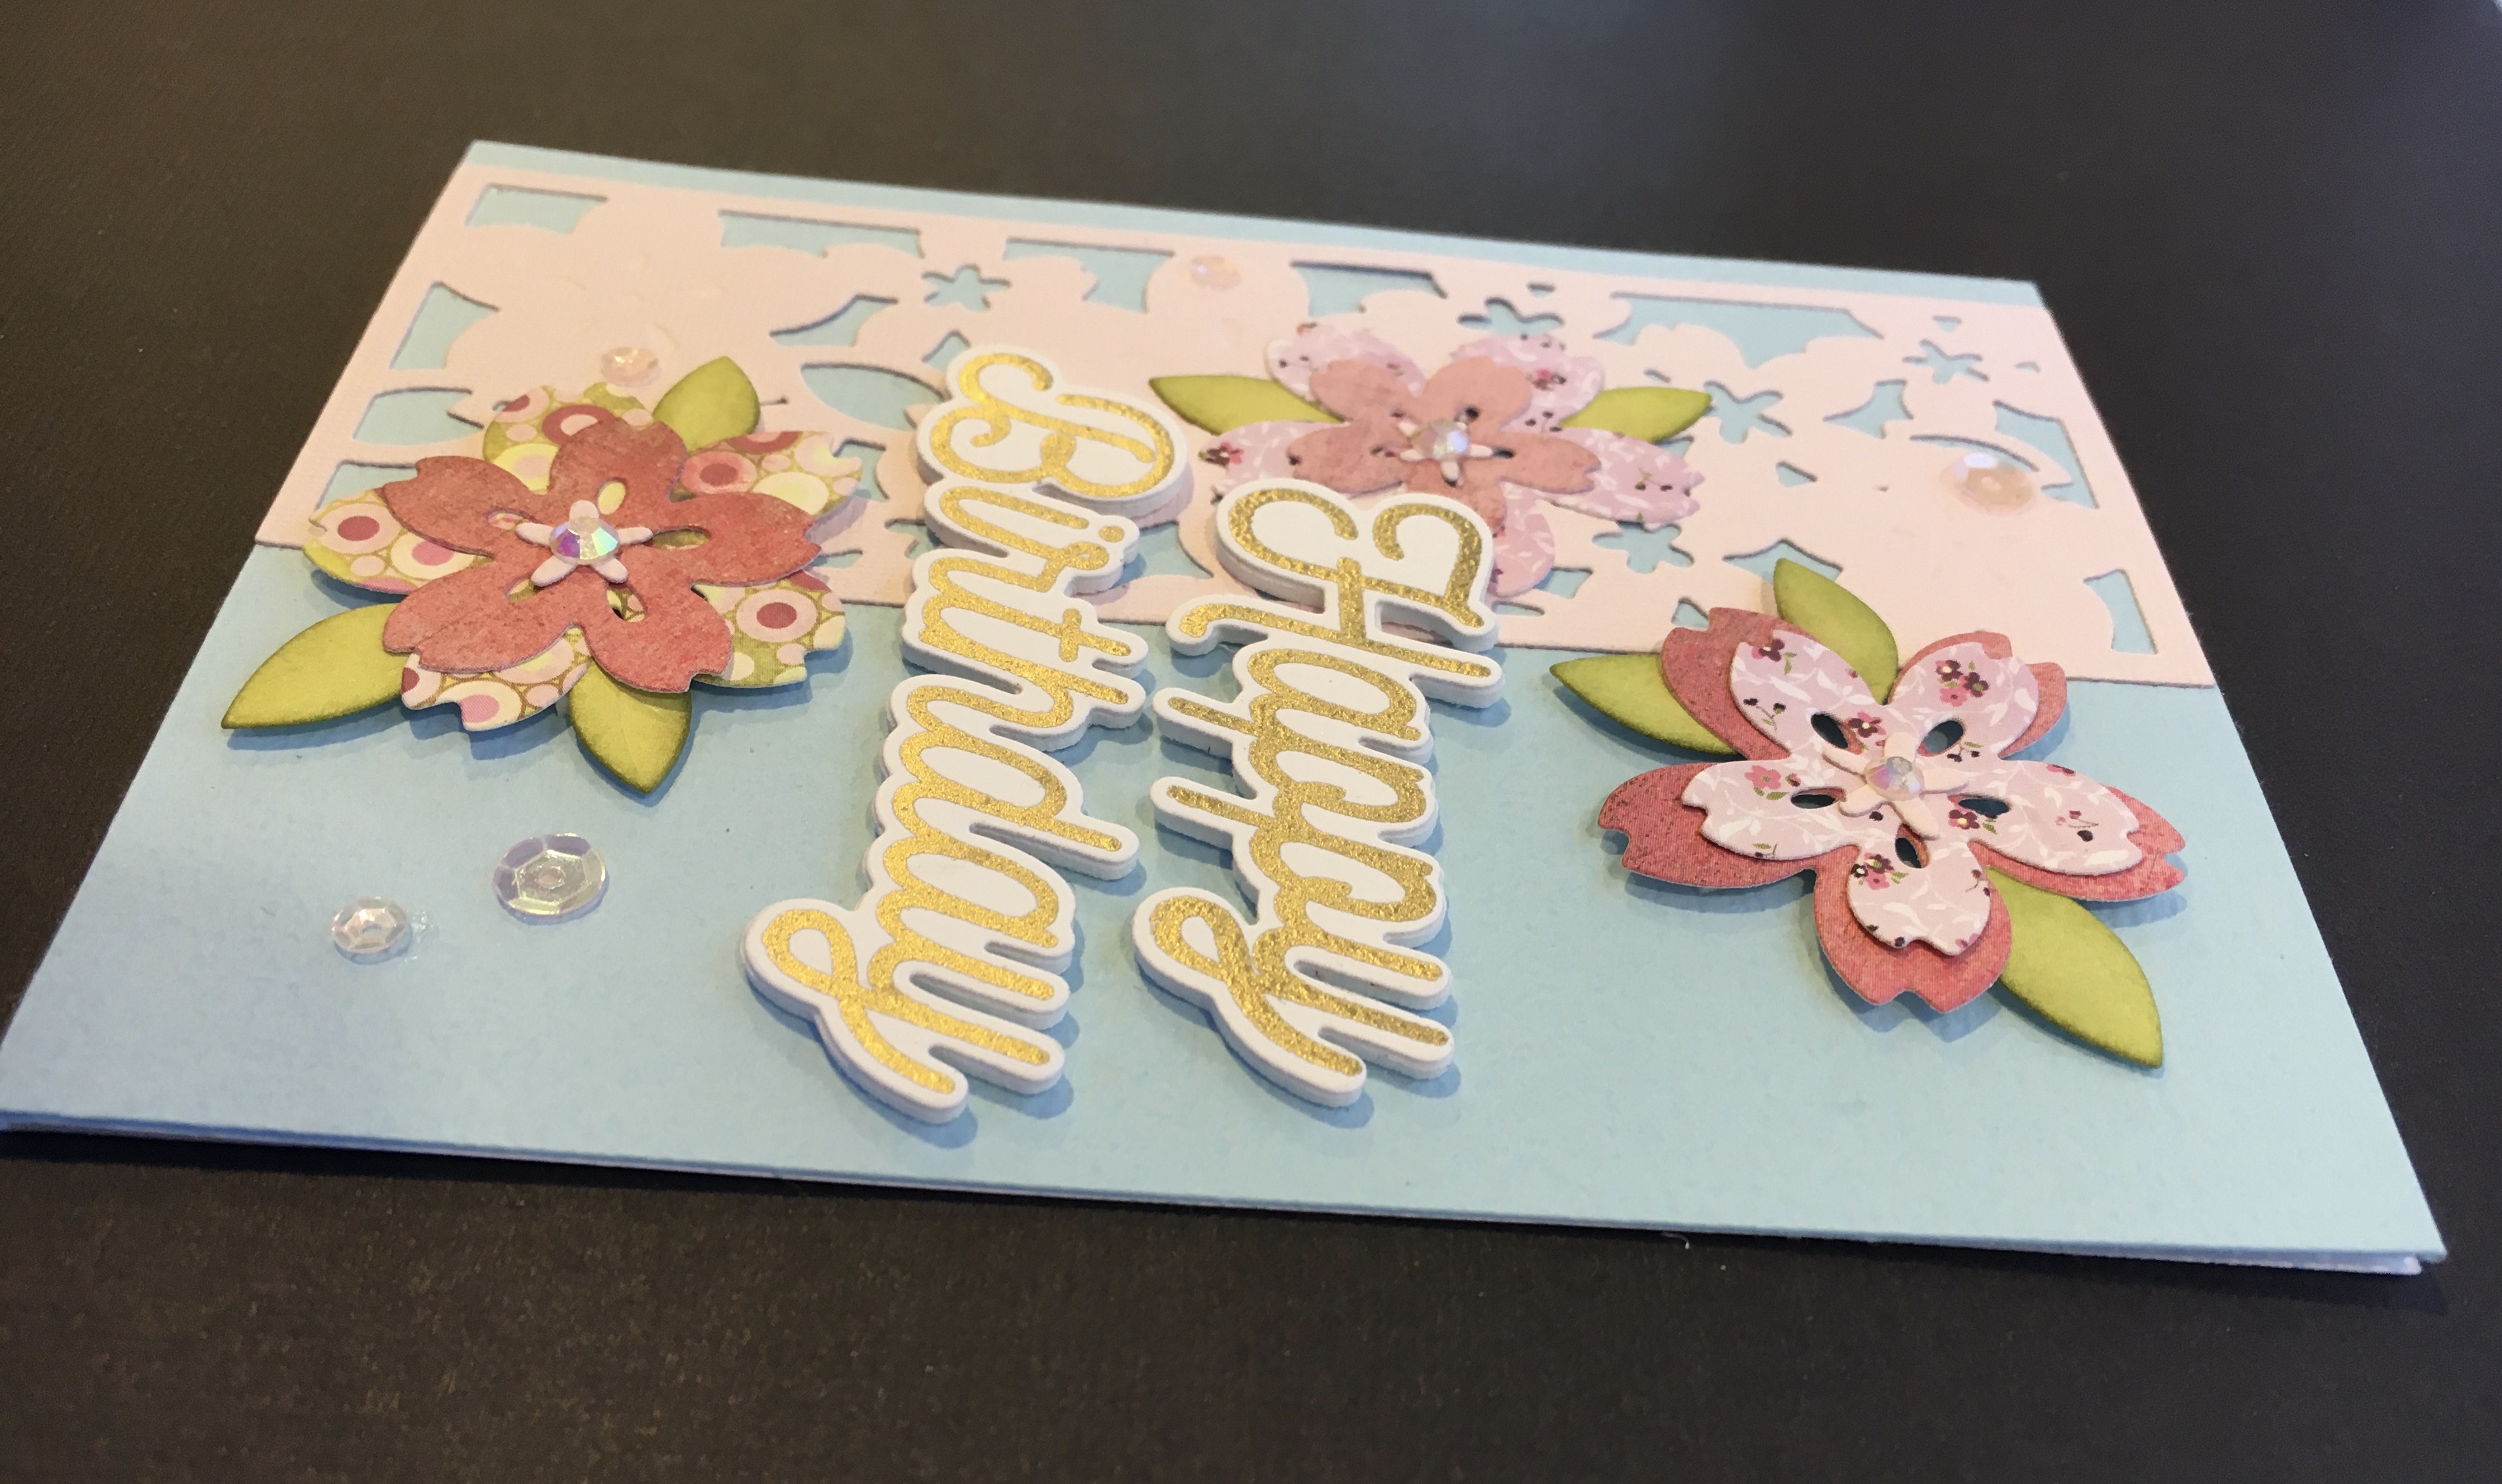
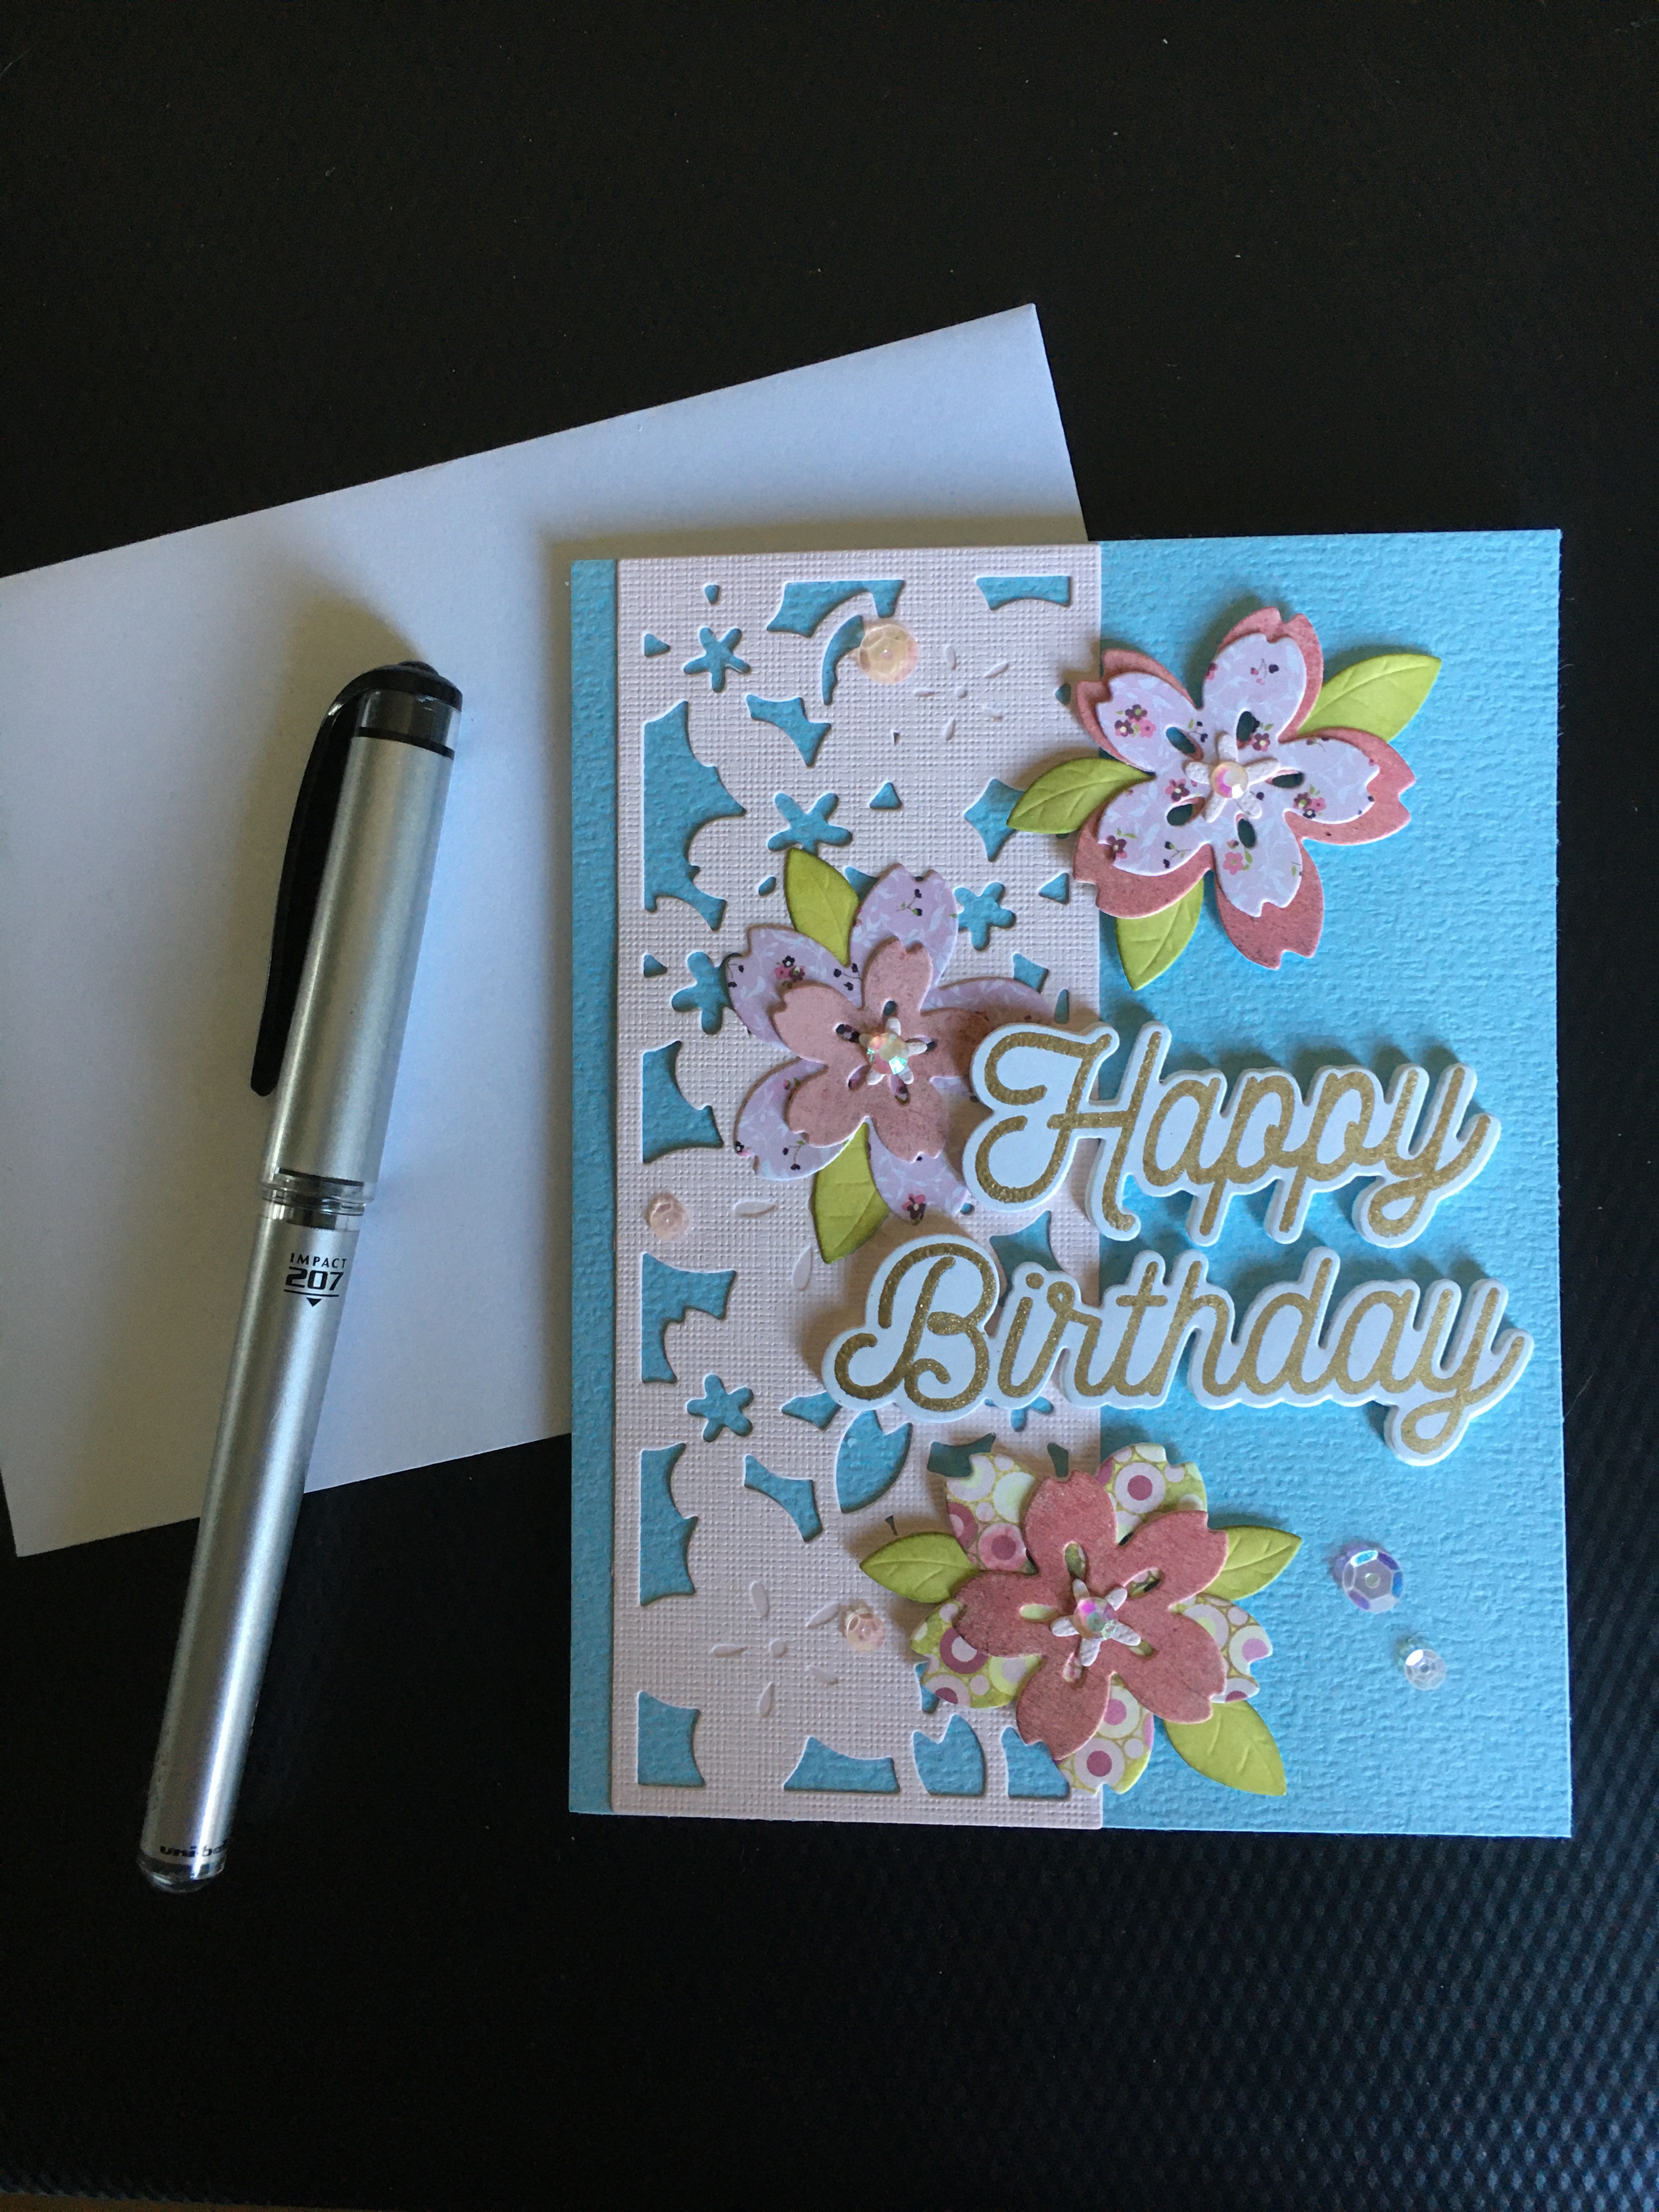
These cherry blossoms were perfect for a friend’s birthday card. I cut the flowers and leaves from some very old Basic Grey paper pads that I’ve had in my stash for years (I found dates of 2006 and 2008!). They’re kind of antique papers! Anyway, I save them for special projects because they were so lovely. I die cut foam and adhered the heat embossed sentiment onto the foam layer for some really nice dimension.
I layered the blossom die cuts in a variety of colors and patterns on top of the small cut-out panel. I used the “waste” for centers of the blossoms and added a gem on top to finish out the flowers. I then scattered sequins around the rest of the card to finish it up. Thanks for visiting.
Stencil – The Crafter’s Workshop TCW2300 Slimline Gentle Leaves
Stamp – Miss Ink Stamps – Everyday Sentiments
Posca pen – white
Acrylic paints, gel plate, archival ink
Sequins – Buttons Galore
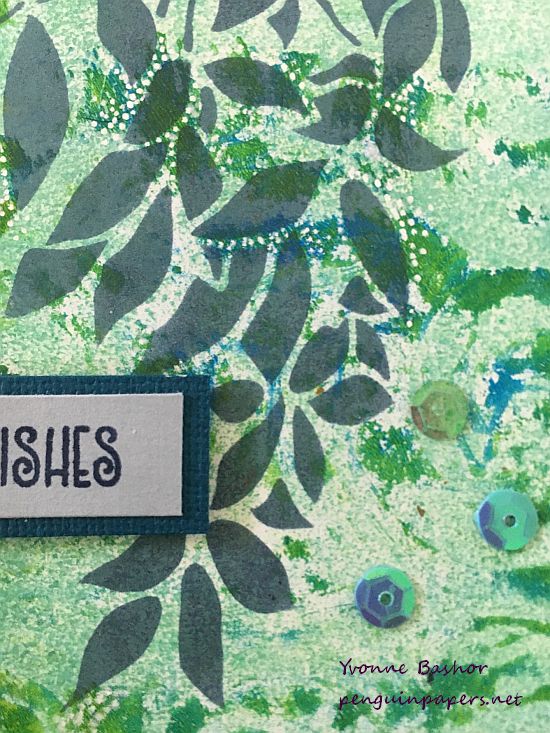
I make lots and lots of gel prints! I like to participate in printing challenges, I teach gel printing classes and make many samples for classes, and I just love to grab a gel plate or two and experiment with inks, paint and textures. So each time I set out to make a few prints, it can end up to be many that I don’t have time to use at that very moment. So needless to say, I have a lot of potential card backgrounds available in my stash.
For this mixed media card, I grabbed a print that was already card base sized. It had interesting texture, but needed a focal point. I had this new stencil by The Crafter’s Workshop that I hadn’t used yet, so I didn’t hesitate to use it with some archival ink to add a design that worked very well with my gel print. I am always a fan of botanical designs. I wanted to make sure the stenciled design was clear on the print, so I added a bunch of dots with a white Posca paint pen. This added even more texture but added enough contrast that the leaves were better defined. Adding a stamped sentiment and some sequins made it an easy to complete the card.
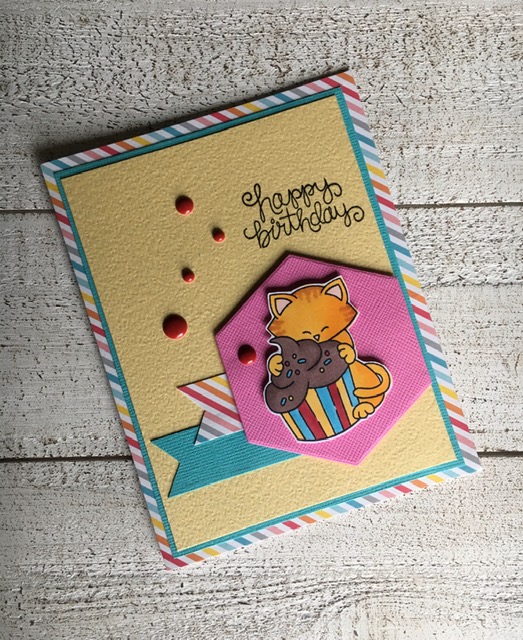
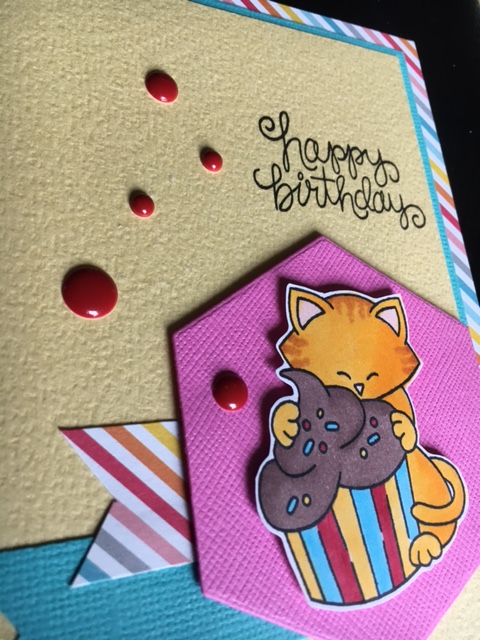
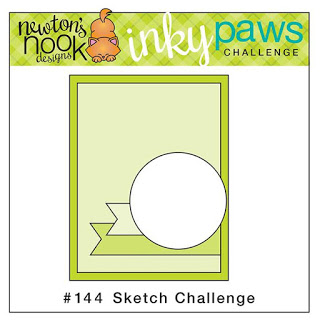
I participated in the *virtual* Crop on the Cape, hosted by Jenn Shurkus, last weekend. I always enjoy Jenn’s “Creative Chick” online classes and am always happy to support creative small businesses who have certainly been impacted during the last year. I highly recommend her classes. There were lots of demos and challenges during the three days which made it lots of fun. I created this card for one of the challenges that was based on a color scheme and group of photos for inspiration. I had this Newton’s Nook stamp set in my stash and decided to use the current sketch provided for the Inky Paws Challenge on the Newton’s Nook blog to make some birthday happiness.
I colored the kitty and cupcake with Copic markers. The Happy Birthday sentiment is part of the same stamp set, along with some other cute images and sentiments. I kept the card simple with just a little dimension added to the hexagon and some epoxy stickers (I love that shiny texture on a card!) to finish it off. Thanks for visiting.
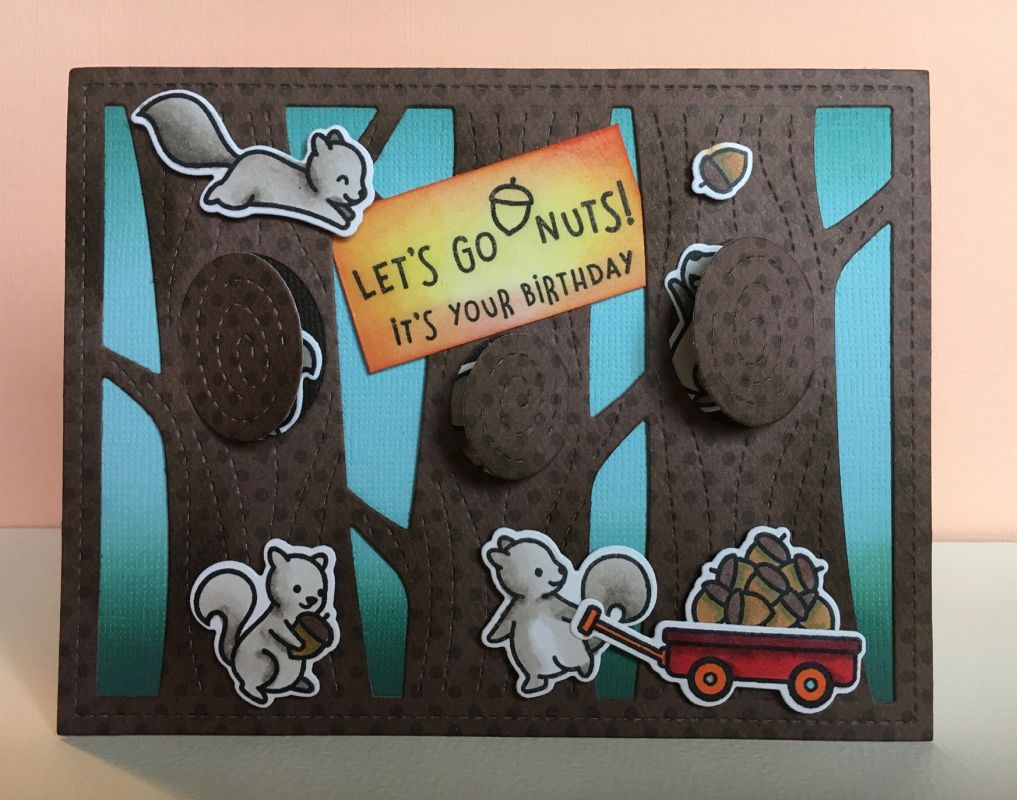
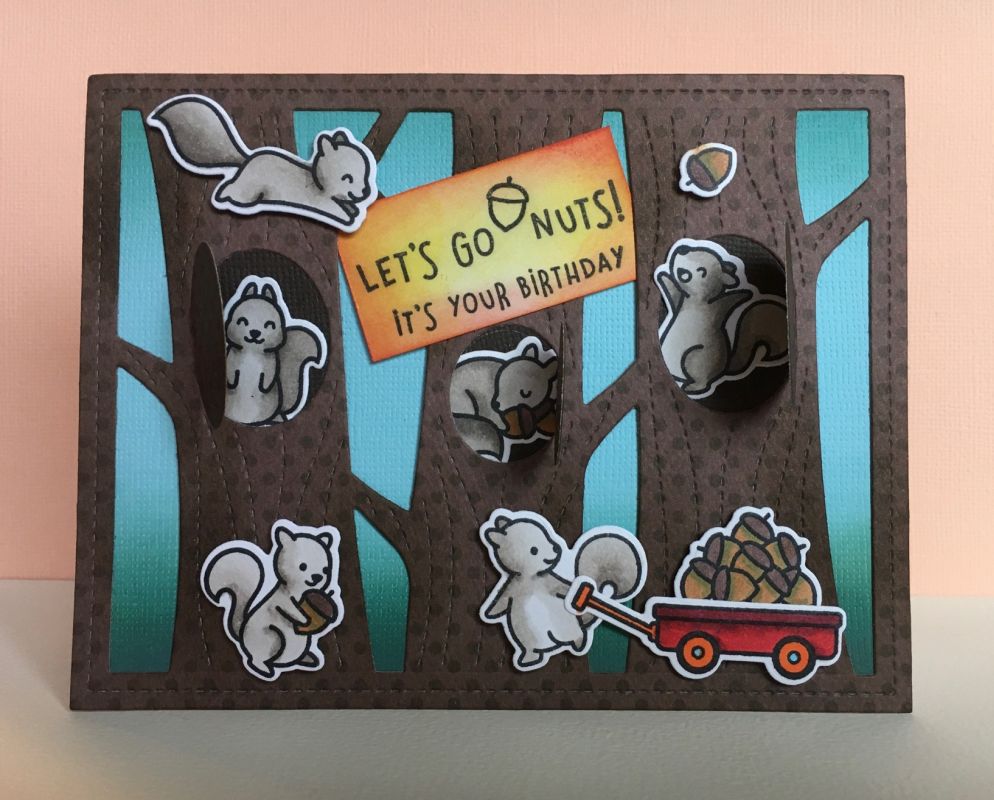
I couldn’t wait to make this birthday card for my son! He turned 22 on Friday, but he still likes cute animals! Plus he will forever be known as “Chipmunk” from his YMCA camp counselor days, so all things squirrely seem appropriate!
The fun thing about this card is the way that by using this die to cut the trees, you can hide surprises behind the flaps (in this case, more squirrels!), to make it interactive.
I used the Lawn Fawn Let’s Go Nuts stamp and die sets and the Lift the Flap Tree Backdrop die.
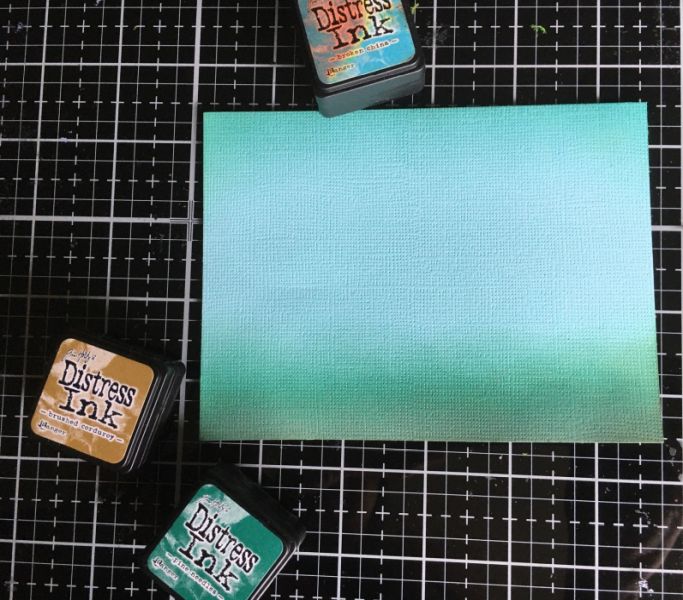
I did some simple ink blending with Distress inks for the background prior to adhering the trees. I used Broken China for the top of the sky and then blended Pine Needles, Brushed Corduroy and Broken China at the bottom. The sentiment is Squeezed Lemonade and Fired Brick.
I blended some Ground Espresso ink on the trees on the backdrop to make some subtle shadows. I colored the squirrels, wagon and acorn with Copic markers and created my scene by adhering everybody in the nooks and crannies and around the trees.
Yesterday was my mom’s 90th birthday! Happy Birthday, Mom! Mom checks my blog every day, and luckily my Instagram feed shows up here so she generally sees something new! I have great intentions of updating my blog more often, it just doesn’t always seem to happen. But I digress.
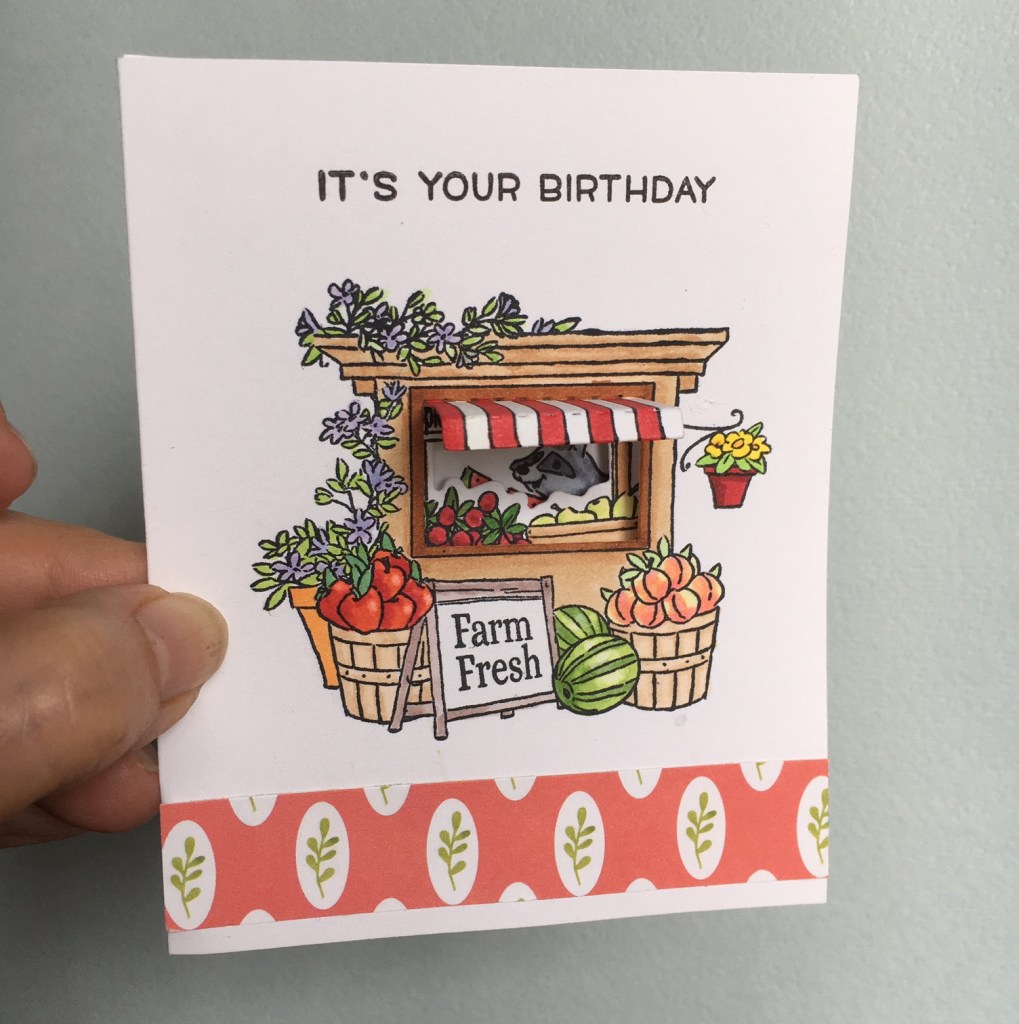
So when trying to decide what I should do to make Mom’s birthday card special, I remembered an Art Impressions stamp and die set I bought several years ago that featured a raccoon that comes together in a cute tri-fold card. So I dug it out and the rest was history.
Card Front
I began by creating the card base from a 4-1/2″ X 11″ piece of white cardstock and folded it into thirds, which is 4-1/2″ tall by 3-5/8″ wide when all folded. I stamped the fruit stand on the front of the card with Memento black ink. I die-cut the window with the die provided.
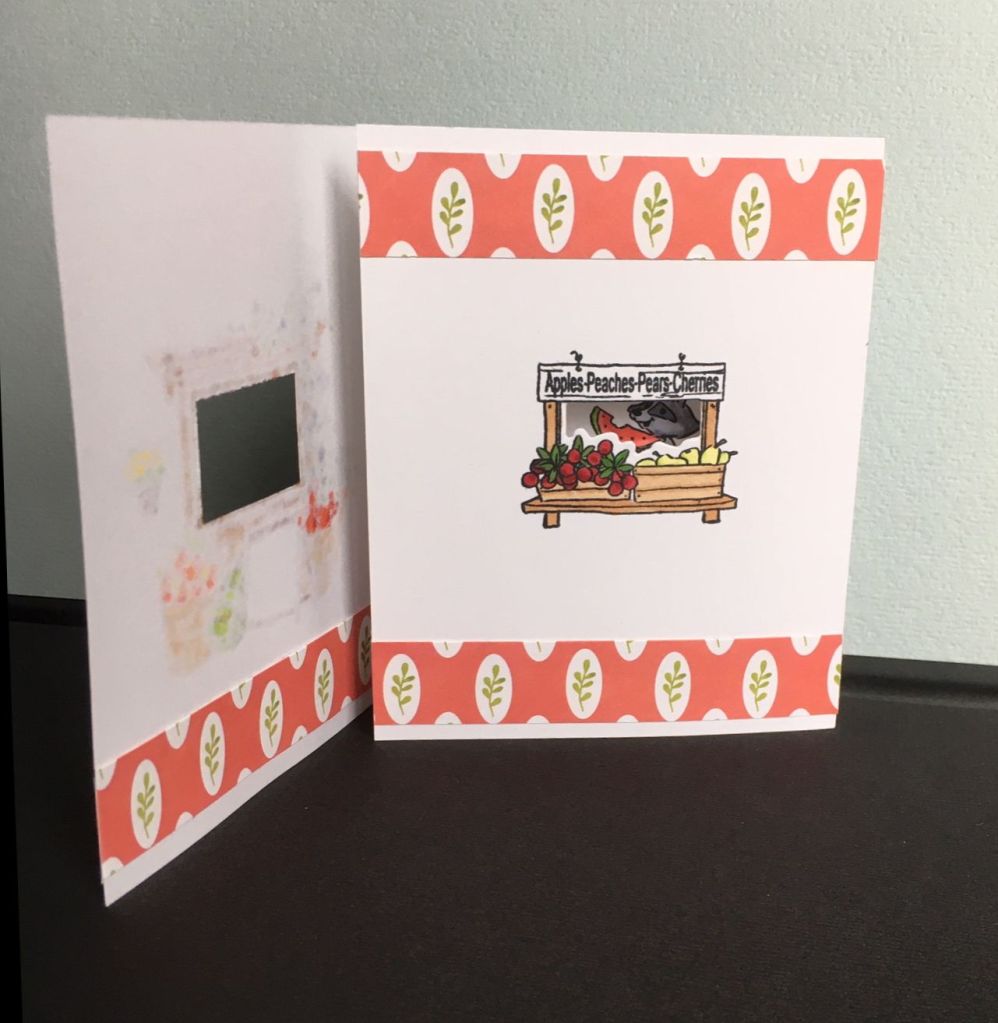
Inside flap
I then lined up the smaller window box layer with the main fruit stand on the front and stamped and die cut that image.
Center and inside of tri-fold card
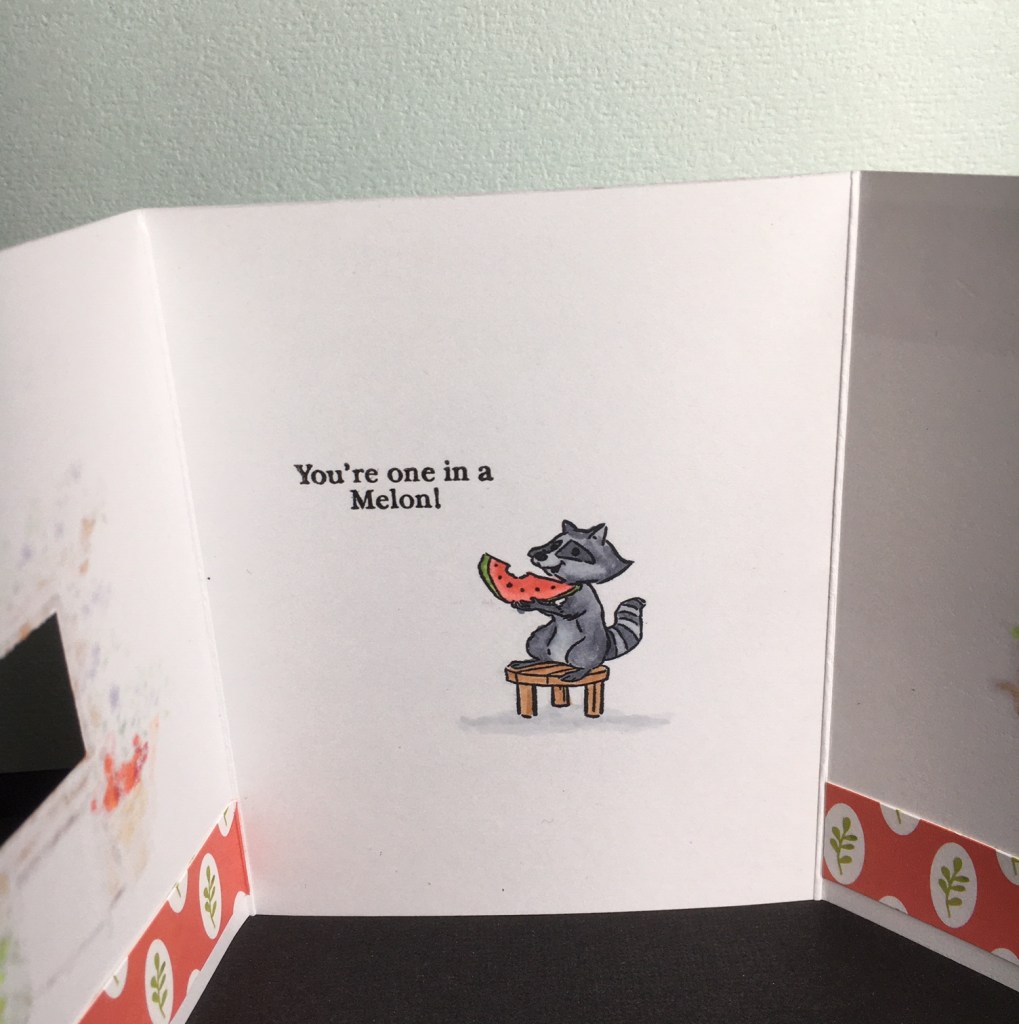
So then for the Pièce de résistance, the star of the card: the raccoon. I stamped him, again lining up the other windows so he can be seen peaking through. I colored all of the images with Copic markers and then decorated the card very simply with strips of patterned paper from Photoplay.
Side-view showing the awning and the nested images
Why a raccoon? Well, Mom has a soft spot for the little critters and every year at about this time, they visit her rural home to see if there might be little spare cat food left out on the porch. (For the record, her two cats eat inside!) She keeps her distance and they end up going away once their babies are able to take care of themselves. The babies are extremely cute! Anyway, she could have worse vices/hobbies and after all these years we still haven’t had to bail her out of jail or anything. So that’s why a raccoon.
Here are the supplies I used:
Stamp and die set – Art Impressions “Produce Stand”
Stamp set – Lawn Fawn – “Jump for Joy” for “It’s Your Birthday” sentiment
Patterned paper – Photoplay #ThinkToRemember – Garden
Copic markers
We had a lovely celebration. Not what it would have been pre-COVID, but it was still nice. There was cake! I made it myself! Thanks for visiting!
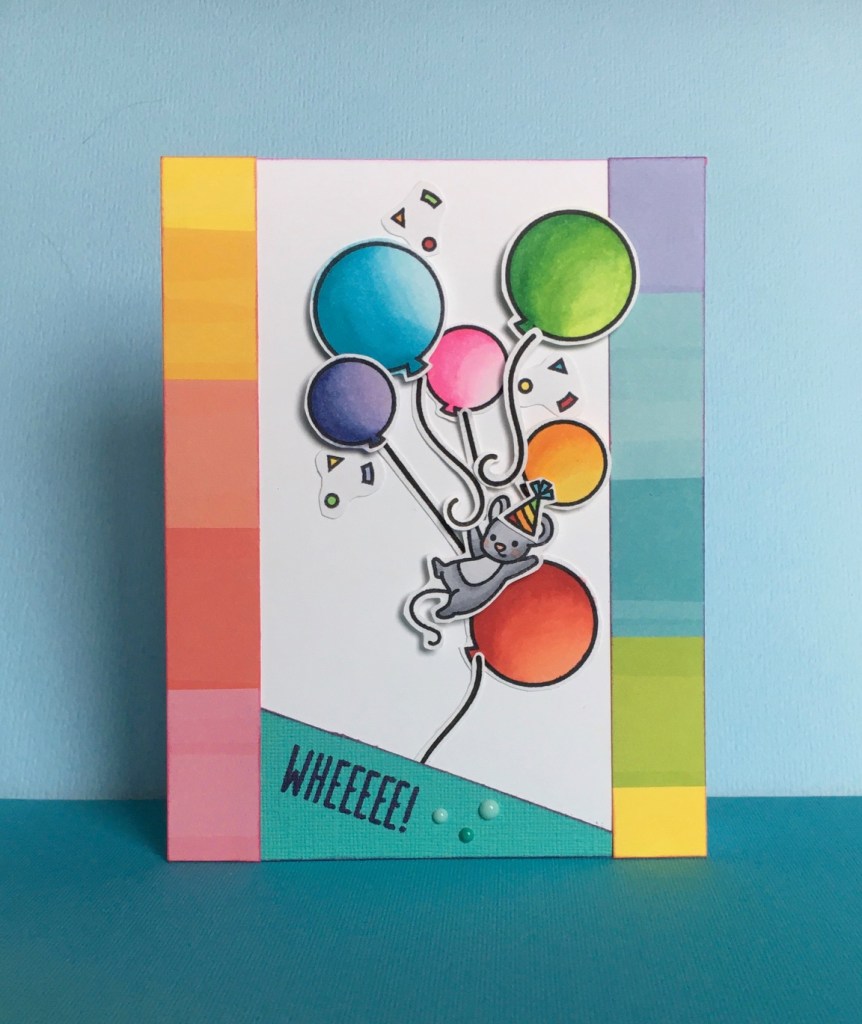
These little mouse is so cute, trying to stay aloft among the balloons!
Stamps and Dies – Lawn Fawn – Really High Five
Patterned paper – Lawn Fawn – Yellow Brick Road
Enamel Dots – Hero Arts – Hero Hues Aquas
Copic markers
I created this card for a class I’m teaching at Runaway Art and Craft Studio in Salem, Oregon. This mouse is so cute and I loved making it the star of this card! It was fun to color the balloons to match the colors on the rainbow stripes of the paper. All of the balloons and the mouse are colored with Copic markers. I cut the rainbow paper in a narrow strip, halved it and adhered it to both sides of the card base. It gave it a really different look. I added the enamel dots by the sentiment, stamped at a jaunty angle, to finish off the card. Thanks for stopping by!
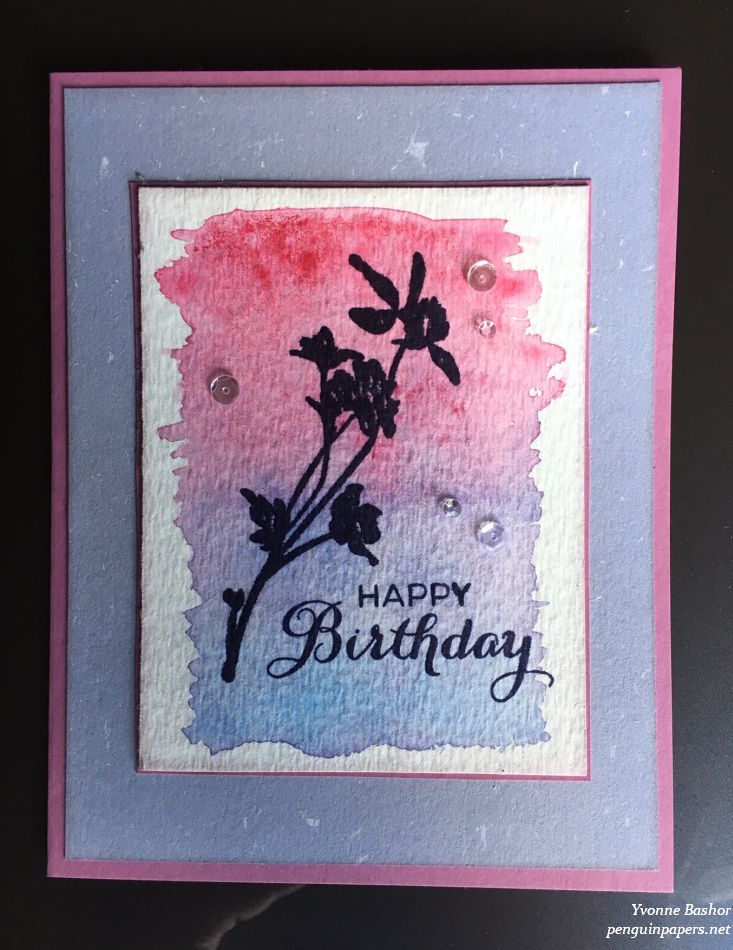
Stampers Anonymous Tim Holtz Collection – Wildflowers
Technique Tuesday – Ranunculus
Watercolors – Sakura Koi
Cardstock
Sequins
This is a clean and simple card with a bright palette–a fresh look after holiday cards! I created the background using watercolors and blending them vertically. Once it was dry, I stamped the floral silhouette and sentiment onto the watercolored panel and added sequins for some visual interest. I layered the panel onto the subtle patterned paper and a matching card base. Very simple! Thanks for visiting.
Stamps – The Cat’s Pajamas – Forget About the Cake
Patterned paper – Prima Marketing – Julie Nutting – Blush
Twine – Doodlebug Designs
Felt button – Hero Arts Fancy Felt flower
Cardstock – Paper Arts and Bazzill
Rhinestones – Mark Richards Ltd. – 3mm pink
Copic markers
I created this card for a friend. I love the sentiment–eating cake is important on one’s birthday! I colored the stamped image with Copic markers and layered it up using the sketch listed below as a reference. I was really pleased with the way it turned out and that I was able to use everything from my stash. I’ve had most of the supplies for years! That makes a card even better! Thanks for visiting.
I created this card using a folding technique I had never tried before. This is called a double-pleat fold. I belong to a cardmaking group online and periodically we propose challenges to the group. During our fifth anniversary celebration recently, someone had a challenge to create a card featuring a fancy fold. This is the fold I chose. At first I thought it would be really difficult, but once I read through the instructions, I was able to create it without problem. I adhered the frame die-cut down onto the card base and then added the pleated piece. Having double-sided paper for the pleated piece made it finished very nicely. Once that was all adhered, I topped it off with the sentiment die-cut, which is really striking. I love this die set from Spellbinders! I added a few rhinestones on points on the die-cuts to add a little sparkle. I really enjoyed this fold and will definitely make some more cards using it.
Dies – Lawn Fawn “Coaster Critters,” “Coaster Critters Slide on Over Add-on,” “Outside In Stitched Scalloped Square Stackables,” and “Stitched Hillside Borders”
Patterned paper – Lawn Fawn “High Seas” from Beachside Collection
I was very proud to create this interactive card and have it work correctly the first time! This is Trenton’s birthday card (20th! Yikes!). He always likes critter cards, so I think it will be a hit.
I started out by creating the Distress Oxide paper using three different blue inks and lots of water drops. I used this for the sky in my scene. I cut it out using the scalloped square die and did the same with bright green cardstock. I then cut “hills” from the green and layered them onto the blue piece. I stamped, colored (with Copics) and cut out all of the roller coaster and critter pieces. I die-cut the slider with the roller coaster in place and then popped up the background, attached the pieces and inserted a penny with the roller coaster car adhered to it, into the slot. The bunny in the roller coaster car slides along the roller coaster very nicely! Love it! I heat-embossed the sentiment onto a strip of red cardstock and cut fish-tail flags on either end. I adhered all of the pieces onto a card base, making a 5-1/2″ X 5-1/2″ square card. I confess to playing with it, sliding the bunny car back and forth, before I put it in the mail. It is only slightly used!