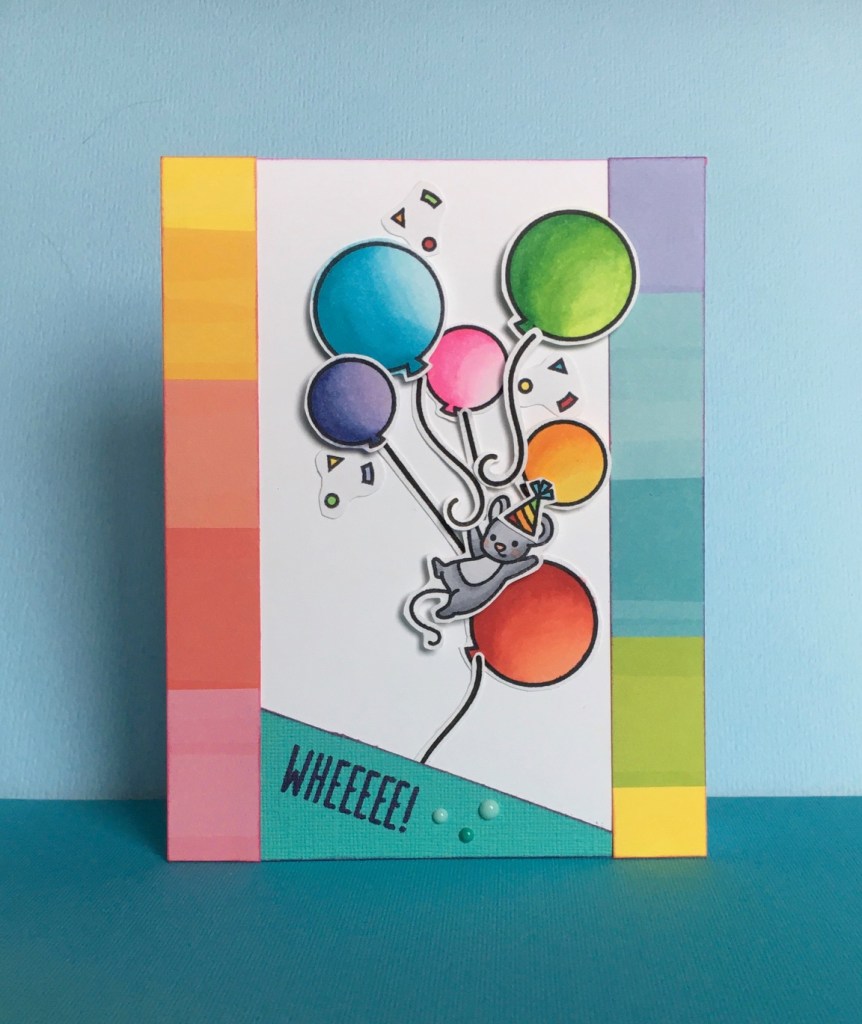
These little mouse is so cute, trying to stay aloft among the balloons!
Stamps and Dies – Lawn Fawn – Really High Five
Patterned paper – Lawn Fawn – Yellow Brick Road
Enamel Dots – Hero Arts – Hero Hues Aquas
Copic markers
I created this card for a class I’m teaching at Runaway Art and Craft Studio in Salem, Oregon. This mouse is so cute and I loved making it the star of this card! It was fun to color the balloons to match the colors on the rainbow stripes of the paper. All of the balloons and the mouse are colored with Copic markers. I cut the rainbow paper in a narrow strip, halved it and adhered it to both sides of the card base. It gave it a really different look. I added the enamel dots by the sentiment, stamped at a jaunty angle, to finish off the card. Thanks for stopping by!
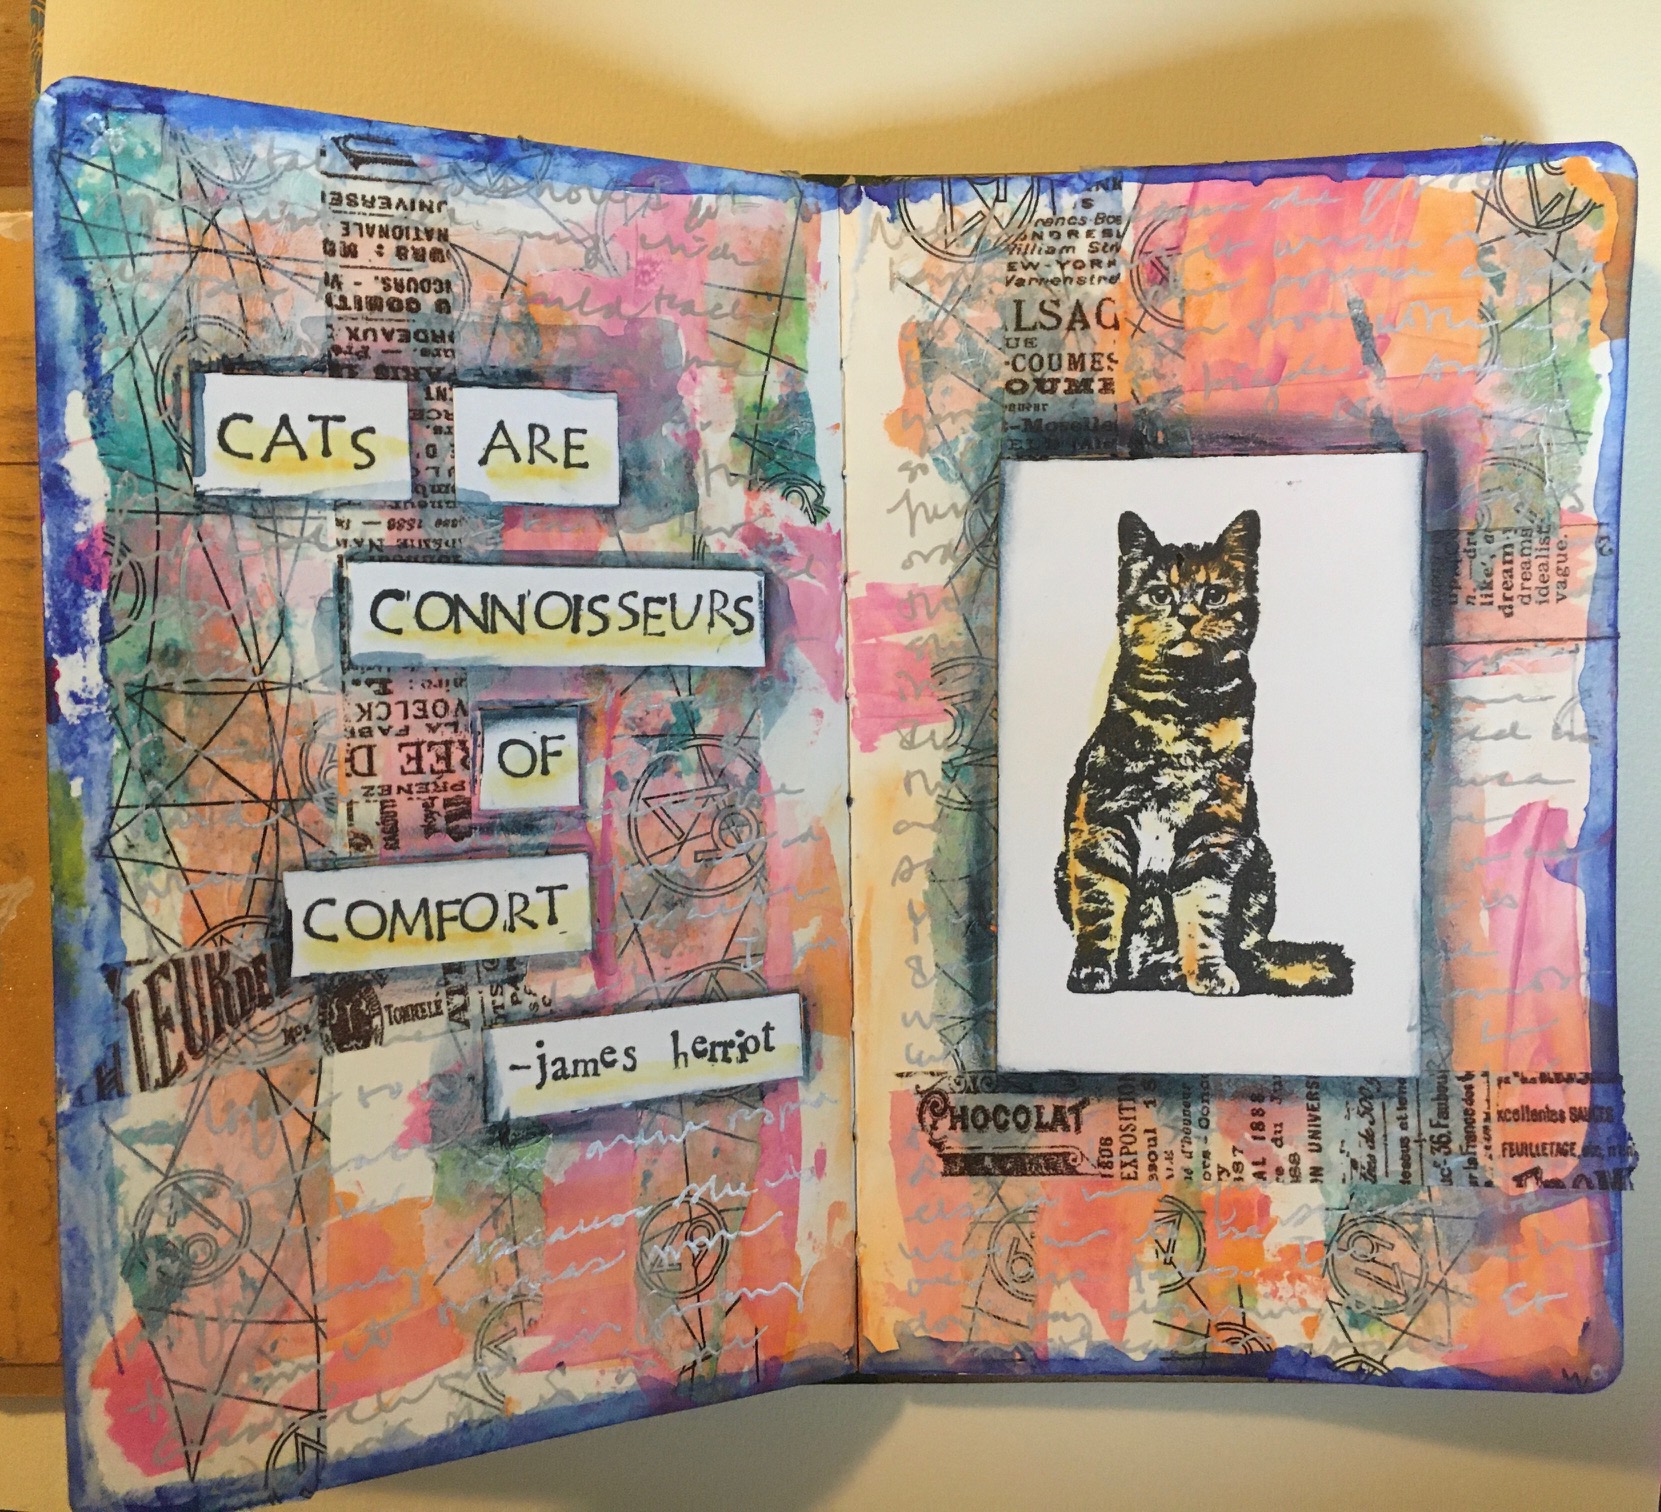
Alphabet stamps – Hero Arts “ALPHABET: Letters and Numbers” and “alphabet”
Acrylic paints – Dina Wakley Media: Magenta and Tangerine
Scribble Sticks – Dina Wakley Media: Lapis, Cheddar, Tangerine
Collage tissue colored with Aladine Izink Pigment: Cactus and Topaz
Washi tape – Tim Holtz Ideaology
I created this art journal spread in my small Dylusions journal recently, inspired by Rachel Greig on Creative Jumpstart 2020. This is the third year I’ve done Nathalie Kalbach’s Creative Jumpstart and I would highly recommend it to anyone who wants exposure to many mixed media styles without a huge time or financial investment.
I started by applying some strokes of acrylic paint to the pages. I layered the tissue paper (that had been in a shoe box!) that I’d colored with the Aladine Izink metallic inks over the top and then added a couple of strips of washi tape to the background. Once it dried, I journaled over the entire two-page spread with a silver Signo pen and then added the cat stamp and quote, which I’d stamped onto white cardstock. I stamped the Herriot quote with Hero Arts alphabet set that I’ve had for years. (The copyright on them is 2002!) I added touches of Cheddar and Tangerine Scribble Sticks and water on both and outlined around the stamped pieces and the perimeter of the pages with a Lapis Scribble Stick and water. A very fun spread to make!
I created this card using a variety of stamps from a company that is new to me. Christy and I were thrilled to meet Dreamerland Crafts owners at Creativation in January. They are delightful and we really enjoyed talking to them and getting acquainted with their stamps. I used four different sets to create the scene on this card. I colored the girl, cat, and ground with Copic markers, and the tree and flower bed is created with Gina K ink pads. The clouds were stamped with white StazOn ink with just a smidge of Broken China ink to give an indication of clouds in the sky. Thanks for visiting.
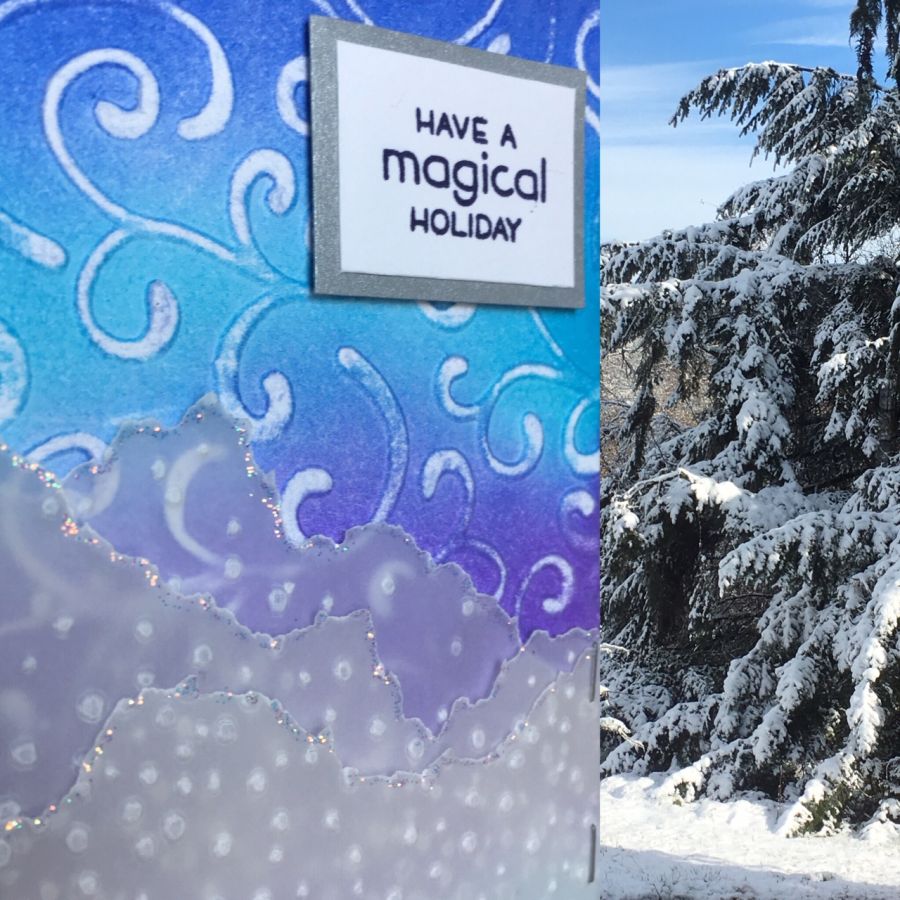
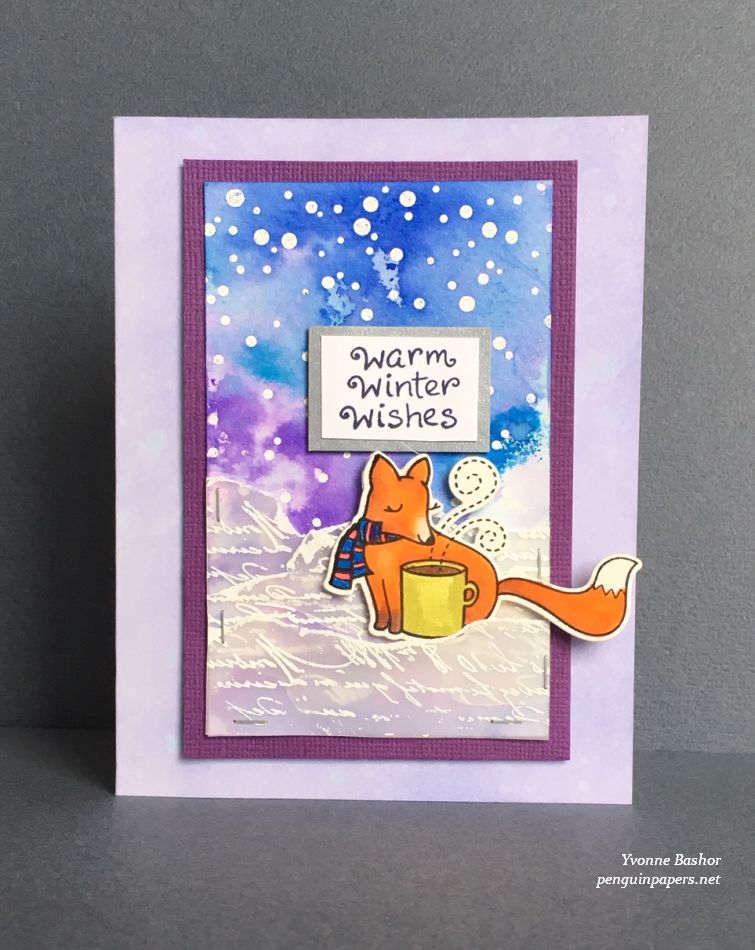
Lawn Fawn – Snow Cool, Say What? Christmas Critters and Winter Fox
Stampers Anonymous/Tim Holtz – Reflections
Embossing folders – Sizzix Snowfall and Swirls
Ranger Stickles – Diamond
Vellum
White embossing powder – Stampendous
Watercolor paper
Cardstock
I was on deck to present the demonstration at our Craft Stamper group last week. We select something from an issue of Craft Stamper magazine and present it to the group and then we all make the project. It just so happened that I selected the masterclass that featured snowy hills from the January 2019 issue. While I was working on my sample cards, it snowed here, in March. This isn’t the first time we’ve had snow in March in Oregon’s Willamette Valley, but we’ve had at least four doses in the past two weeks. That is a little unusual. We are in the midst of one more snow shower today and that may be the end of it for this winter. Crazy!
For the first card I used two different embossing folders. I first applied Distress Inks, blending four colors. I then dry-embossed it with the Swirls embossing folder and then sanded it to expose the swirls. For the snow drifts, I embossed the snow onto vellum with the Snowfall embossing folder. I then tore the vellum into pieces to resemble snowy drifts and layered them together. When I liked the composition, I stapled the vellum onto the background with the Tim Holtz Tiny Attacher and applied Stickles glitter glue to the edges of the vellum. I added a layered sentiment and a layer of silver cardstock and adhered it to a white card base. You can see the sparkle in the photo below.
For the second card (below), I used the Distress Inks like watercolor. I heat-embossed the snow on watercolor paper using the Lawn Fawn Snow Cool stamp set and white embossing powder. Then I applied the Distress Inks to my craft sheet and spritzed the ink with water. By dragging the watercolor paper through the wet ink, drying, and reapplying, I created the colorful and snowy background. The embossing powder resists the “snow” that is heat embossed. I heat embossed the Tim Holtz script stamp on the vellum for this card and tore it to make the drifts again this time. I also applied embossing powder to the torn edges to give the appearance of snow. Again, I attached the vellum to the background with the Tim Holtz Tiny Attacher. To finish off this card, I stamped and colored the Lawn Fawn fox and popped it up onto the scene. I liked having his tail go off the background. I colored the card base by applying Milled Lavender and Shaded Lilac Distress Oxide inks to white cardstock. Finally I layered all of the pieces together and added the sentiment.
Thanks for visiting. I still have some catching up to do with posting here!
This was a fun card to make, partly because of the subject matter (more cute animals!) and also because I pulled out supplies from multiple companies. It is fun to mix it up sometimes. It was way too difficult to resist making a raccoon Valentine for my mom. Many people don’t know this, but she has several friends who are raccoons.
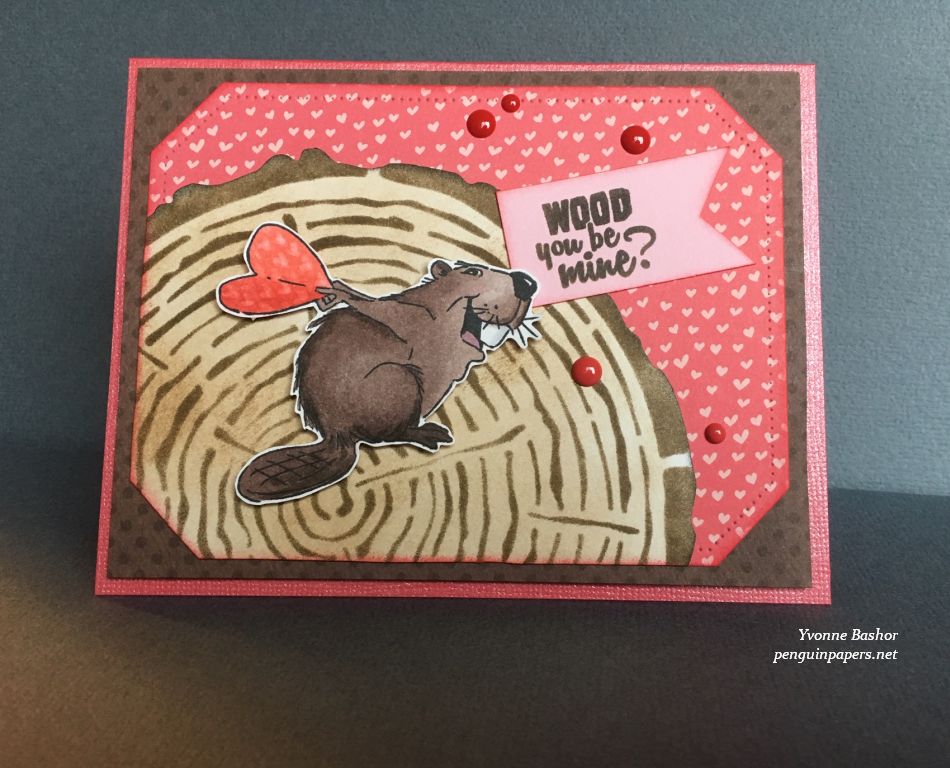
I started by coloring the raccoon image with Copic markers and fussy cutting it. I made the tree stump (slice?) by applying Distress Ink through a stencil and cutting it out, then using it for a backdrop. I assembled the various elements, finishing with the sentiment and tying a ribbon at the top. Thanks for stopping by.
I made this Valentine for my son, who is an Oregon State University student (and they’re the Beavers–Go Beavs!). He is a fan of cute animals, so this is right up his alley–and mine! I colored the beaver image with Copic markers and emulated the heart motif in the patterned paper in the heart he is clutching. The tree stump is created by applying Distress ink through a stencil. This was a fun card to piece together! Thanks for stopping by.
Patterned paper – Memory Box – Sweetheart Collection
Stickers – Mrs. Grossman’s
Cardstock – Bazzill and BoBunny
Copic markers
I know many people think Valentine’s Day is a marketing holiday, but I must admit to liking little hearts and cute animals on cards! And chocolate is a nice touch, too! I actually like to incorporate hearts in my mixed media work often, no matter what time of year.
I made this card for my husband. We are a cute animal loving family, so this is the first of several cute animal valentines I’ll be posting! I really like this set from Art Impressions and knew when I saw it at Creativation that I had to have it. I colored the otter with Copics. I pulled this card together by using some items that have been in my stash for years and years. The heart stickers and patterned paper are things I’ve had for at least 10 years, but I pull my Valentine-making supplies out and it keeps on giving!
One of my favorite recurring characters in the stamp world for me is this bunny! I colored Bun-Bun with Copic markers before fussy-cutting him out and then mounted him on the heart die-cut with dimensional adhesive. The black and white checked paper was cute with a scalloped die and layered onto a piece of white cardstock, adhering it to the pink card base. I doodled a border around the background on the pink card base and then adhered the sentiment which is backed with red mirror cardstock. To finish the card off, I popped up Bun-Bun and adhered some sequins around him for a little pizzazz. Thanks for stopping by!
Dies – Spellbinders Nestabilities – Small scalloped rectangles
Patterned papers – Basic Grey 6″ paper pad – Lime Rickey
Cardstock
Sprinkles – Doodlebug Designs
Copic markers
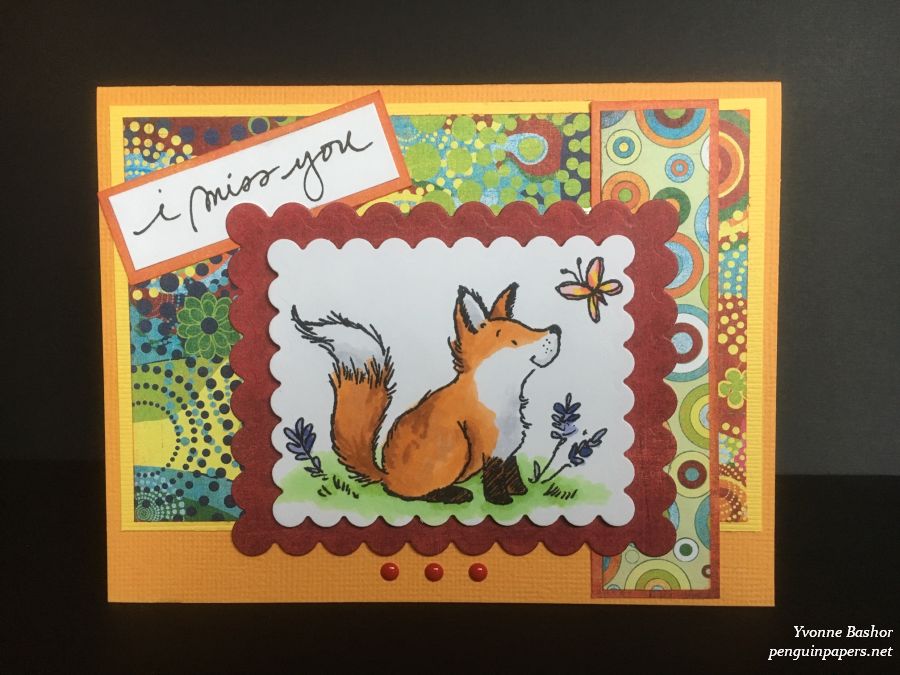
This card is another for the military drive my friend is doing. I colored the happy little fox with Copic markers and cut it out with the scalloped die. I then pulled out an old favorite patterned paper collection from long ago and created a design with it. Thanks for stopping by.
Happy New Year! I created this card for a challenge I was hosting today for an online cardmaking group. It was my first card of 2019. It had been a while since I created a card using patterned papers, especially one that wasn’t for the holidays! So it was fun to put this together. I colored the cute penguin image with Copic markers and layered the patterned papers. Very simple, but bright and cheery! Thanks for visiting and have a wonderful 2019.