I was so happy to get these new supplies for the new year! Wendy Vecchi has joined forces with Spellbinders Paper Arts and designed a beautiful release! I’ve used some of the items from her new release to create this clean and simple card. First, here are the supplies I used:
Stamps and Dies – Spellbinders Garden Party
Stencils – Spellbinders Layered Garden Party
3-D Embossing Folder – Spellbinders Flowers and Foliage
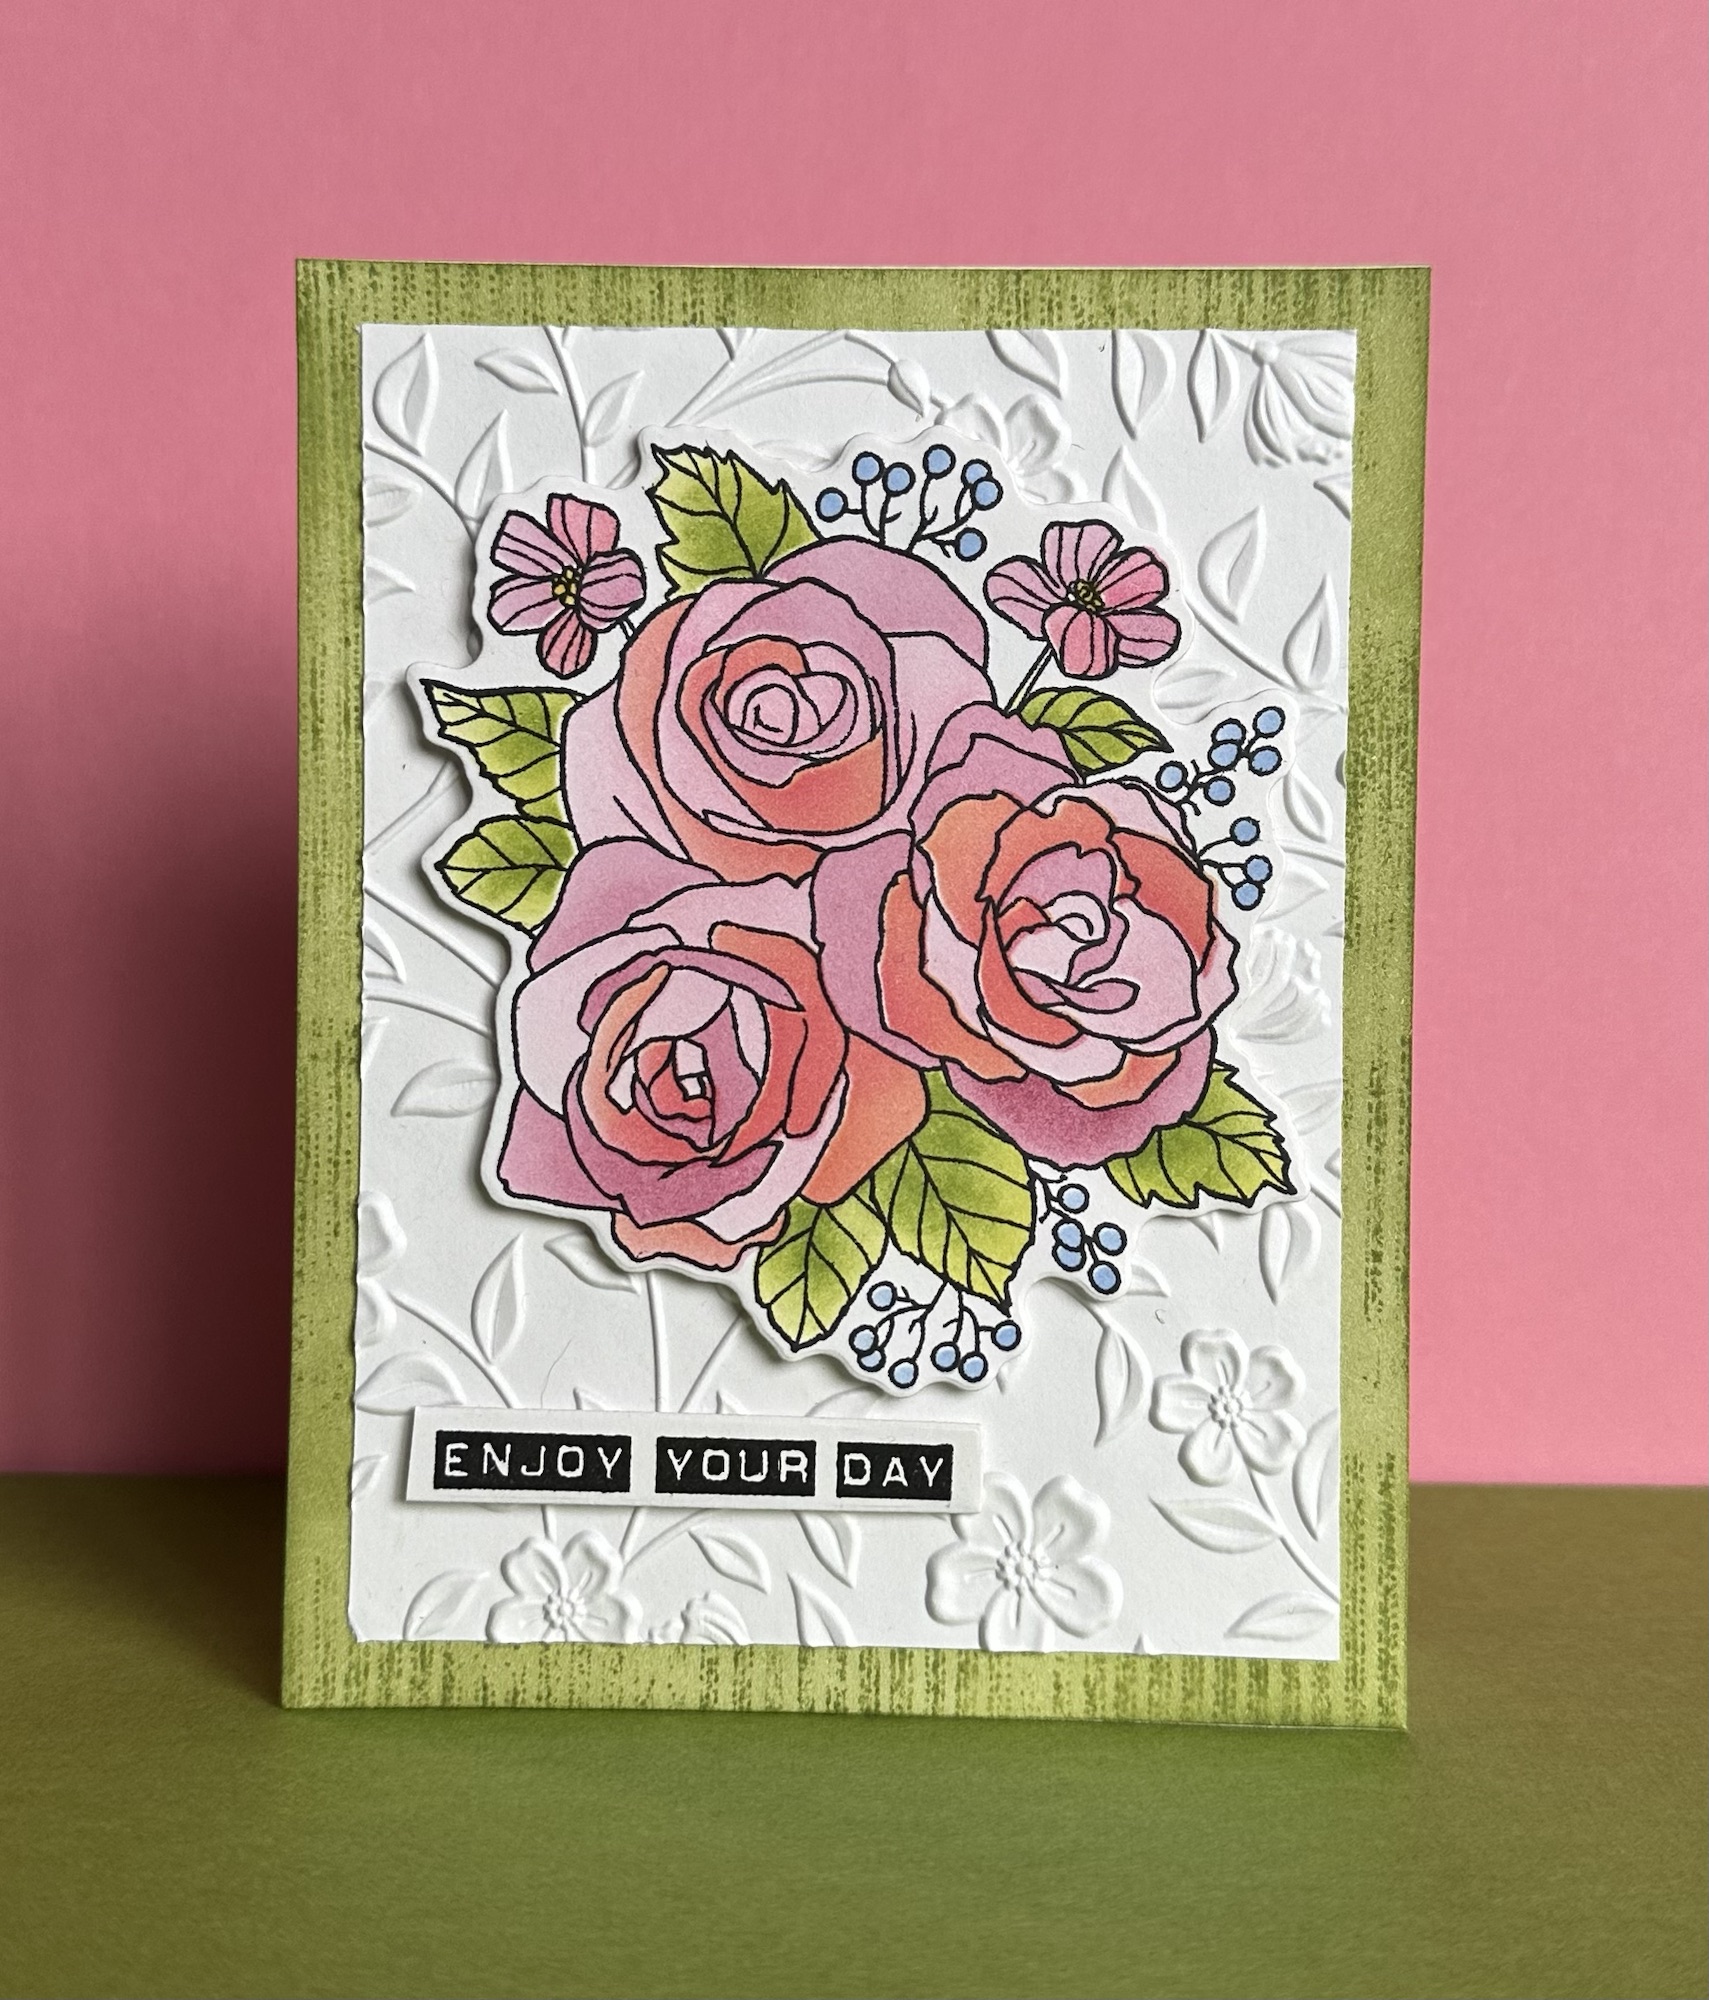
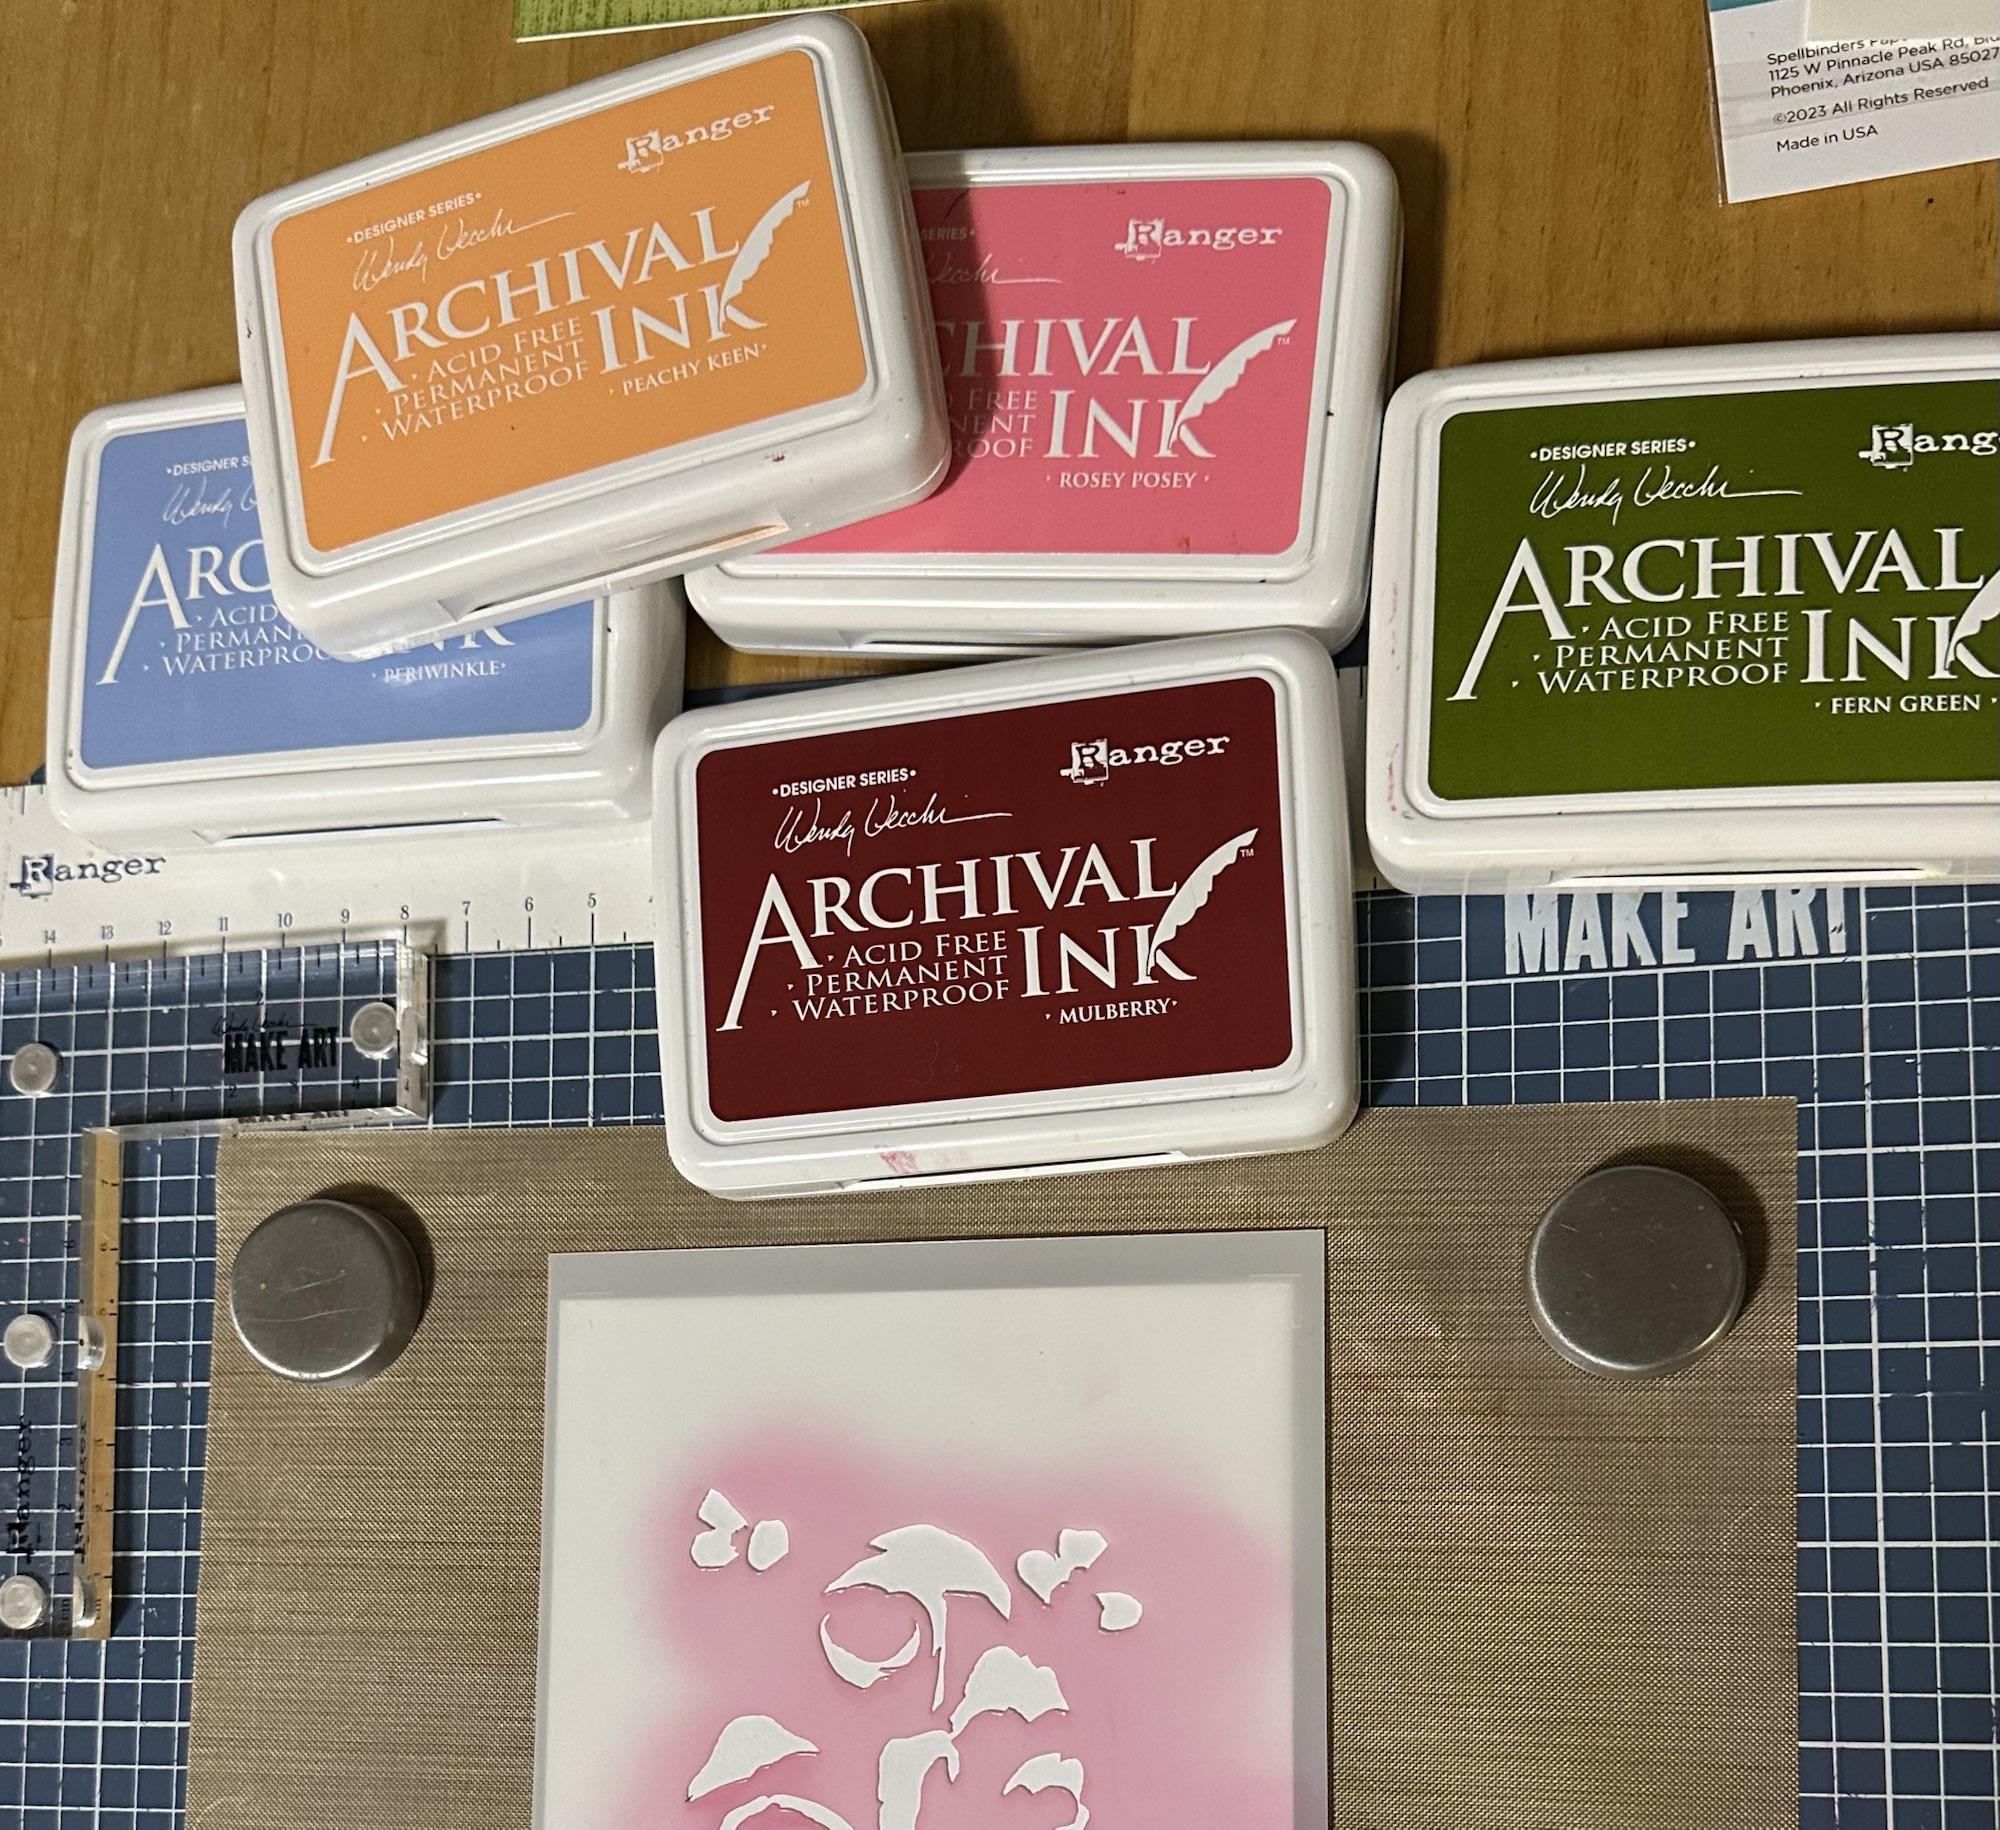
I began by stamping the floral image with a black Memento ink pad. I colored the stamped image with Ranger Archival inks using the layering stencil set. There are five stencils altogether in the set, so you can incorporate a lot of detail and many colors! I used blending brushes for laying down large areas of color, but to add some more shading and detail, I used the Detail Blending Tools (it is easiest to see on the leaves). The Archival inks The stencils line up like a dream and are very heavyweight. I used Wendy’s Make Art Staytion and magnets to hold my stencils in place and it worked beautifully as always. I never use layering stencils without it!
Once all of the coloring was done, I cut the image out with the accompanying die. I selected a sentiment from the set and stamped and die cut it as well. I decided to use the 3-D embossing folder from the new release and kept it white to show off the gorgeous image. To add another layer of color though, I created a striped background using Fern Green Archival ink blended onto white cardstock, and then I stamped it with Wendy’s Ticking background stamp from Stampers Anonymous. After I applied ink to the stamp, I spritzed it with a bit of rubbing alcohol to add a little interest and stamped it onto the green inked paper.
To assemble the card, I adhered the striped background to the card base, added the embossed layer on top of that and then I popped up both the image and the sentiment with dimensional foam tape. Very simple and elegant.
There are more die sets in the new Spellbinders release, so I am excited to create some more with those and to use these supplies some more as well.
I have a simple card to share today, using the latest sketch at the My Favorite Things blog. This was a fun card that I made using some supplies that I’ve had for awhile, but never used.
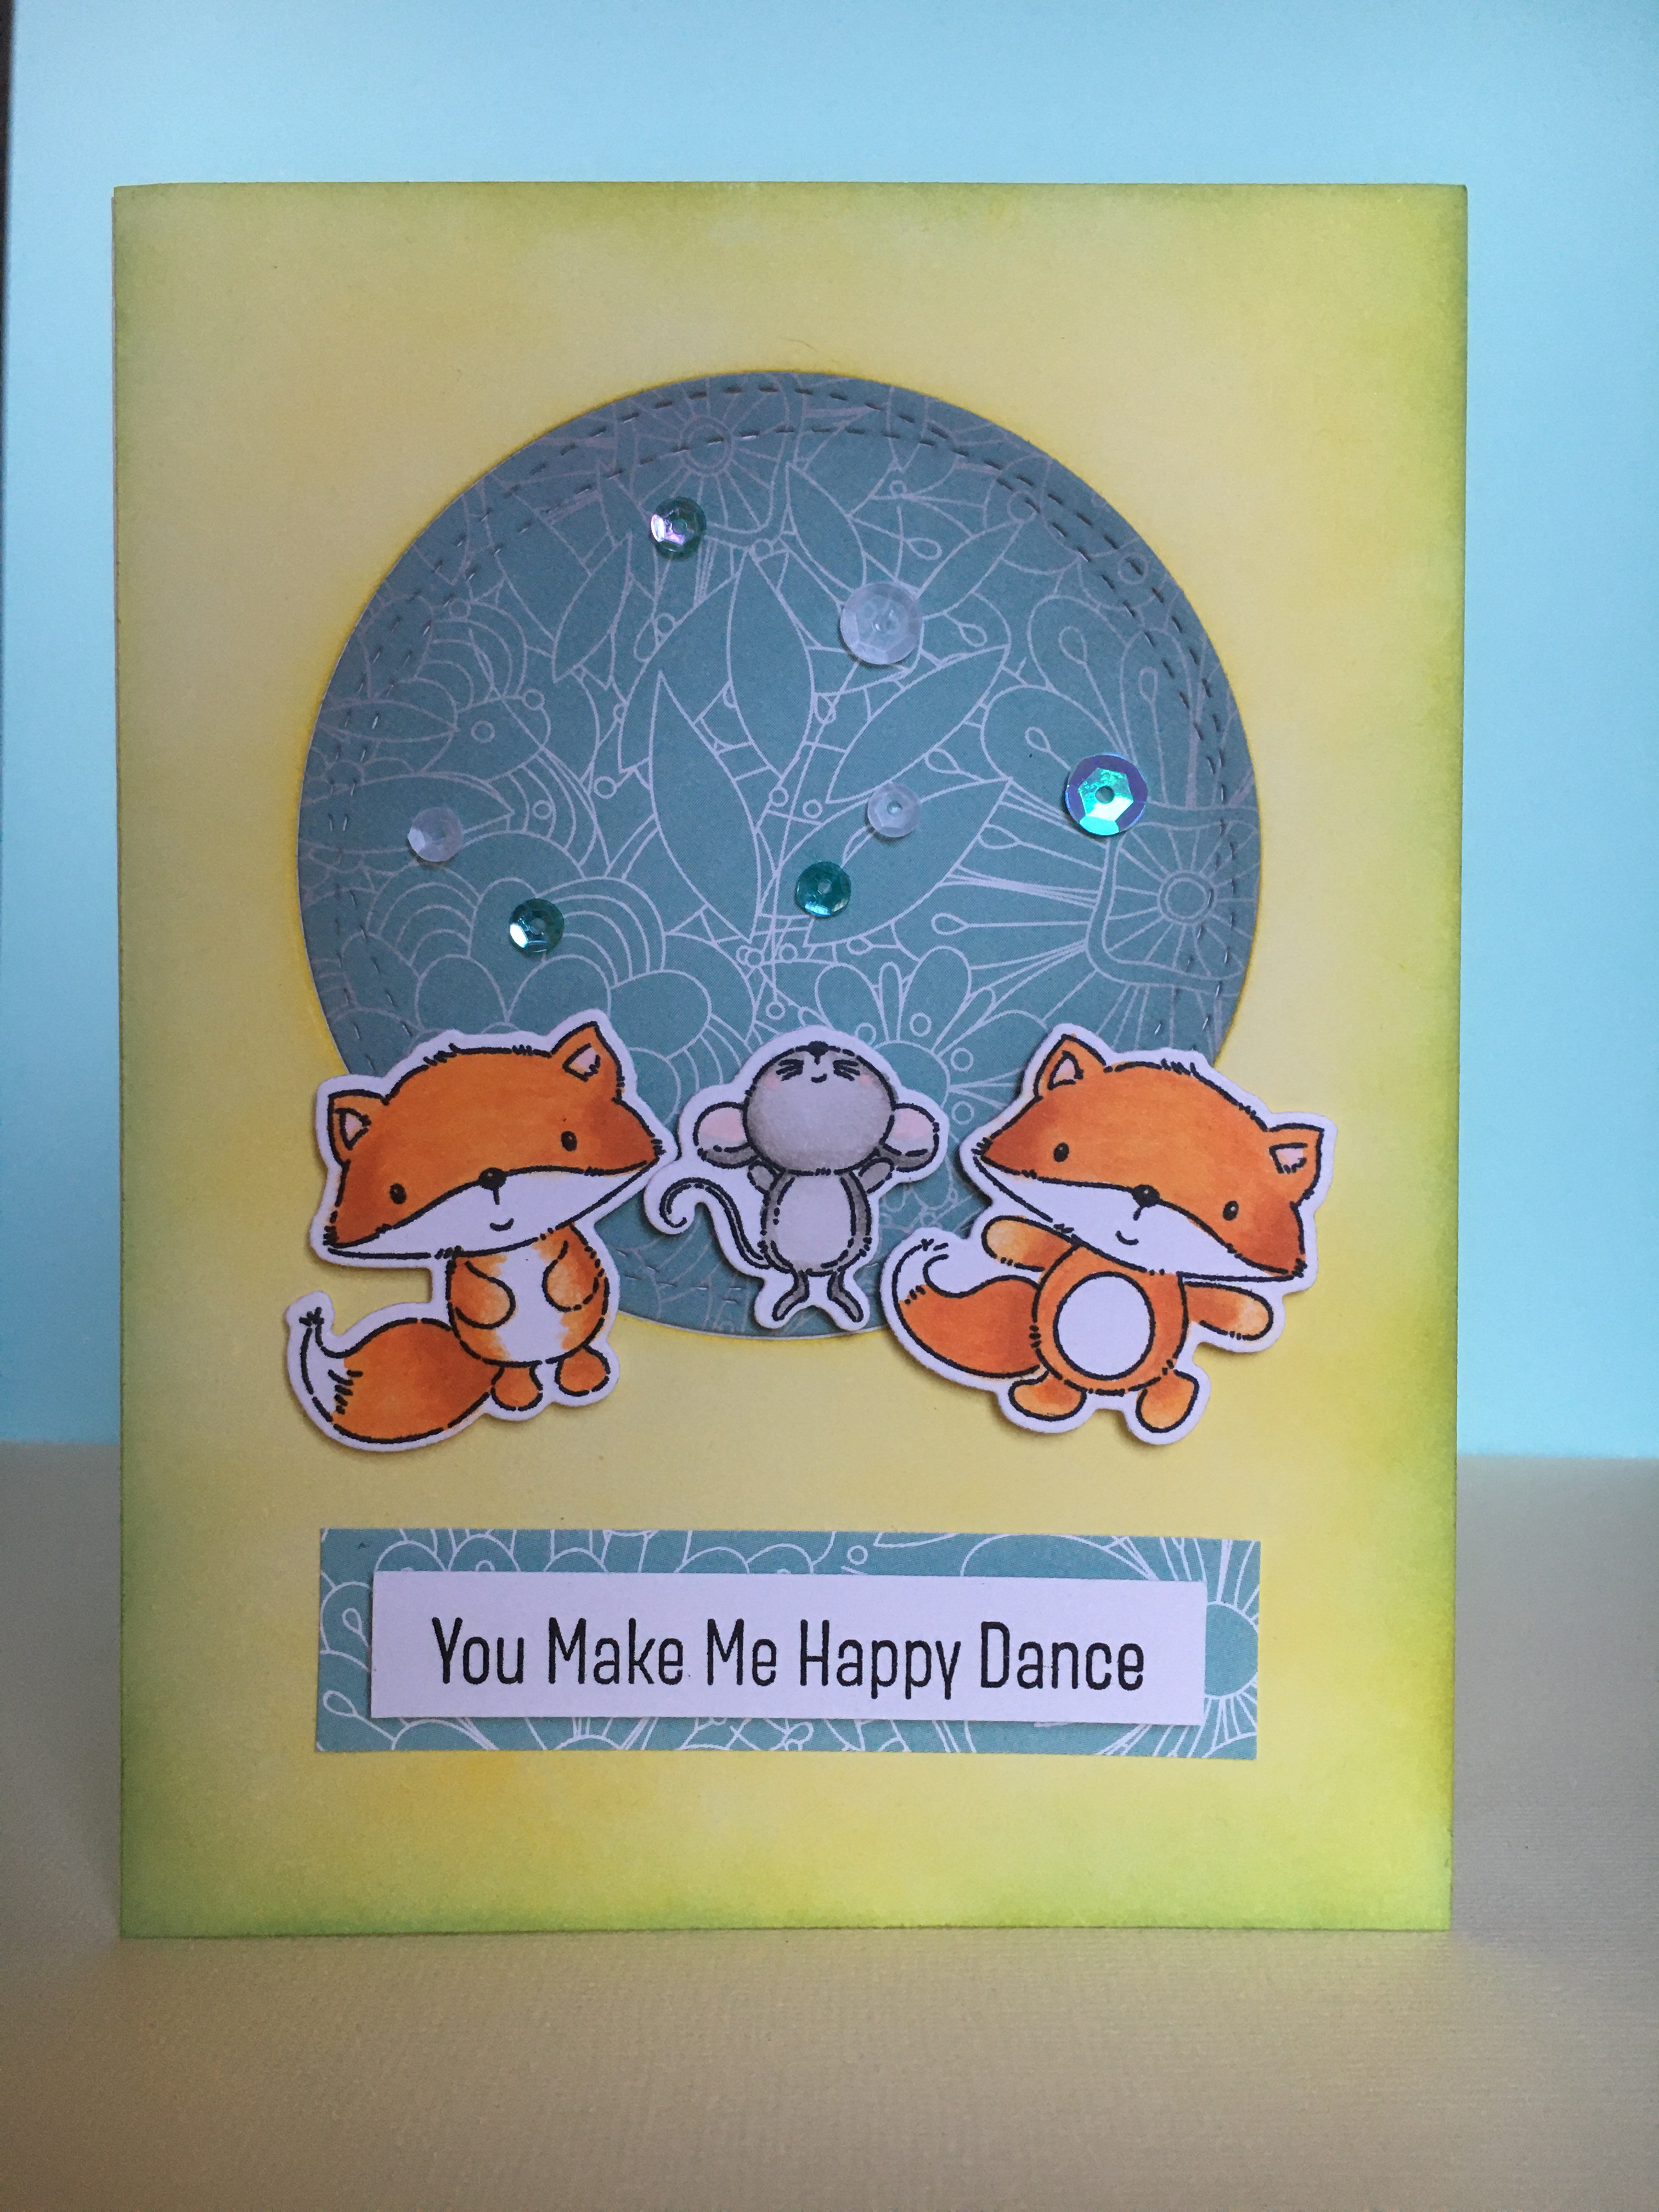
For this card, I did a simple ink blended background using Mustard Seed and Tumbled Glass Distress inks. I cut out the round window from the panel and adhered it to a card base. Then I added a Wonky Stitched Circle die-cut from the patterned paper that I edged with Hickory Smoke Distress Oxide ink. I then colored the critters with Copic markers and popped them up near the bottom of the floral circle. To add a little more interest, I scattered a few sequins at the top of the circle. To finish the card off, I stamped the sentiment on white and layered it onto a strip of the same patterned paper used in the circle. Clean and simple and done!
Summer has officially begun and I’m spending more time with my plants and (mostly) friendly bugs! To celebrate the great out-of-doors, I created three cards from some fantastic supplies recently! I’m teaching the particulars during an upcoming class at Runaway Art and Craft Studio. Right now class is scheduled for Tuesday, July 11th and we will add another date if there is lots of interest. I’m sharing a bit about the cards and the supplies I used here.
Supplies:
PaperArtsy stamps: ESN44, ESN62
PaperArtsy stencils: PS203, PS363
Hero Arts stamps and die: Everyday Sentiment Strips (CM673) and Sentiments Strips Fancy Die (DF087)
Patterned papers: Graphic45 P.S. I Love You: Hello Darling and Make a Splash: Ocean Dance
Hero Arts inks (for sentiments): Hero Hues Pigment Inks: Onyx and Unicorn
Liquid Pearls: Fern Green, Gold Pearl and Pewter
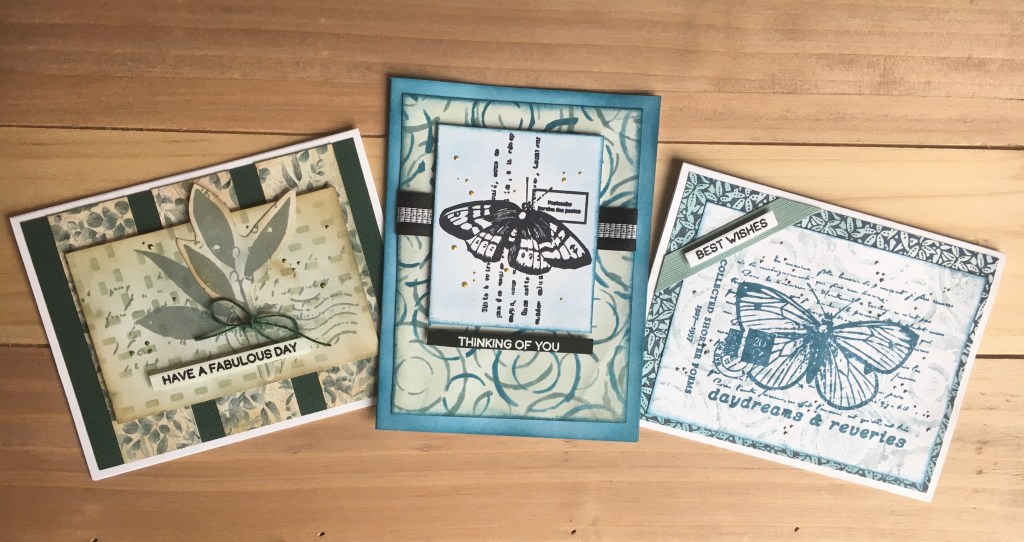
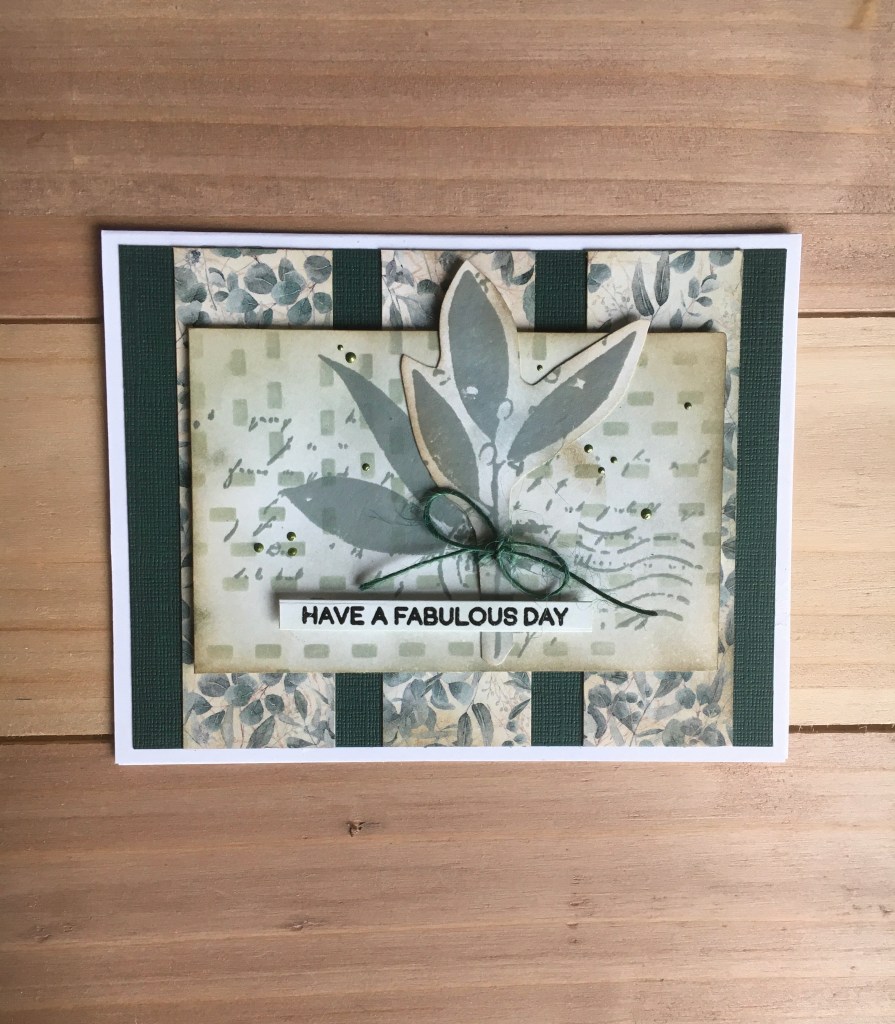
I created backgrounds using ink blending and stencils and I stamped the leaf image with Distress ink. Sentiments for all of these cards were stamped with Hero Hues pigment inks and then heat embossed before die cutting them all at once with the sentiment strip die.
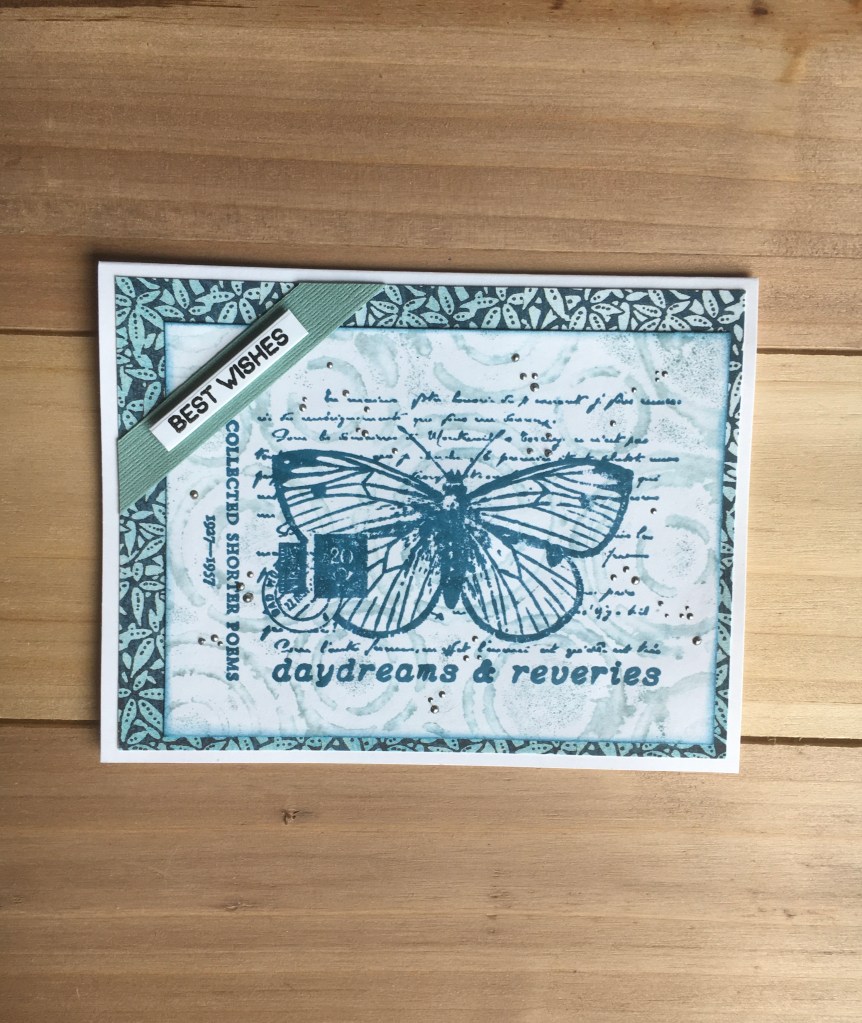
The Distress ink colors I used for all cards blended well together. For this card I ink blended the card base to match one of the stenciled colors (Uncharted Mariner) and then very lightly blended the butterfly image with it as well. This image was stamped with Jet Black Archival ink.
I created a more subtle stenciled background this time around with Uncharted Mariner and also stamped the image with the same ink. The Graphic45 papers added nice visual interest to my cards with their sophisticated patterns.
I love creating monotype prints with leaves on my gel plate! The leaves in all shapes and sizes are calling me during these Autumn months. These are vine maple leaves that are turning at this time of year. I was able to capture some lovely color on a recent trip and immediately printed with some of the leaves..
I used some Distress Oxide inks and acrylic paints to make some leaf prints right after I collected these maple leaves. We traveled to central Oregon recently, which is a fall tradition for us, and it is fun to print botanical immediately after I gather them! It was a little cool, so I didn’t set up my gel plate outside like I do sometimes, but it was still very pleasant. I decided to quickly make a card with one of the prints.
Often when I make cards from gel prints, it is hard for me to cover up the print with a lot of stuff. With this, the leaves (the right-hand leaf) are really the focal point and a simple die-cut sentiment really keeps the card simple and elegant. I added a little ribbon across the top to visually balance out the sentiment, repeated the black with a mat around the print and adhered it all to a navy card base. I added a smattering of epoxy dots I had in my stash and called it done!
I attended a virtual card-making retreat recently and learned how to make this card. All of the classes were online and it gave me the opportunity to attend something that I would not have been able to do in person, so it was very nice.
The instructor for this card (and some others I haven’t made yet) was Gina Krupsky (aka Gina K) and we used Gina K Designs stamps, masking paper, inks and dies to create the card. Masking areas with their Masking Magic kept each ink color discrete, each quadrant clean and made the entire card come together seamlessly.
The stamps and dies we used have not been released yet, so I do not have the names of the sets.
Doodlebug Design Inc. – Party Time 6″ X 6″ paper pad
Ranger Distress Ink – Wild Honey (for edging)
Copic markers
Foam adhesive
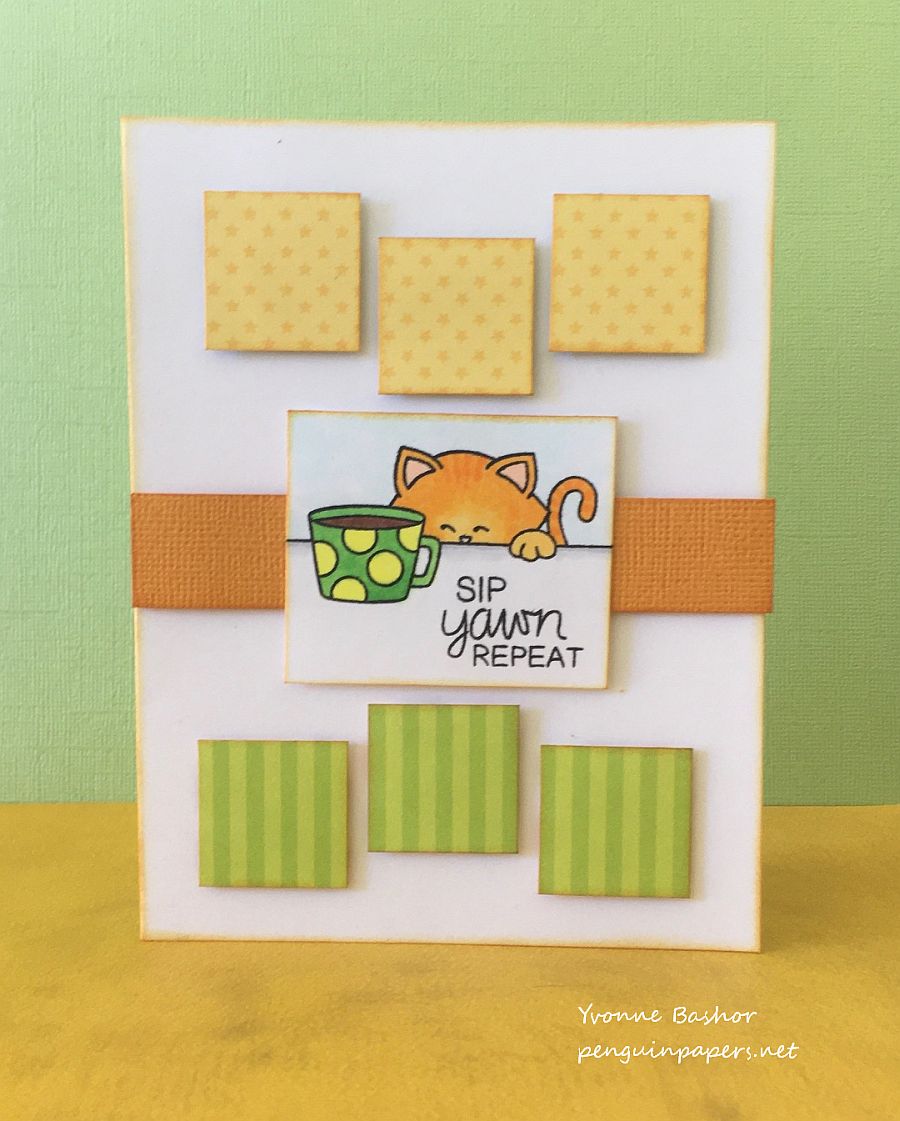
A group of my online cardmaking friends had a challenge this weekend to make coffee cards. This was the stamp set I thought of and one of my favorite stamps. Newton the cat is just so cute in this stamp! Those who know me well, know that I enjoy a couple of cups of coffee in the morning. I’ve never been a morning person, but I can cope with caffeine!
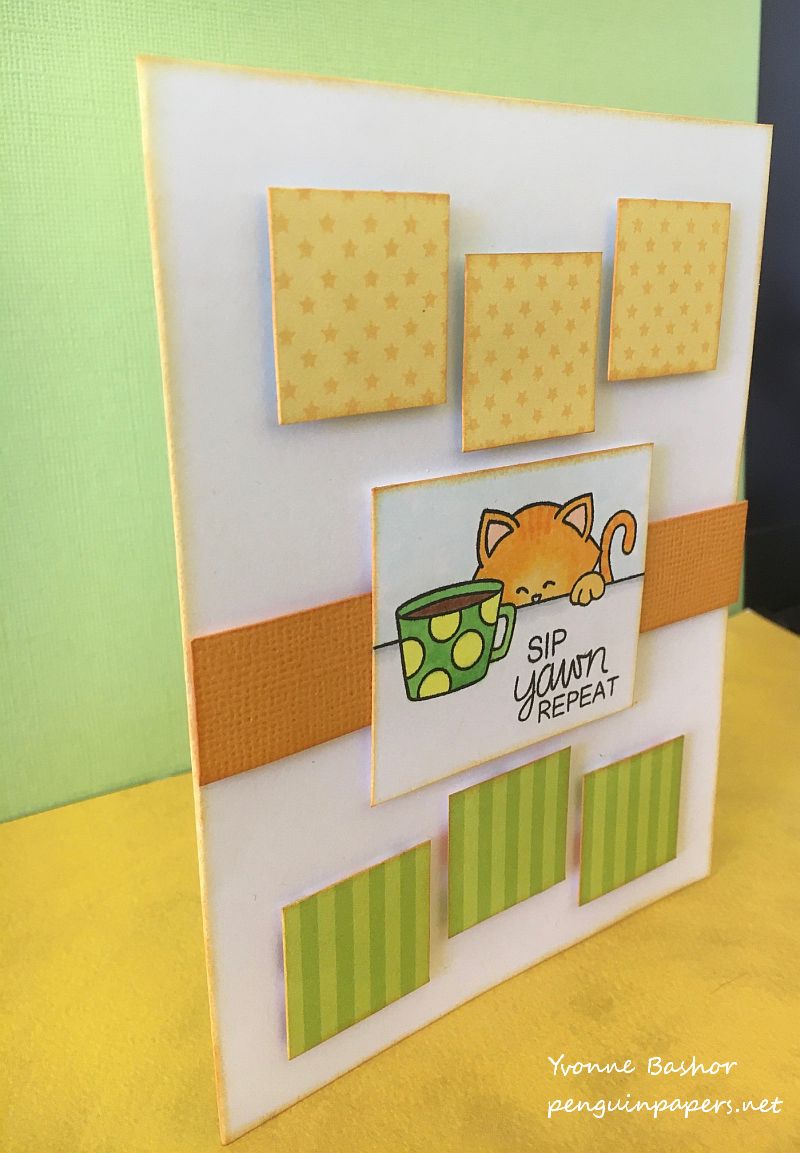
For this card, I colored my image with Copic markers to pick up on the Inky Paws challenge color palette (yellow, orange, green and white) in the current Inky Paws challenge and then found some cute patterned papers in my stash to match. I cut “inchies” from the papers and arranged them and popped them up to create a simple design, which is what I’m drawn to. I inked the edges of every element with Wild Honey Distress Ink to bring it all together.
Below you can see the dimension I created with foam adhesive.
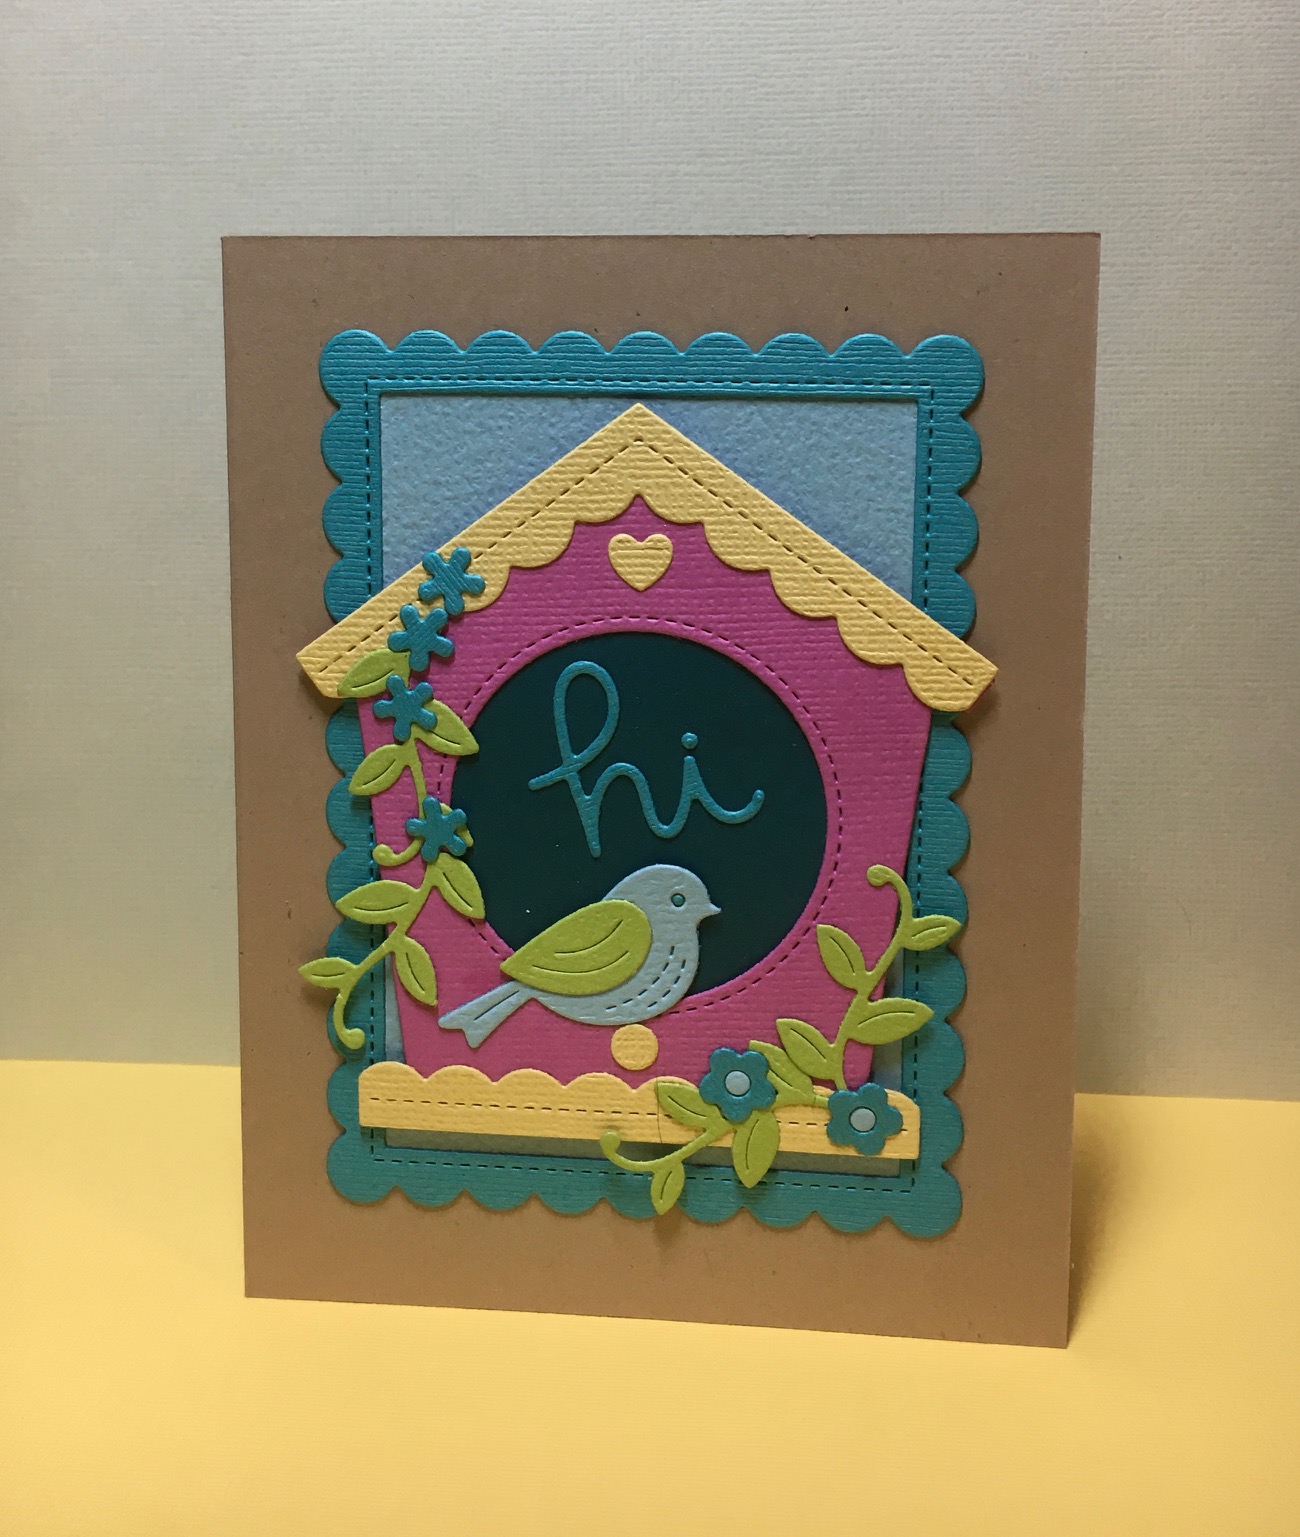
I’m jumping ahead to Spring for a short visit! We’ve had rain, hail and sunshine this first week of February here in the Willamette Valley (and the Groundhog did not see his shadow). So here is a cheerful birdhouse made completely with Lawn Fawn dies. I decided to die cut all of these pieces in lots of happy colors and do some mixing and matching. This card had absolutely no stamping either. That doesn’t happen very often.
Supplies:
Dies – Lawn Fawn Magic Iris Birdhouse Add-On, Stitched Scalloped Rectangle Frames and Outside In Stitched Bubbles (for the “hi.”)
Cardstock in a variety of colors, plus Kraft for the card base
I plan to make more of these with some other color combinations and also to make a version with the Magic Iris die in the birdhouse opening for a little interactive fun. Thanks for stopping by.
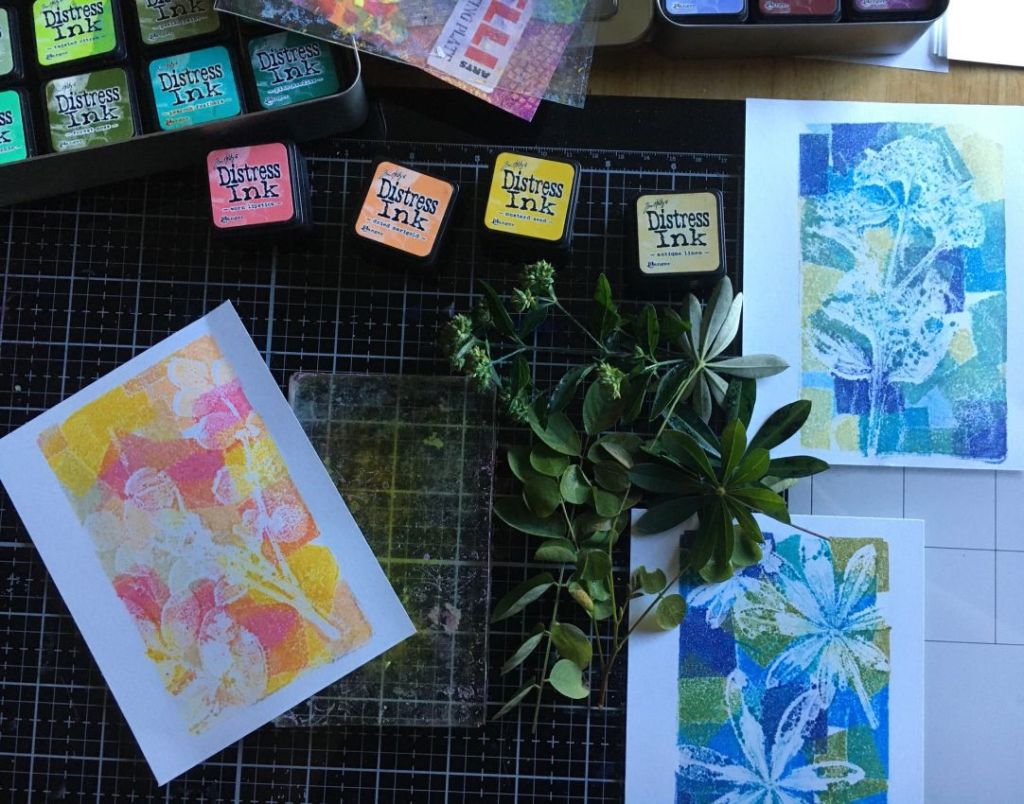
In my constant endeavor to find something positive in this highly unusual (okay, CRAZY!) year, at least we have a day dedicated to making cards! Right? So I spent today making a few gel plate prints and then I made three cards with some of them. Here’s what I did.
Above you can see the prints I made, using leaves from plants growing in my yard. Nothing exotic, to be sure! The difference in this gel printing experiment is that I used mini Distress Ink cubes direct to the gel plate to create kind of a geometric pattern. I didn’t brayer the ink out, but left it for a more distinct pattern.
I then placed the leaves on top of the inked plate and then pressed the paper over. Then I removed the paper and the leaves and replaced the paper, lining the paper onto the plate as it was before. This partially defined the leaves with remaining ink.
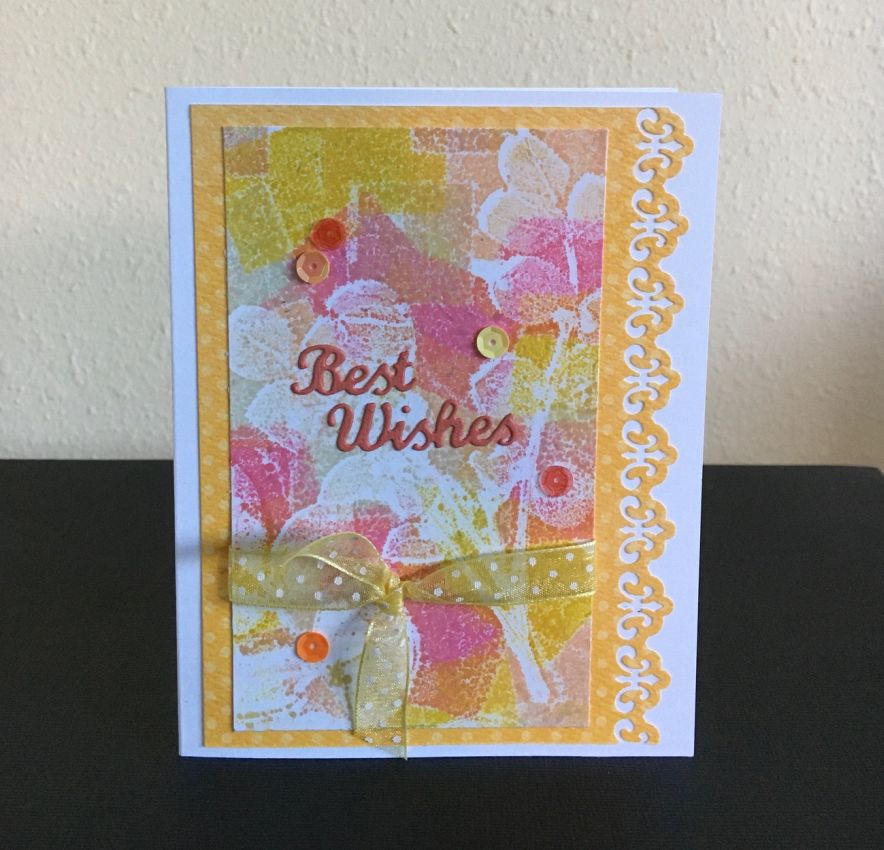
Here are the cards I made from the prints seen above.
I used sentiment dies respectively, from Sizzix, Elizabeth Craft Designs, and My Favorite Things. I layered the prints with cardstock and added some sequins. The center card also has ribbon and a border made with an EK Success “Fleur de Lis” border punch. I definitely shopped my stash with these cards!
Thanks for stopping by and Happy World Cardmaking Day!
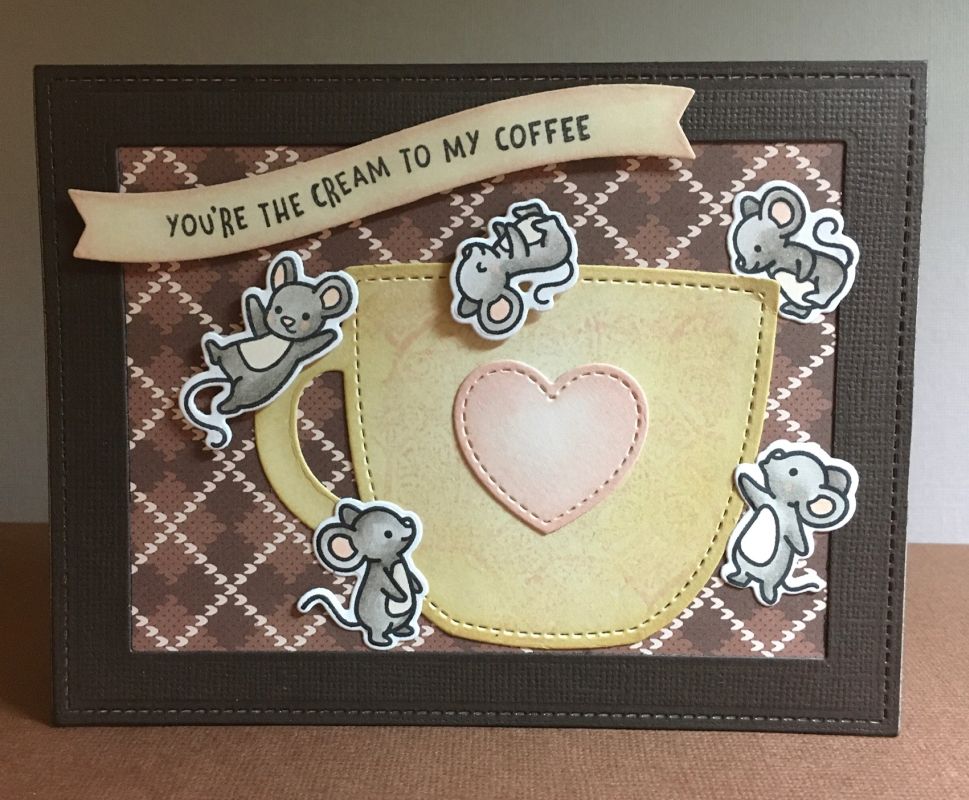
Yesterday was National Coffee Day, but I wasn’t quick enough to post the card I made to celebrate coffee. It was fun to make a little scene with multiple stamp sets, and of course, to include lots of critters. I pulled mice from three different sets (and there are more!).
Here’s what I used:
– Lawn Fawn stamp sets: Dandy Day, Thanks A Latte, Crazy Antics and Really High Five
– Lawn Fawn die sets: Outside In Stitched Mug, Large Stitched Rectangle Stackables, Simple Wavy Banners, Dandy Day, Crazy Antics and Really High Five
– Stampers Anonymous Tim Holtz Collection stamp set – Fragments
– Distress Inks: Antique Linen, Scattered Straw and Tattered Rose
– Copic Markers
– Lawn Fawn Patterned Paper
– Cardstock
I colored each mouse with Copic markers and used Distress Inks to color the mug and sentiment background. I lightly inked the Tim Holtz stamp and spritzed it with water to stamp a light pattern onto the mug (see below).
I had lots of fun with this and I appreciate your stopping by to take a look.
Recently I took advantage of the nice weather (pre-wildfire smoke) and wandered around in my yard to get some leaves to use for gel printing. Leaves are probably my favorite texture to add to paint of ink to create botanical prints. So I used Distress Oxide inks and brayered them onto my hexagon gel plate, then added leaves that I’d collected. Some time later, I added stamped or die-cut sentiments and a few insects and sequins and made some lovely, simple cards.
Here is a closer look at a few of them.
I associate leaves with Fall cards, so I imagine I’ll be doing some more of this! Thanks for visiting today.